Last weekend we took a trip to Ikea in search of a new dresser for our master bedroom. While we didn’t end up finding one we loved I did fall madly in love with several of their light fixtures. I have been on a painting spree getting both my girls bedrooms decorated and made just a little bit more personal, and since both of their rooms came with those awful glass square lights I knew that I was going to have to change them sooner than later. I had looked online and loved this light for my daughter’s tinkerbell room, but because her bunk beds are so close to the light I knew that it would be trouble having something like this so close to where she could reach. I am still coming up with a final vision for my littlest’s room but I know it will be much softer and more feminine. This light was my inspiration!
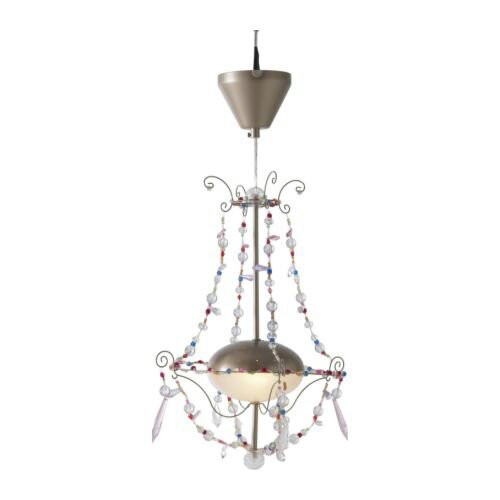
See what I mean! So pretty and detailed and it just screams little Princess. At $25 i almost bought it on the spot, but I knew that I could make something much more personal and unique. I still had the old pendant light from our dining room (the one I replaced with this awesome chandelier) and I figured I could reuse parts of it paired with the lamp shade frame I used as her baby mobile.
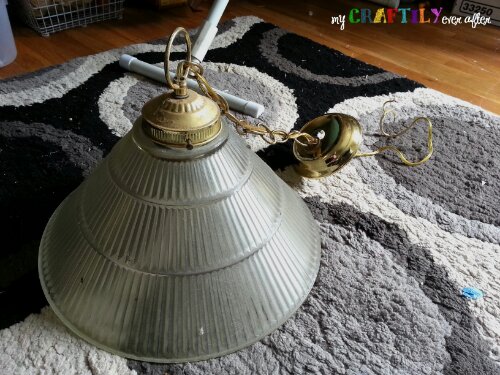
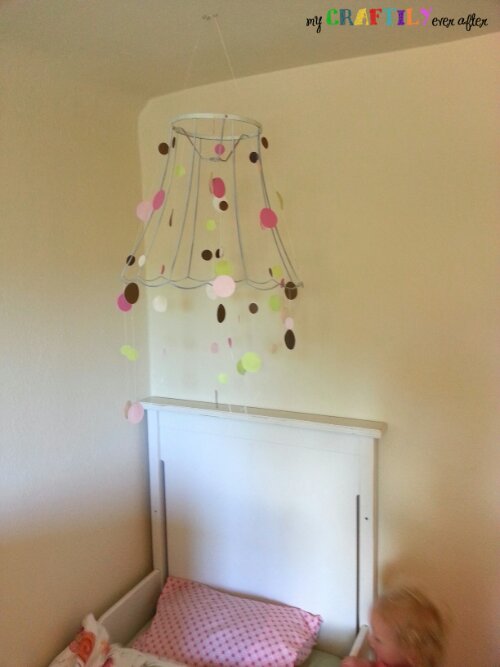
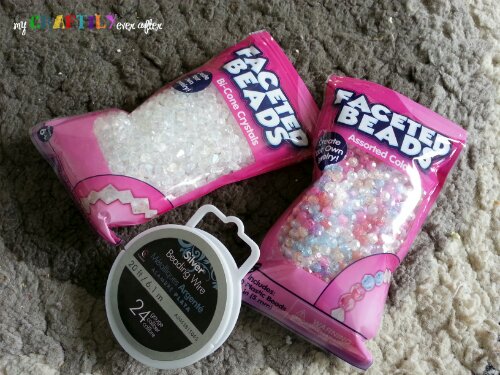
The first thing I did was run to the store for some pretty beads and thin jewelry wire. These were the only supplies I bought for this project (everything else I had on hand) so it ended up only costing me $10! For a beautiful custom light that’s not too bad.
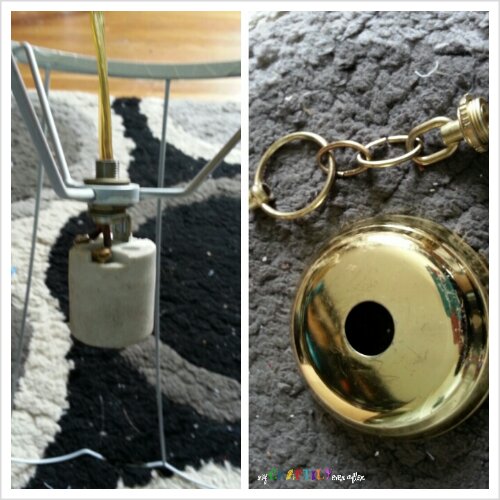
First I cut the fishing line and paint chips off the shade to give me a clean slate and I disassembled the old pendant light. I fed the wire through the hole at the top of the shade and screwed it on tight. Then I took the whole thing up to her room to see how long I would need the chain to be and then removed the unnecessary links. It was as simple as using pliers to bend them open and slip them out!
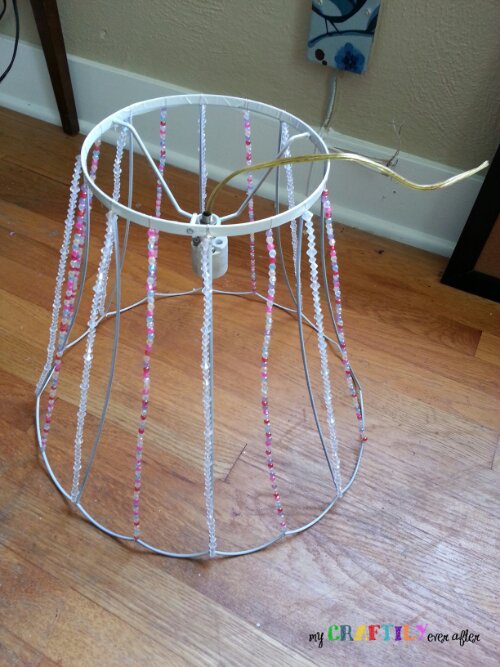
I decided that I wanted to alternate strands of the pretty pink beads with strands of the clear ones. I measured the wire to the length of the shade, top to bottom and started randomly stringing the beads on. this was the most time consuming part of the project and it still only took me about an hour.
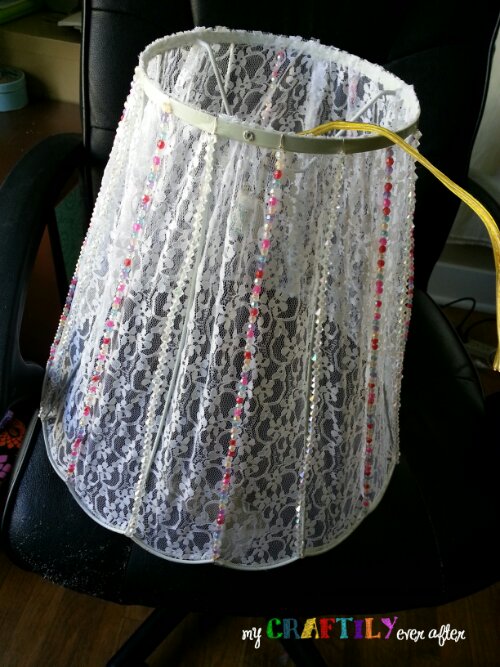
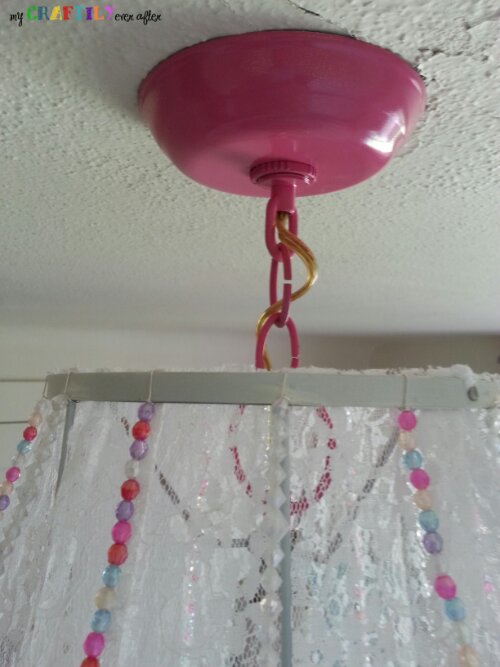
Once all the beads were strung and the wire attached to the shade I realized that it was going to be too abrasive to look at without some sort of filter. I thought about using tissue paper but I worried that it would get too hot and the last thing I need is a fire in a bedroom! I dug through my box of scrap fabric and found this lace leftover from my craft room dresser project. It was delicate and the perfect thing for this space. I started hot gluing the fabric to the bottom of the shade since it is tapered outward like a flower. Once that part was done I cut off the extra length and started gluing the top. There were some parts that needed to be bunched up to keep it tight, but the lace was really forgiving and you can’t even tell. I suppose if you were worried you could initially cut your fabric into the right shape, but for me this worked great. Once it was all attached I simply cut off the extra lace around the top.
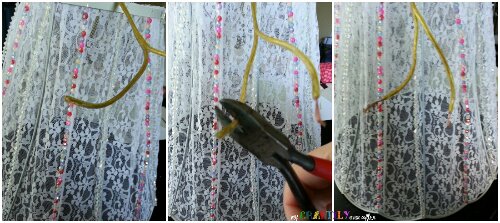
When i decided to shorten the length of the chain it also meant shortening the length of the wire. This was super easy as well. First I cut the wire to the desired length. Then I took my wire cutters and striped the ends off to expose the wire inside. It is really simple and by doing this you can turn ANY light into a hardwired ceiling light simply by cutting off the plug and shortening the wire to the desired length!
I ended up spray painting the top of the mounting hardware a bright pink to add some fun color and a hint of feistyness!
Changing a light is as easy as unscrewing some screws, and wire nuts and then screwing the new wires in! I don’t have any pictures though because unfortunately it is a two handed process and I do most of my projects while my hubby is at work and my oldest is at school so there is no one to snap a picture, but I’m sure if you Google it the are step by step photos to guide you. I promise it is really easy and should not intimidate you at all! And here it is in all in glory! Can’t wait to paint the walls and add some more decorative touches now!
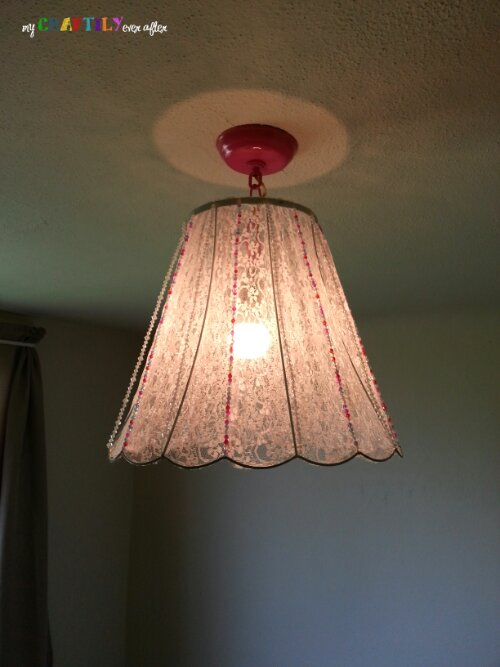
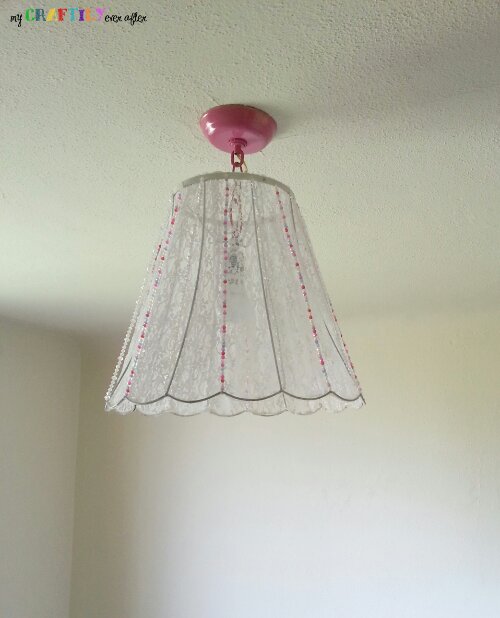
creating my own fairy tale ending...
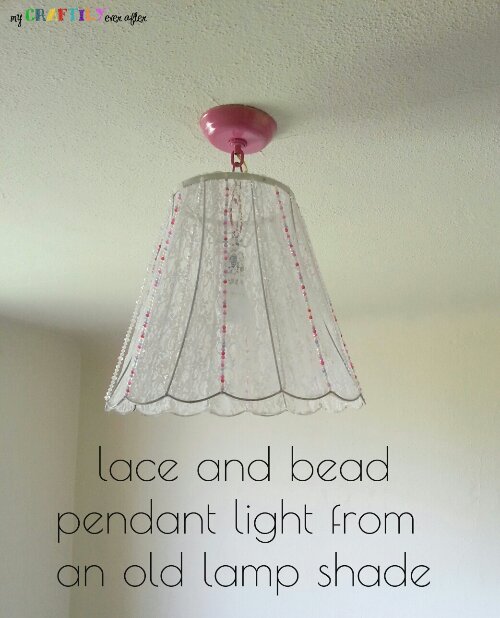

Pretty 🙂
It looks amazing!!! Such a cute idea!
Thanks! I am totally in love with it and seriously want a little girl bedroom for myself now too!