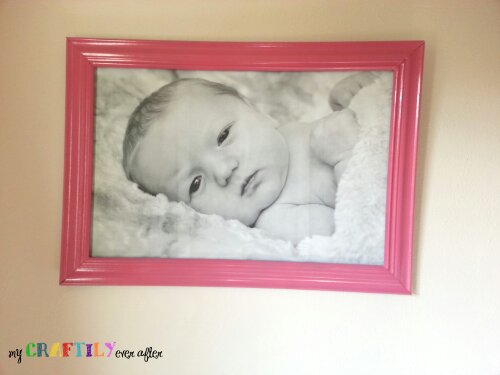
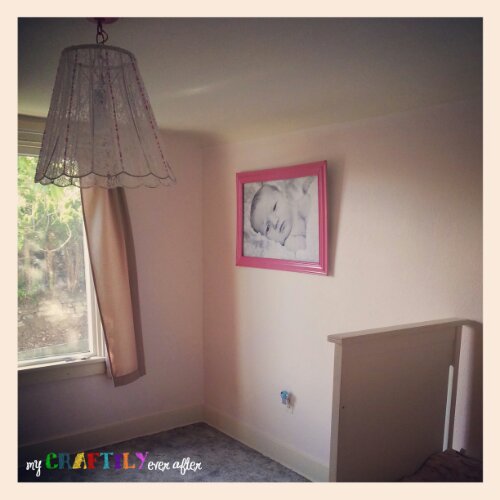
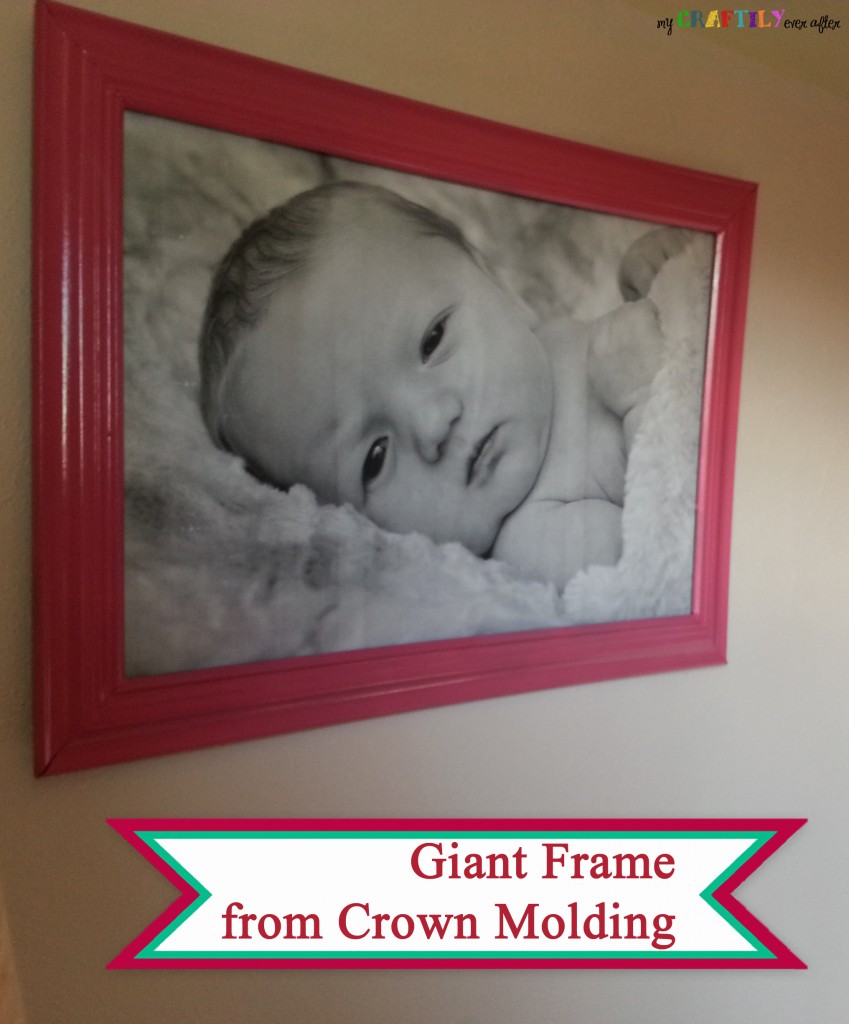
I’ve talked a lot about my love for engineering prints and here I am again sharing another one! I am a total sucker for winning things and contests in general. A few years ago I entered my hubby and I in a contest to win free engagement pics and we won! Then later that year I entered to win a free newborn session with another photographer and we won those too! I loved the photos of our daughter so much that I wanted to blow one up as an engineering print and hang it on her wall. So this project was born!
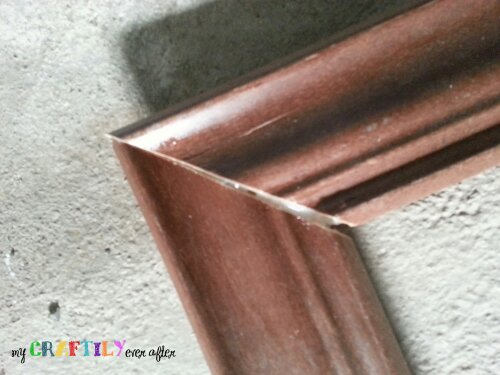
I started by printing the photo off months and months ago (okay like last year, but who’s counting), and even mounted it on a piece of foam board, and there it stayed for what seemed like forever. I even picked up the crown molding from the ReStore and had it in the garage for months, but somehow it never made it to the top of my list. Then I painted her room and all the sudden it became project #1 to get done. I started by cutting my pieces of molding to the length of the print (3′ x 2′), making sure to get each end at what I thought was a 45° angle. After those were all cut I laid it out to assemble it. This is when I discovered that somewhere along the way my angles were just a few degrees of and NONE of my corners matched up. *Insert a lot of swearing and foot stomping here* So I attached them all and began filling the space with caulk. This was messy and annoying, but it did the job and it even made the corners stronger than they would have been so it was okay.
Once the caulk was dry it was time to paint them. I love spray paint, so it was a no brainer to paint them the same pink color I used on her pendant lamp. Recently my hubby brought this totally AWESOME spray paint tool home and it makes me love spray painting even more than I already did if that is even possible!
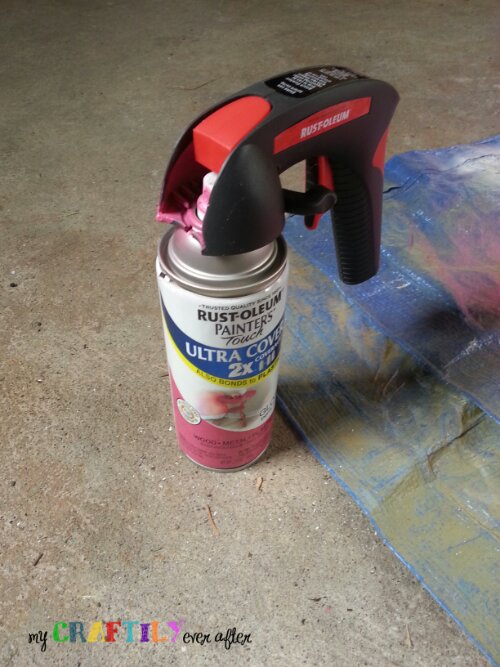
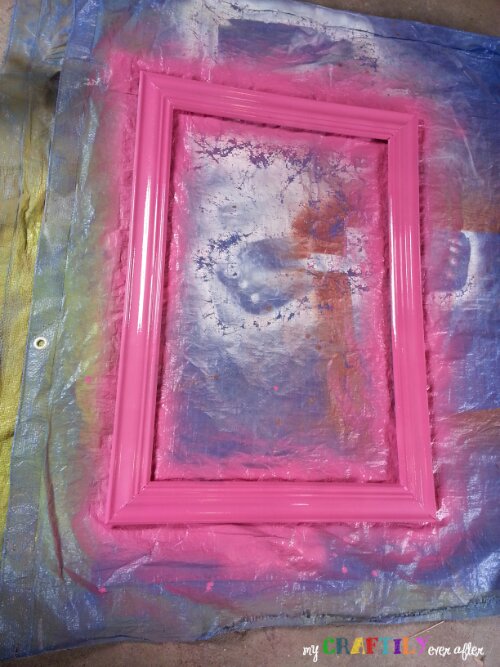
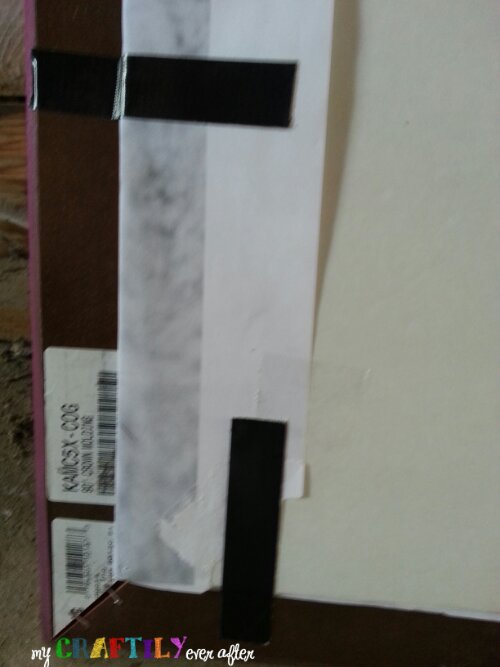
Once the paint was dry it was time to attach the foam board and picture. I know that she won’t always love this newborn photo of herself so I wanted to do something that I could easily change as she got older. Duct tape to the rescue! Actually this is Gorilla brand tape, because it was the only skinny super tape they had at our local home improvement store. I taped the picture to the frame and headed upstairs to hang it on the wall. I decided that since this frame was fairly light I could get away with attaching picture wire to the frame and sticking a push pin in the wall.
Just like that it was done! I love it and so does she. She keeps talking about the baby in her room, so sweet!
