So my son lost his first tooth on our road trip last week. I still hadn’t made a tooth fairy door so I was sweating what I was going to do. Luckily Pinterest was there to save me with a million ideas and inspirational photos! I chose to use this tutorial as my inspiration mostly because I am a lame seamstress and this I knew I couldn’t mess up too bad!!

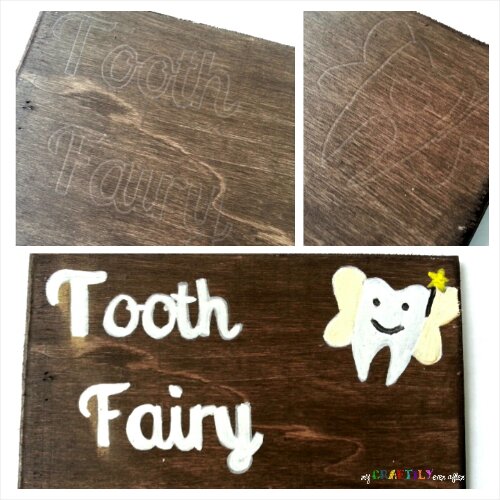
I already had all the supplies I needed on hand so I got to work as soon as the girls went down for their nap. I started by staining a wooden plaque I had on hand with a pretty dark walnut stain that I have had forever (picked up at JoAnn’s in the craft paint section for like $1.) While that was drying I printed off my Tooth Fairy words and image and also some ridiculously cute tooth fairy envelopes that I found over at Handmade Charlotte.

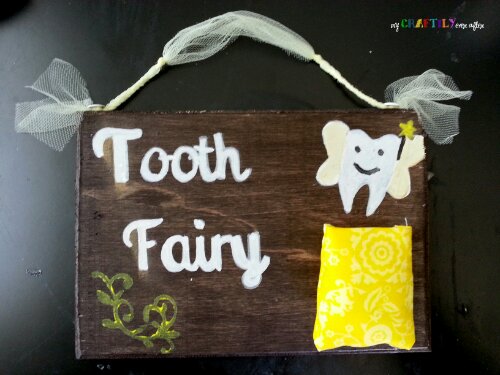
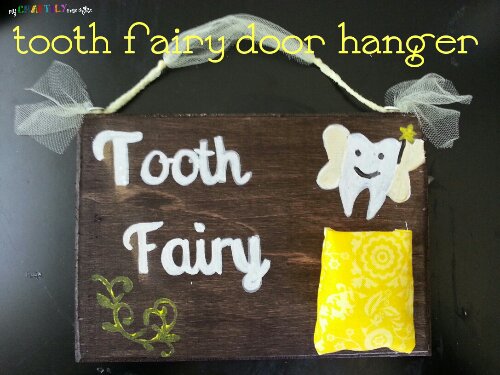
Once the stain was dry I traced my letters onto the sign just like I did when I made my dining room sign and filled them in using one of the awesome Elmer’s paint pens that I told you about here. I took some tiny brushes and added the detail to the tiny tooth fairy and a pretty floral border as well. While all of that was drying I picked out a pretty gender neutral fabric and hemmed it up to make a pretty tooth pocket. I simply stuck some flat thumb tacks inside the pocket to attach them to the sign.Then it was time to attach some yellow tulle I had left over from a project that I never finished (and probably will never finish) to use as a hanger. Now it is ready for the tooth fairy to come visit!

creating my own fairy tale ending...


I love this! This is so much easier than the tooth fairy trying to stick her (his?) hand under a pillow.
I have a pretty strong policy of not going anywhere near my kids when they are sleeping for fear of waking them up! I actually make the switch when I put them to bed, so there is no chance of them hearing me!