When we first started or dining room makeover (the second time) we knew that we were going to need a big piece of furniture to help fill in the room. I convinced discussed with my hubby the idea of adding a hutch, something that would be both functional and fun. One of the great compromises that we made was to repaint all the dining room chairs white (which broke my heart a little bit) in exchange for one large “pop” of color.
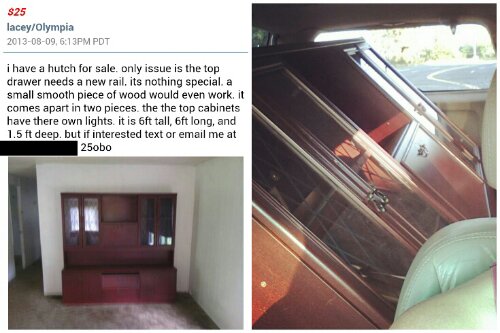
I immediately started scouring Craigslist and instantly found this beauty. For only $25! I couldn’t believe it! I drove right over and amazed the man selling it by fitting it into my minivan. I swear there isn’t much I can’t haul in that thing! It was in rough shape, but at that price I decided to tackle it anyway.
The first step was reinforcing the wobbly bottom piece. It took me about 15 minutes and 8 screws, but after that it was as good as new. And by new I mean it was still a cherry laminate hutch that had been living in someone’s carport. I don’t have any pictures of this step because I was working alone and had to sneak out while the girls were eating lunch to get it done.
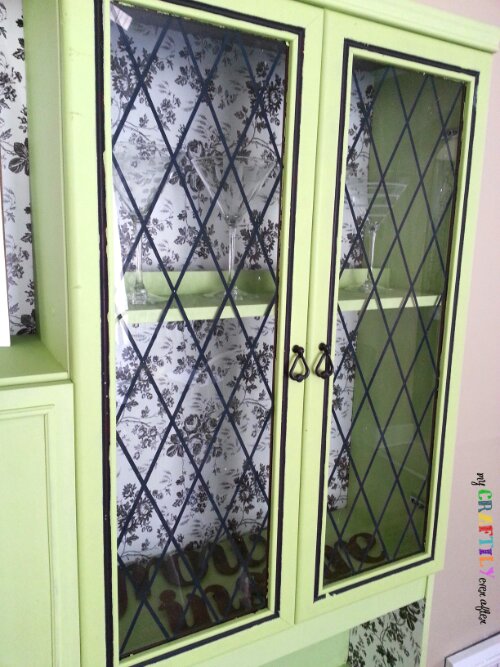
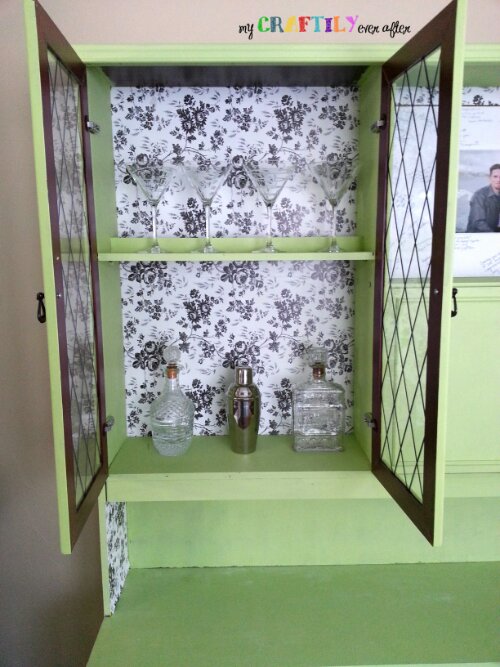
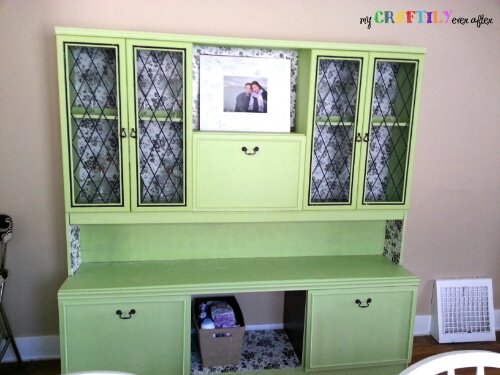
I had originally picked out this wonderful blue (Clark & Kensington – key largo) however once we found the curtains, that plan changed. We ended up going with a bright green, which I toned down by adding in some white paint and some plaster of paris. I really love the texture of chalk paint, but can’t wrap my head around the price so I decided to diy some and see how it turned out. I am happy to say that I love the little bit of texture it adds to this piece and the ease in which the paint adhered to the laminate surface with NO prep work.
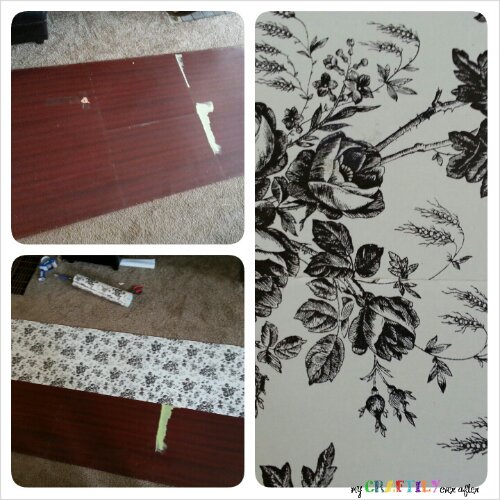
I started off with just the bottom piece. It was the functional part of the hutch and do it was most important to finish it first. I painted two coats of my homemade chalk paint on and then sealed the whole thing up with some polyurethane. After letting that dry for 3 loooooong days I couldn’t wait any longer and we brought it in the house. First thing I covered the inside walls of the open space on the bottom (where the drawers used to be) with some pretty black and white toile contact paper I picked up ages ago at the dollar store. I love the way the black and white print on that this in to the black and white print of the curtains. I immediately filled this bottom cupboards with all of our board games and moved our downstairs diaper basket into the open space in the middle.
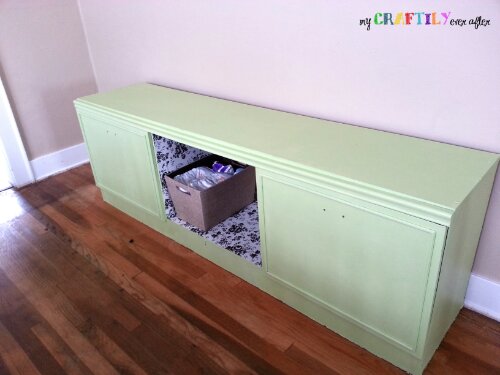
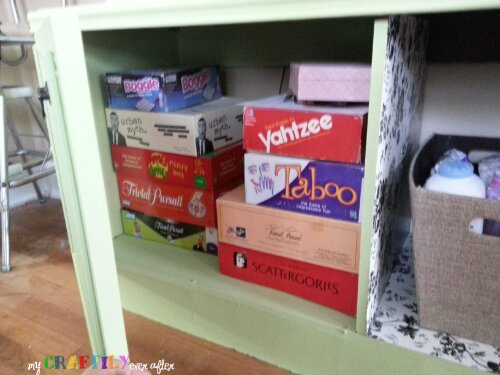
Now I’m not going to lie at this point I lost steam. The top part is purely decorative and fun. It is comprised of like 100 little boxes (well ok, maybe just 7) plus 4 doors, and the thought of painting all that was a bit overwhelming. Finally one weekend the hubby gave me a little push to get it done and even offered to help. It took the better part of all day to paint the 2 1/2 coats on the entire piece, but it was so worth it. While the final coat died I ran back over to the dollar store to pick up some more contact paper. Wouldn’t you know it, they were all sold out of that same pattern! I ended up finding it on etsy, but paid significantly more than $1 a roll, but it is perfect and exactly what I want in there.
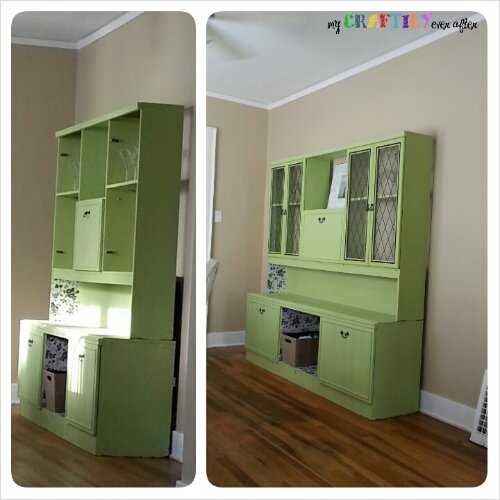
After waiting what seemed life forever to get it in the mail I simply attached it to the backing of the hutch and then reattached the back onto the hutch using small finish nails.
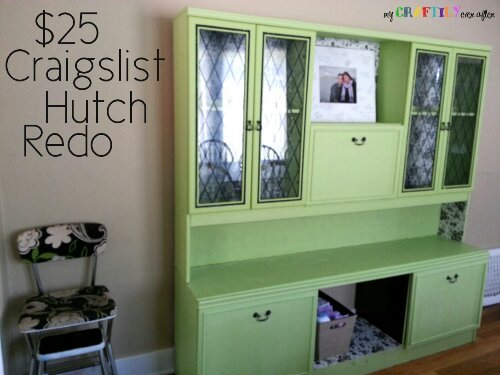

Awesome find!
Thanks Steph! I couldn’t believe my eyes when I saw the price tag on Craigslist!!
Nice job, Ashley! Beautiful!
Thank you so much Kara!