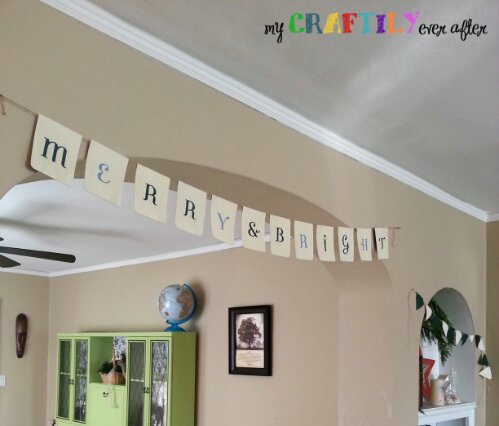
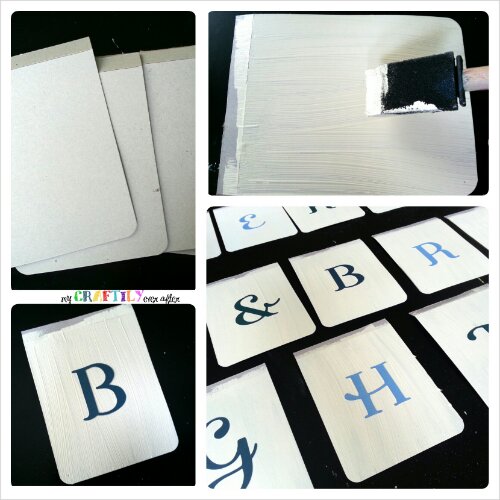
I think my new obsession in crafting has to be buntings. I currently have three in my living room and another in my littlest’s bedroom too. This one was super quick and easy and the best part was that I had all the supplies I needed on hand so it was FREE. I don’t think many things in life beat free, especially when it come to pretty things! 😉 This project started out with some cardboard packaging. I used to have an office job in a high school and one of the things that came along with that was an overabundance of awesome office supplies. These carboard sheets were part of the packaging for either dividers or sheet protectors or something like that. It was headed straight for the recycling bin and I rescued it. I saved if for a couple of years and hauled it around through 2 moves, geez I really sound like a hoarder…
Anyway, I cut these into 4 1/2 x 6 inch rectangles and then scored the top 1/2 inch on each on to create a flap for hanging. I used my awesome Fiskars Paper Trimmer, which I have had for a decade and the blade was just short enough that it cut halfway through the cardboard, scoring it for me! Once they were all cut I used a paper rounding punch
to round the corners, because well, I think it looks pretty that way. I used my awesome Slice
machine to cut out the letters using a heavy cardstock in three colors. Once all my letters were cut out, I applied a quick coat of ivory paint and stuck the letters directly in the wet paint. I figure it only has to last the season and I don’t have the patience to wait for paint and glue to dry!
Once the paint was dry, I ran a quick coat of the glamour dust paint from this project over the top to give them a little shimmer. By the time I was done painting the last letter the first one was dry and I got started attaching them to the jute. I simply folded the flap over the jute and used some tape to hold it down. This made it so that the letters could be slid around and adjusted once it was hung. I did not measure the space so I left the jute attached to the spool and then tied it off in place. I then slid the letters around until the were all about an inch apart and stood back to admire my handiwork.
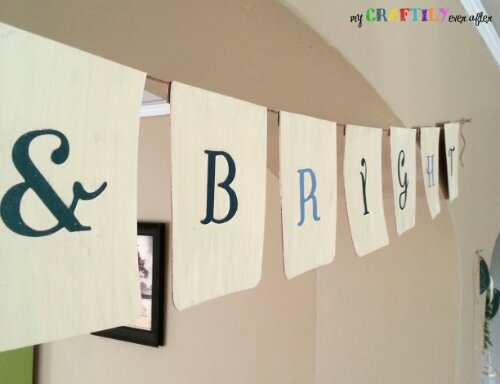
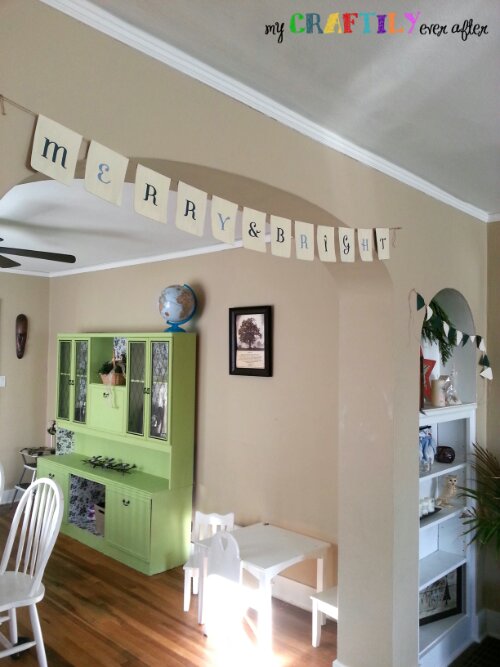
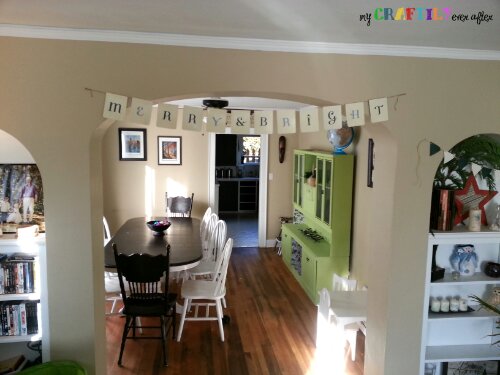
I really love the way it isn’t screaming Christmas in my face, but it adds a little seasonal cheer to my living/dining room. I may just leave it up well into January…
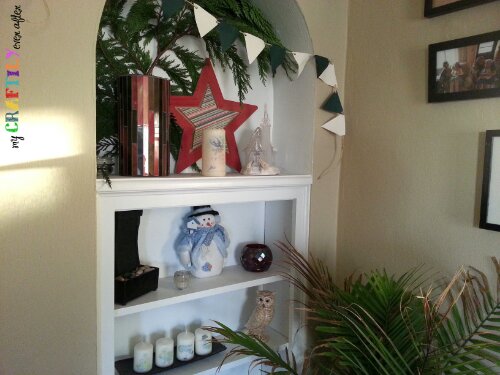
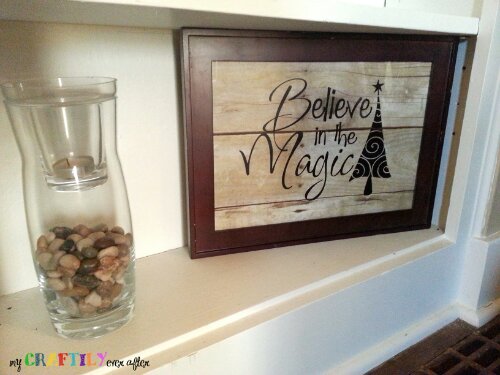
I also changed out my fall decor on my built-ins to be a little more wintery. I don’t have the biggest stockpile of Christmas or winter decor, yet. I did make the framed photo in the last photo, I simply attached some pre-cut vinyl from Misti and Quote Krazy Vinyl Lettering to this awesome weathered wood paper and stuck it in a frame! Easy peasy!
