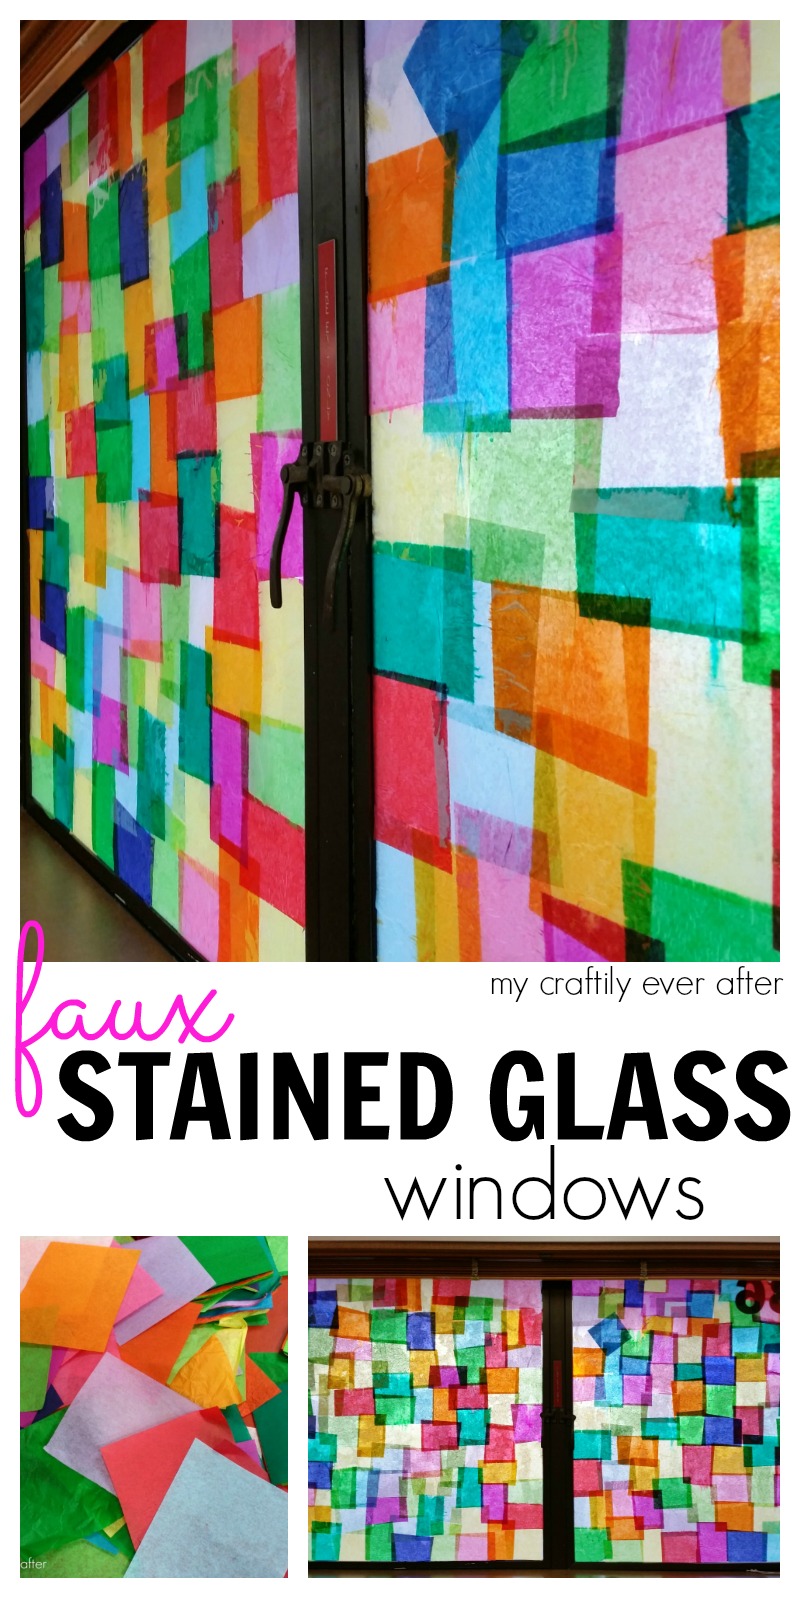
There are a lot of things I love about my new school, classroom and job. One of those things was not the broken and yellowing old blinds that came with it. Blinds that need to be closed every night for security and opened for natural light every morning. With a couple of hours and supplies I had on hand already, I was able to solve both of these problems at once!
 I have never been a fan of mini blinds. They are super dust collectors and sometimes closing them can be a two armed wrestling match.
In my previous school I opened those bad boys all the way to the ceiling when I moved in to my room and never once shut them. I tried this same technique in my new building only to find out that I had to shut them at the end of every day for safety and security reasons.
I was bummed to say the least. I started researching those pretty window films only to discover that for the square footage of glass I needed to cover, and the out of my own pocket costs, that wasn’t going to be an option.
After several weeks of thinking about this, I decided to give these faux stained glass windows a try. I knew that if I hated it, it was only a wet scrubbing sponge away from coming off. Sometimes having a low risk project is the best. I started by gathering all my supplies.
Supplies
- Elmer’s white glue
- Plastic cup
- Paint brush
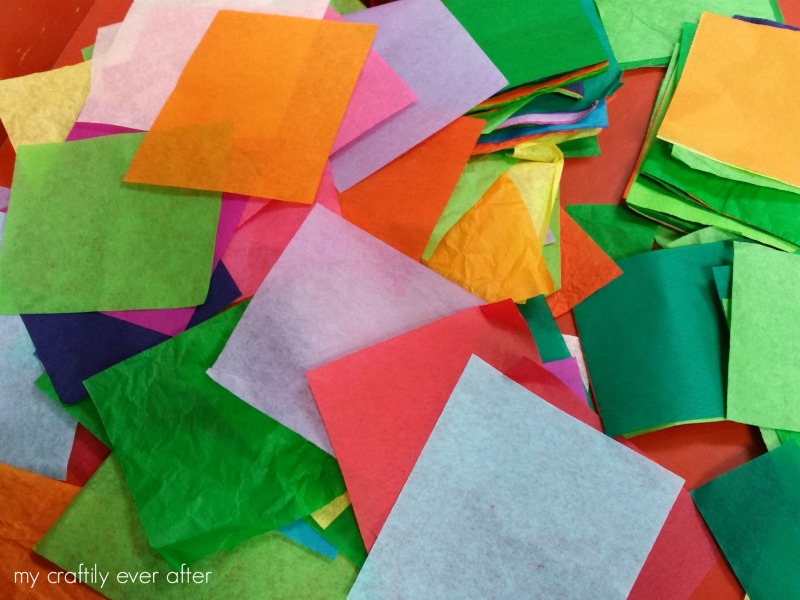
- Tissue paper, cut into random sizes
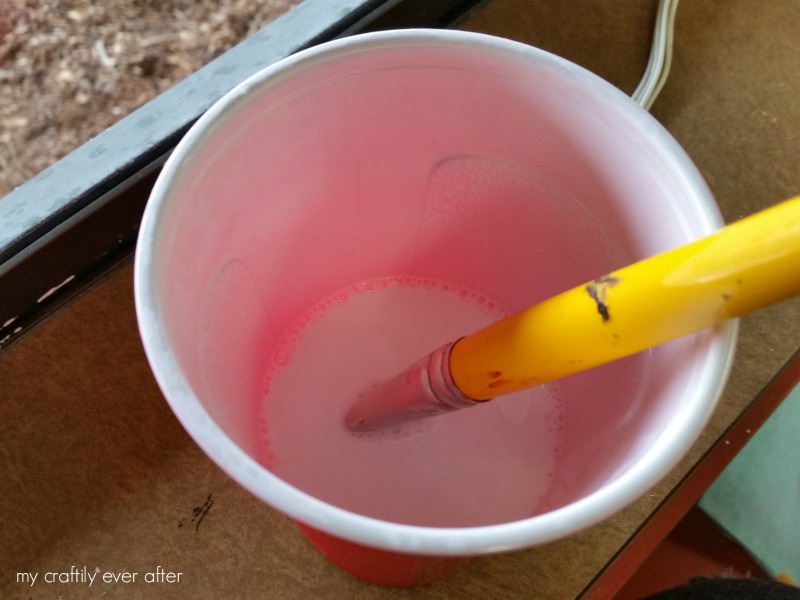
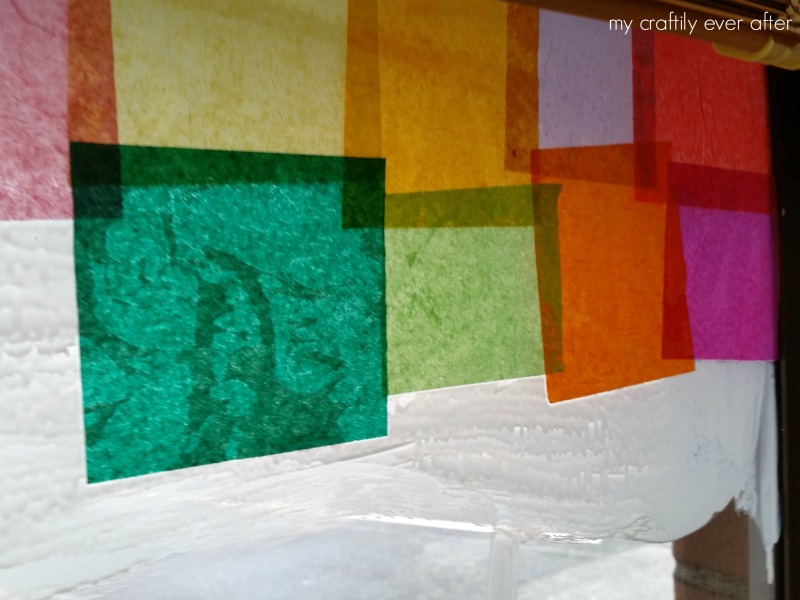
I probably could have washed the windows first, but I didn’t. So don’t worry if you are a lazy cleaner like me, this will still work. I started by mixing my glue with some water, about 2/3 glue, 1/3 water, and mixing it up until it was fully combined.
It helped to water the glue down a little but, so that it would paint on easier. Some of the batches I made were watery than others and this led to a lot more bleeding of the colors in the paper. So try to keep it about right.
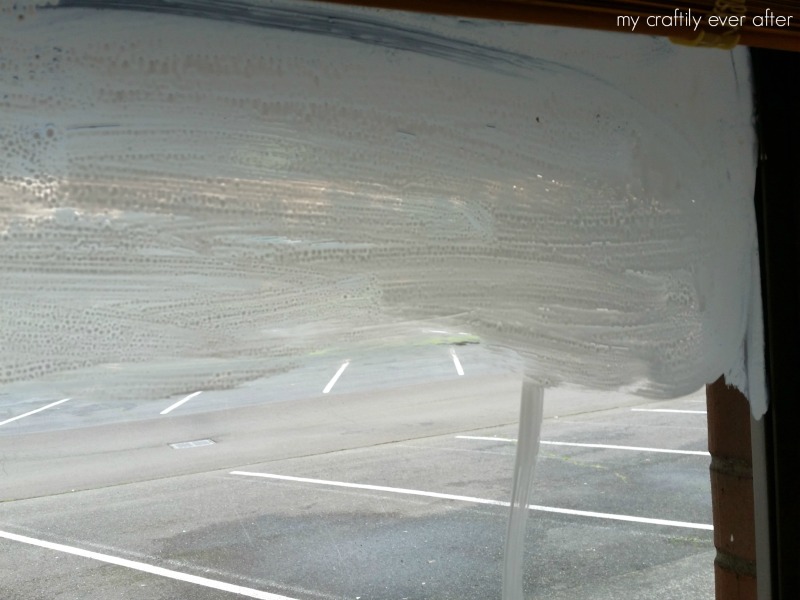
Once my glue mix was ready I painted it directly onto my windows. I went all the way across and about 8 inches down. You want enough area painted to get a couple of rows on, but not so much it dries out before you get to it.
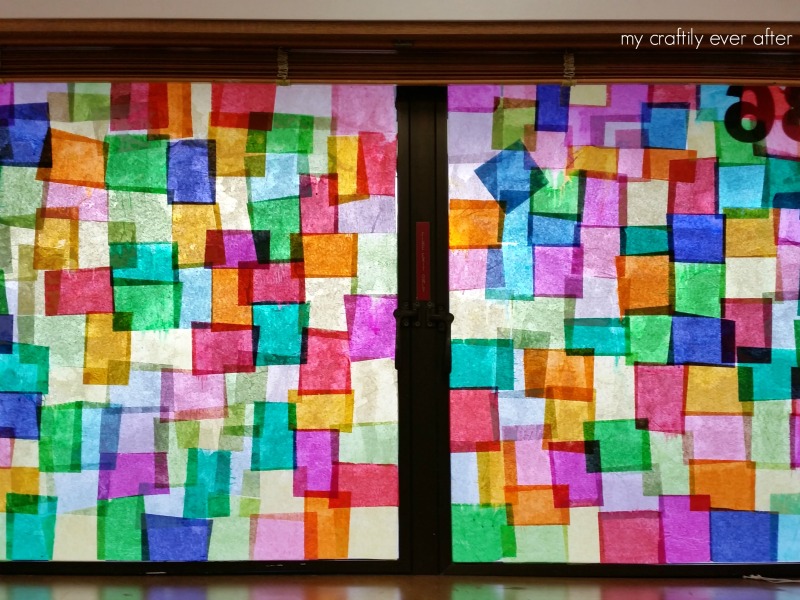
I then started laying my tissue paper onto the mixture. I wasn’t very careful about lining it up, or matching my colors, I just sort of went for it all willy nilly. That’s another thing I loved about this. You can’t really mess it up!
I tried to grab varying sizes of paper so it wasn’t so grid-like, but other than that, anything went. After a couple of rows I went back and painted over the overlapping edges to make sure they were sealed and flat. Then I painted another swatch of window.
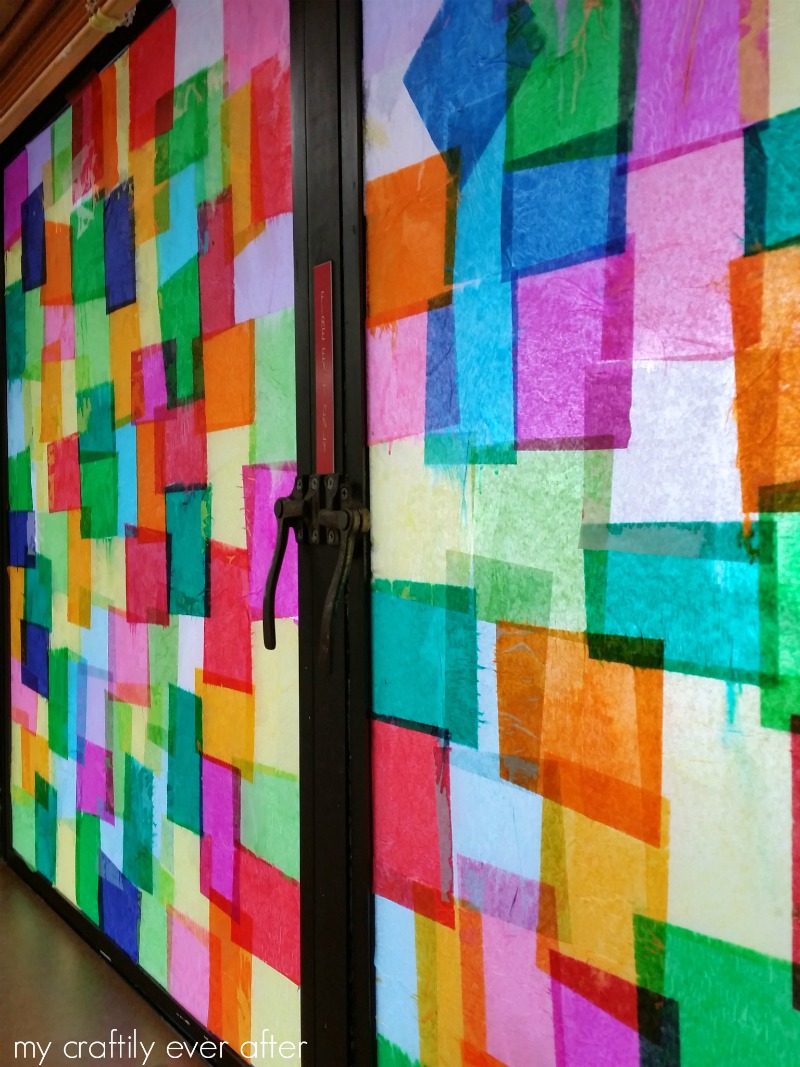
I kept repeating this process until the entire window was done. It took me about 30 minutes per side, so 3 hours total. It was definitely a slower project, but the end result…FABULOUS!
I am so happy every time I walk into my classroom now. Especially since I don’t have to fight those stupid blinds. I’ve already got some ideas for the future, creating a stained glass picture rather than this random block effect. But I figure it will be a couple of years before I want to start all over and try something else.
I am also planning on doing this same technique on our back door. We have a window on the top third of that door and at night you can’t see out, but anyone walking by can see it. This is better than a curtain and it is changeable with the seasons and our styles!

Love this idea. I have neighbors that are too close for my personal comfort, and agree with you aboout blinds.
Am going to try this. It’s beautiful!