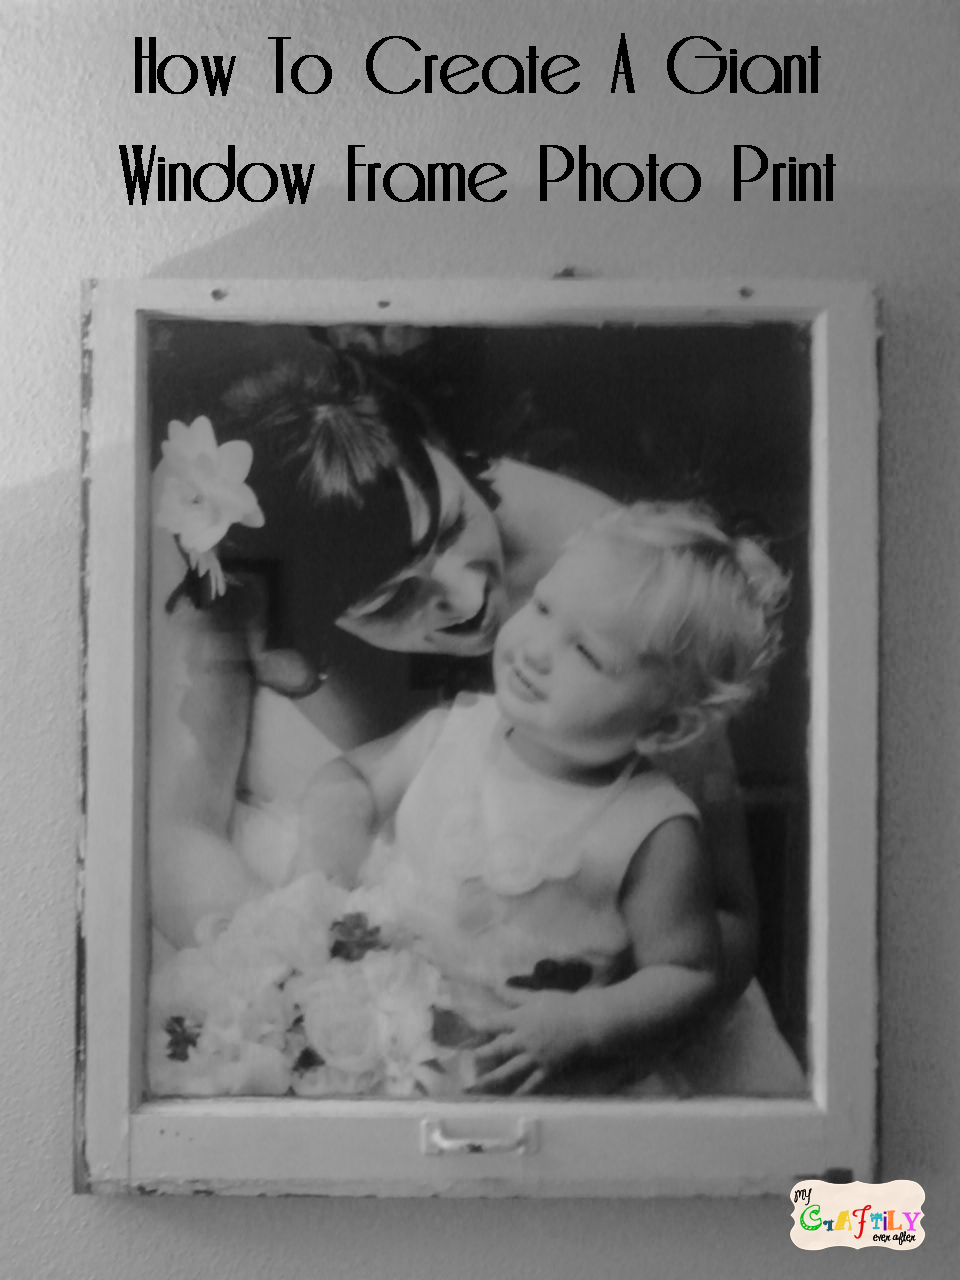
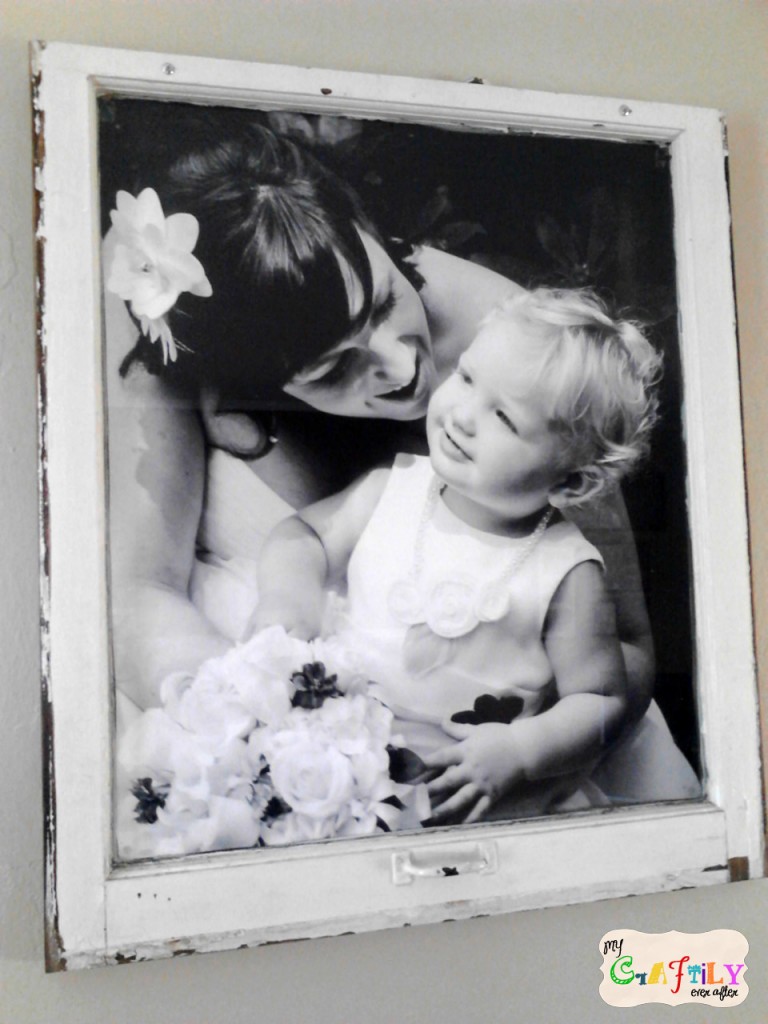
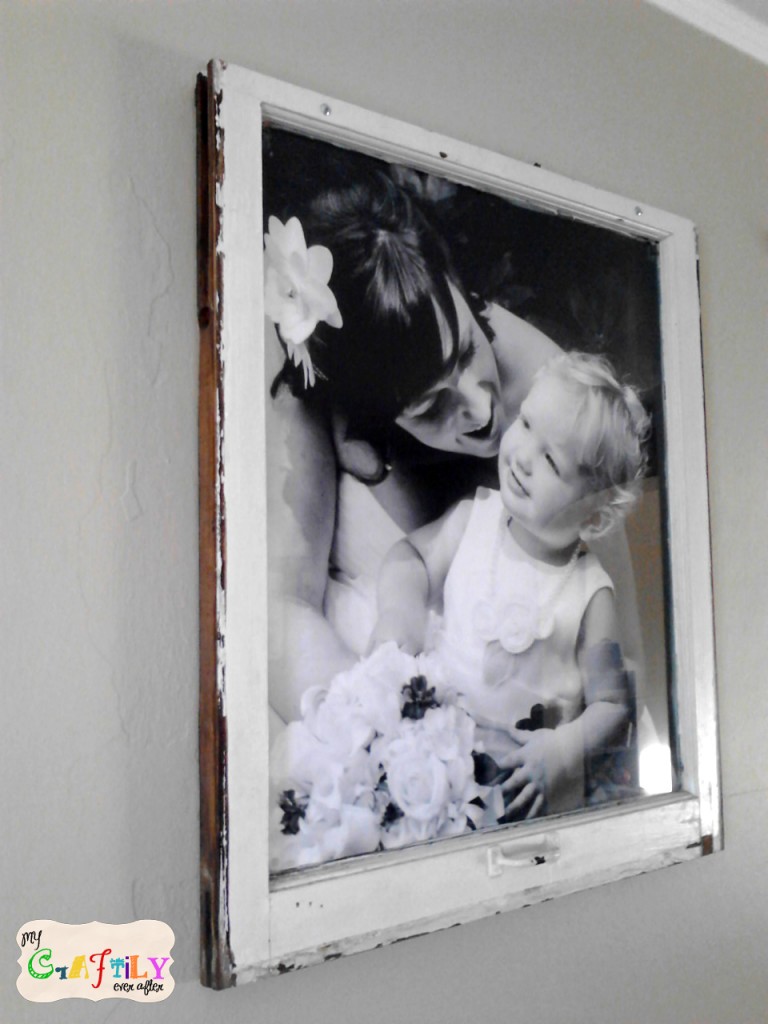
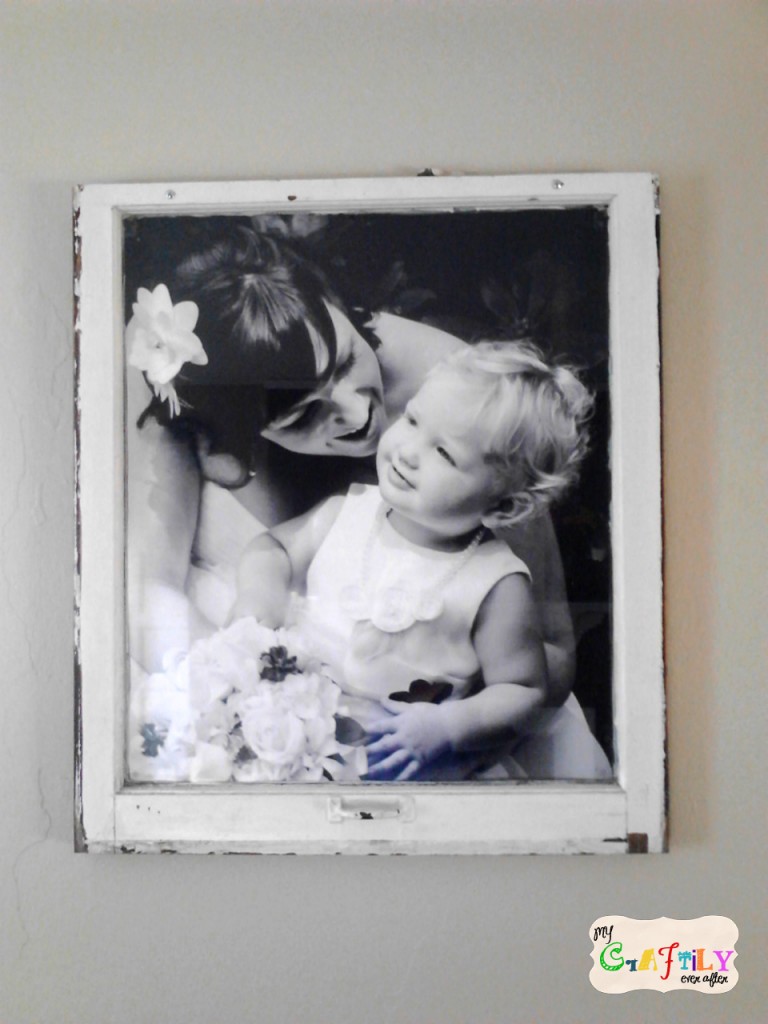
So this window frame photo display has to have been one of the easiest and most rewarding projects I have ever done! It is still the one that gets the most comments from people when they come to our house and it makes me smile every time I see it (which is about 100 times a day)!
It all started off with a post on craigslist where a guy was demolishing his house (built in the 20’s) and was giving away all the wood frame windows! I immediately drove over there and snagged as many as I could fit in the back of my minivan! I got them home and was immediately drawn to the largest one. It had the original handles and knobs and was about 3′ square.
I had seen some really awesome multipane window frames turned into photo displays on other blogs and I loved that idea so I started thinking about what I could do with my frame. Then I stumbled onto this post by Mandy over at Sugar Bee Crafts and it all came together!
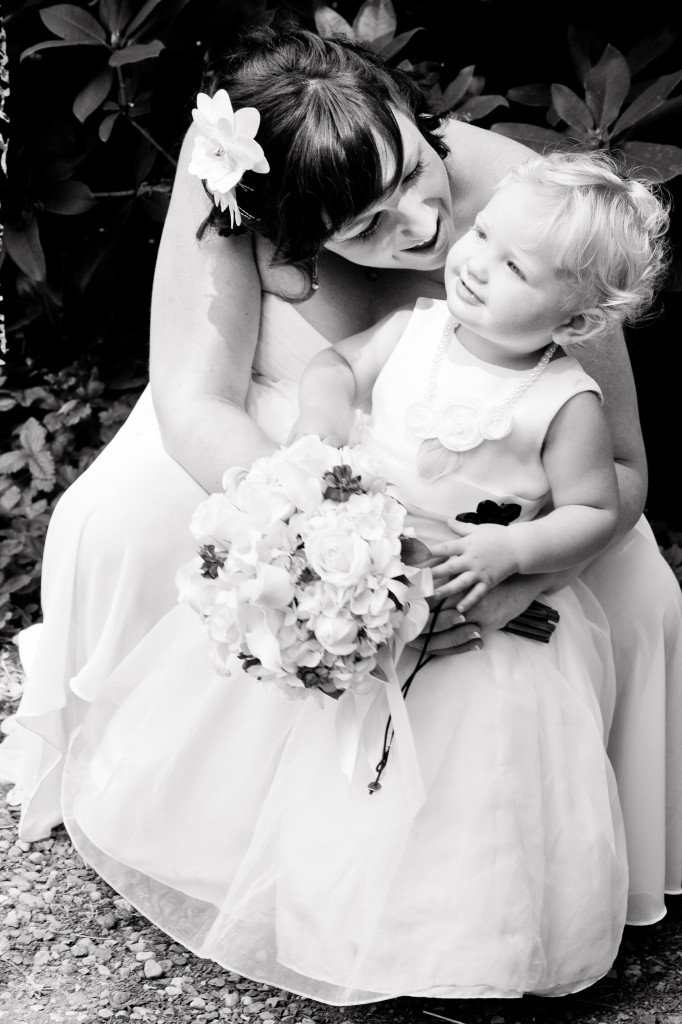
My hubby and I had recently gotten married and I was trying to figure out how to display some of the wedding photos in a way that would stand the test of time and not feel dated after 5 or 10 years. Our photographer had captured what looked like a really sweet moment between my daughter and I getting ready for the ceremony. It was perfect!
I sent it to staples and had it blown up into a 3′ x 4′ engineering print. Now this was the first time I had done this and I have learned some things since then. First you will end up with really obnoxious lines (two of them) if your picture has a fairly simple or plain coloring. However if you use a busy print it will be totally fine! So after the poor girl at staples tried numerous times to get it to print without the lines she ended up giving me a higher quality photo print for the same price. Heavier paper, sharper image and it was perfect. I also have found that if you order your print online and choose the ship to home option (they have free shipping specials often) you get a better quality of print than if you pick up in store.
So I got my print home and laid my print in the frame to get an exact measurement before I cut. Here is where the story takes a drastic turn for the worse. I decided to give my window one last washing to make the glass really sparkle before inserting my photo. I washed the first side and flipped it over and washed the other side. Then I placed my hand on the glass and pushed off to stand up and throw my rags in the wash. My hand went straight through the glass and the window broke into many pieces.
I may or may not have started to cry, not because I was hurt (I didn’t get a single cut) but because I was so close to completing this project and it was ruined. That was the only frame I had in that size and I was devestated. I cleaned up the mess rolled up my print and walked away from the project for 4 months.
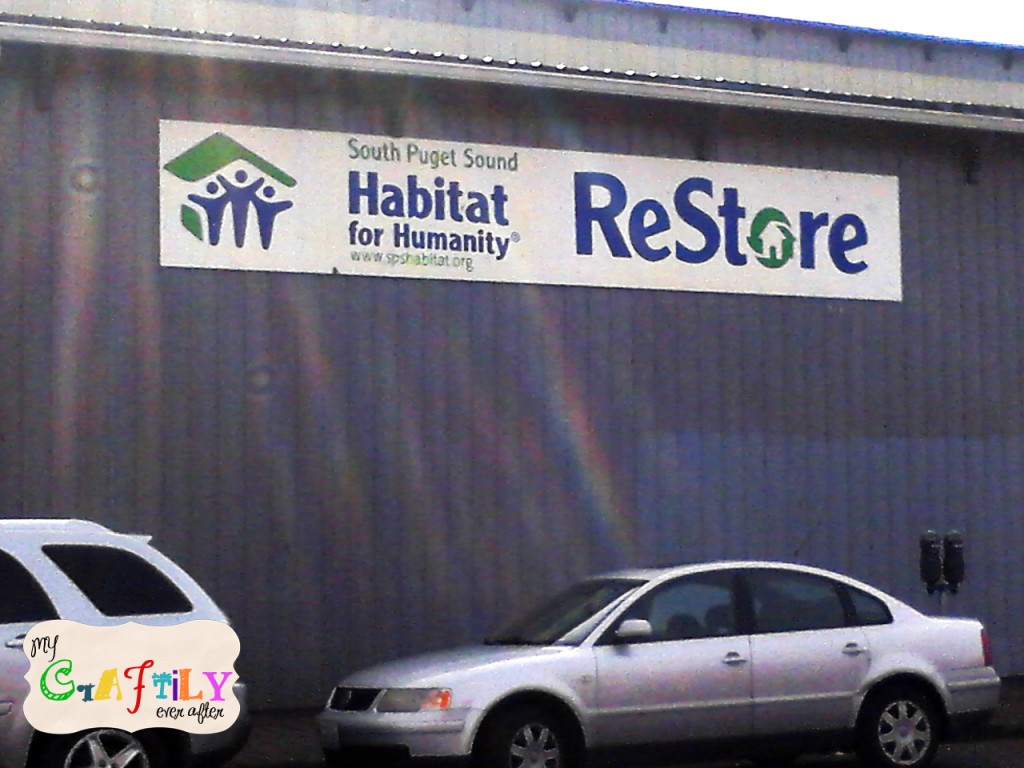
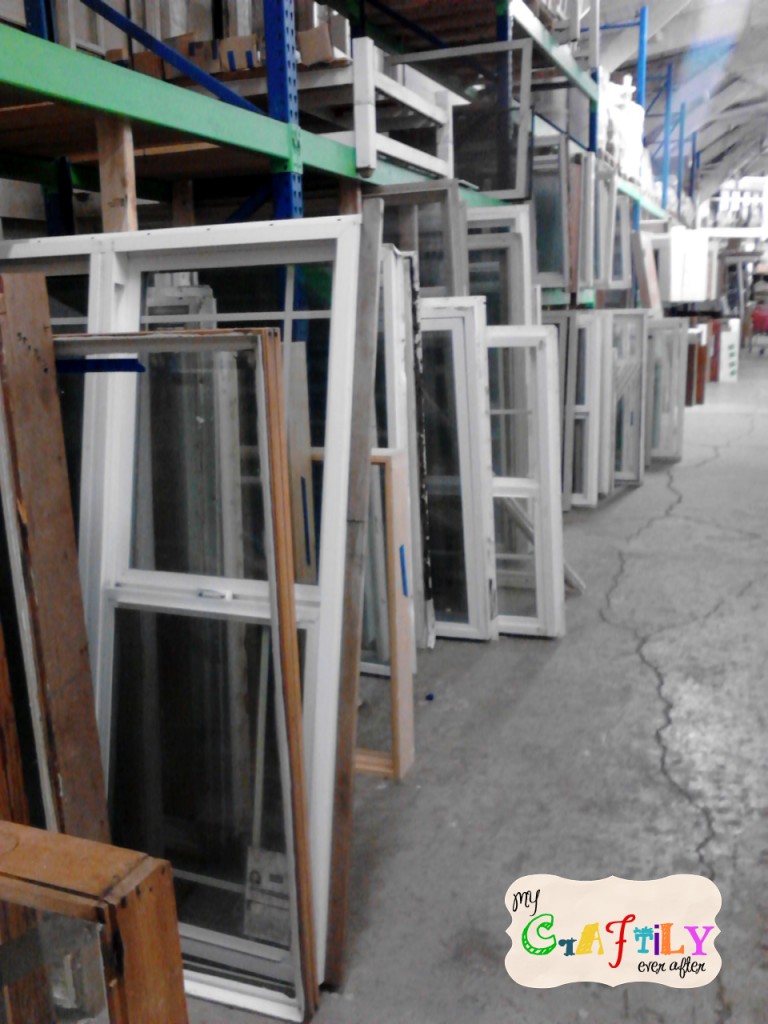
After a while I was ready to start over but I was still windowless. So the hubby and I headed to the habitat for Humanity ReStore. This is seriously one of my favorite places ever. I can’t tell you how many date nights we have spent wandering around the restore! We looked through all the windows and finally picked out the perfect one. It had just the right amount of natural chippiness and a fun handle. It was love at first sight!
I got that bad boy home and VERY carefully washed the glass. I fit my print behind the glass and trimmed of the extra with an exacto knife. Then I couldn’t decide how to attach it, but I ended up using glue dots because they are invisible once the photo is behind the glass and they stick like a dream. The last step was hanging it on the wall! We used some ridiculously long screws on the top and it was done!
It is seriously my favorite project of all time and once you have the supplies it is done in less than 30 minutes! So go “window shopping” and add something special to your walls, then send me a picture so I can see how awesome it looks!

ooh, that is really gorgeous! Wow! I would have never thought to use a window as a frame! Thanks for entering One Crafty Contest!
Thank you!! It is my favorite piece of art in our living room (or our whole house really!). I want to do a bunch more, but then it might lose it’s specialness!!
Love the large size…I bet it makes a beautiful statement on your wall!
it really does! we just got it hung up in our new house and i am falling in love with it all over again!