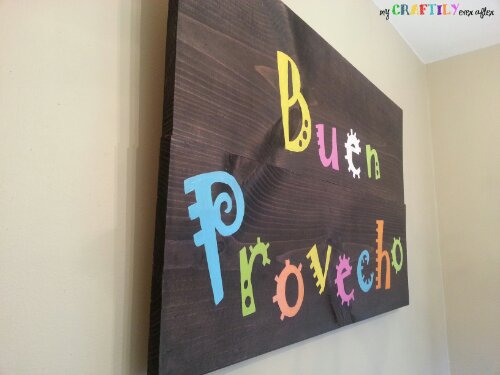
So when I first started this whole dining project I knew that I wanted a big wooden sign hanging in my dining room. I love the look of some of the really distressed ones that are floating around (and pretty much everything Kindra makes over at “At Home With K“, you should go check her out) but I have never purposefully aged or distressed anything so I didn’t want to get to far ahead of myself. Years and years ago when I was a newly single 20 something starting over one of my good friends gave me this sign. It was such a sweet and thoughtful gift at the time and something that still makes me a little sappy! It has been living in our kitchen since we moved in and since we have the fiesta colored chairs I thought it was only appropriate to have a bright and vivid sign to go with them!
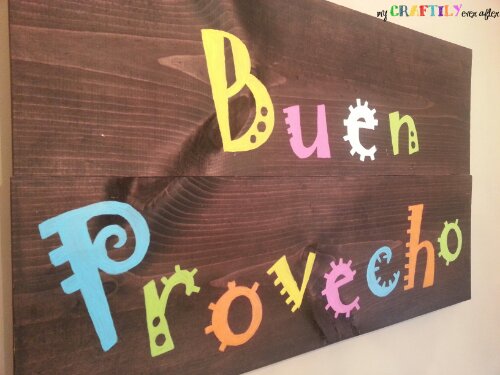
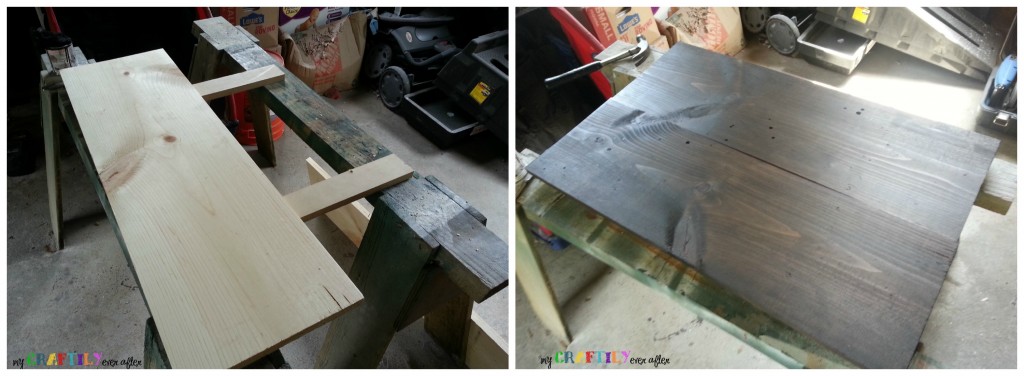
This first thing I did was head to my local Home Depot and buy a 1″ x 12″ x 6′ and then have the sweet guy in the lumber department cut it in half for me. I also grabbed a piece of wood from the damaged lumber bin and have it cut down to the size I would need for the back supports. The scrap lumber area is great because you can get wood for $0.50! I love a bargain and it doesn’t get much better than that!
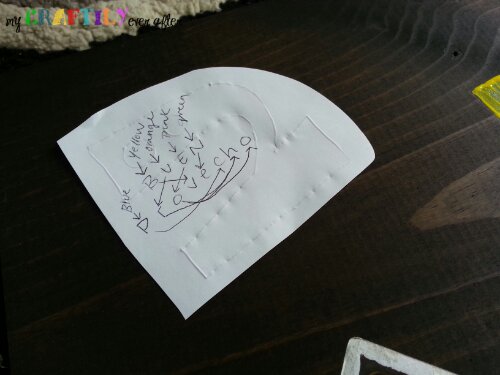
Once it was nailed and stained it was time to get theletters on it! I started off by opening a word document and writing my saying out. I knew I wanted the letters to be about 8″ tall so I increased the font size until they fit the whole page in landscape! I printed them out on regular paper and then used this awesome technique to get them transferred onto the wood. I simply traced over the outline of the letter with a pen, which left a groove in the wood that I could follow with my paintbrush! It was kind of hard to get a picture of the groove, but I tried!
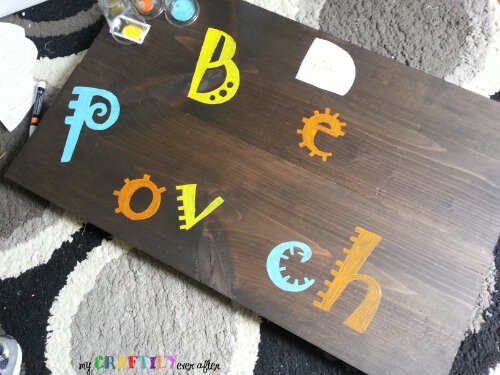
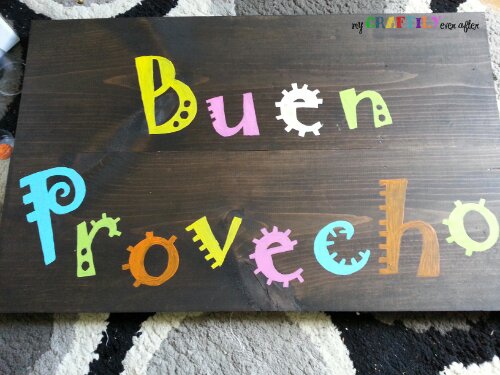
 Once they were all laid out and traced onto the wood I wrote the whole thing out and assigned colors to each letter. I wanted the sign to mimic the colors I already had on the chairs. Of course despite my best intentions I totally messed up on the second letter and so I just sort of winged it after that! I used regular old craft paint to do the letters (it comes in about a million colors) and it took about 3 coats to get it as bright and opaque as I wanted.
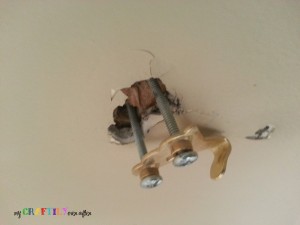
Once the words were dry I got started on the hanging. I might have mentioned before that we have plaster walls in our castle house , which is not something I have ever had to deal with before. They make hanging anything super challenging and because the sign was fairly heavy I knew it was going to need to be hung with toggle bolts. Now here is where things got ugly, and if you follow me on instagram you already know that I had a moment filled with tears and heartache when my picture hanging device punched a hole through the wall and looked like this.
But my dear sweet hubby came along and wiped my tears away and fixed it all up so that my sign could hang proudly! What do you think? I am in love with it and now my kids like practicing their spanish at the dinner table!
