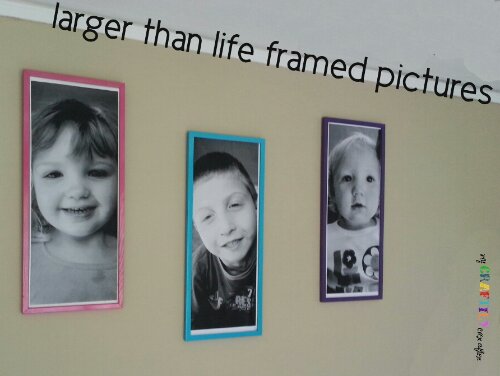
You all might not know about my secret love affair with staples engineering prints, but after this post the cat will be out of the bag! Staples engineering prints are black and white printings done on a thin white paper. You can get them anywhere from 18″ x 24″ all the way up to 36″ x 48″. For under $8, that is huge! These are the perfect thing for a bold statement piece (or 3) in your home.

For this project I needed a solo picture of each of my kids. I wanted them to mostly be face shots so I could capture as much of their personality as possible. Once I picked my photos I cropped the background out and left myself with a tall skinny photo of each child. My frames are 12″ x 30″ (i measured them after the fact, do yourself a favor and measure yours first!) so I could fit two photos per print…I’m always looking to save a buck! I opened up a photoshop image and got my images to the right size and aligned on the page.
Now that that part is done the rest is easy. Upload your pictures to staples. com and order your prints! I usually pick up in store (I don’t want to pay shipping) and I make sure to check the calendar so I don’t get charged a rush fee. You can also put your images onto a USB drive and bring them into the store.

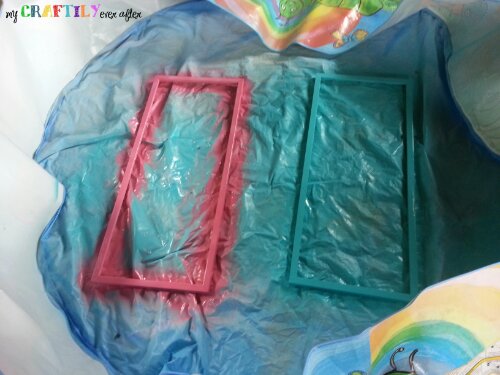
while i was waiting for my prints i got my frames all painted. The frames I chose to use were these multi opening collage frames. However you can use whatever you have on hand or can pick up at the thrift store. Personally I think these would also be cool in some mis matched vintage frames or even stuck to the wall with a washi tape frame! So I had these three frames, one was already purple but the other two were black. Because these prints were going in my kids play room I wanted them to be bright and colorful so I decided to use some of the leftover spray paint from the dining room chairs.

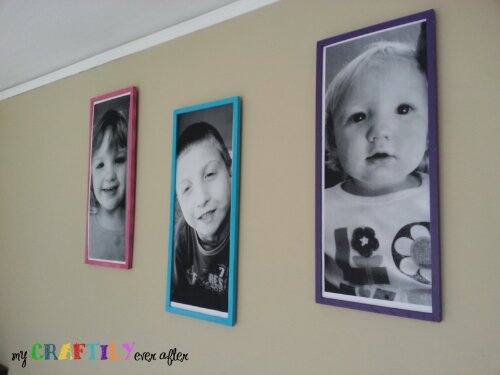
Once your frames are dry and you get your print home you are ready to go! Go ahead and cut your pictures out. Then it’s as simple as putting them into the frames. My kids play crazy, always throwing toys and balls and all sorts of stuff so I removed the glass from these just in case they knocked them of the wall they wouldn’t break! Once your prints are in the frames is simply a matter of finding the prefect spot for them. I was never going to be able to get them straight so I went ahead and hung them asymmetrically. I like it better that way for these pictures, but if you had a group shot you could put each child in their own frame and butt them together to create a cool look.

