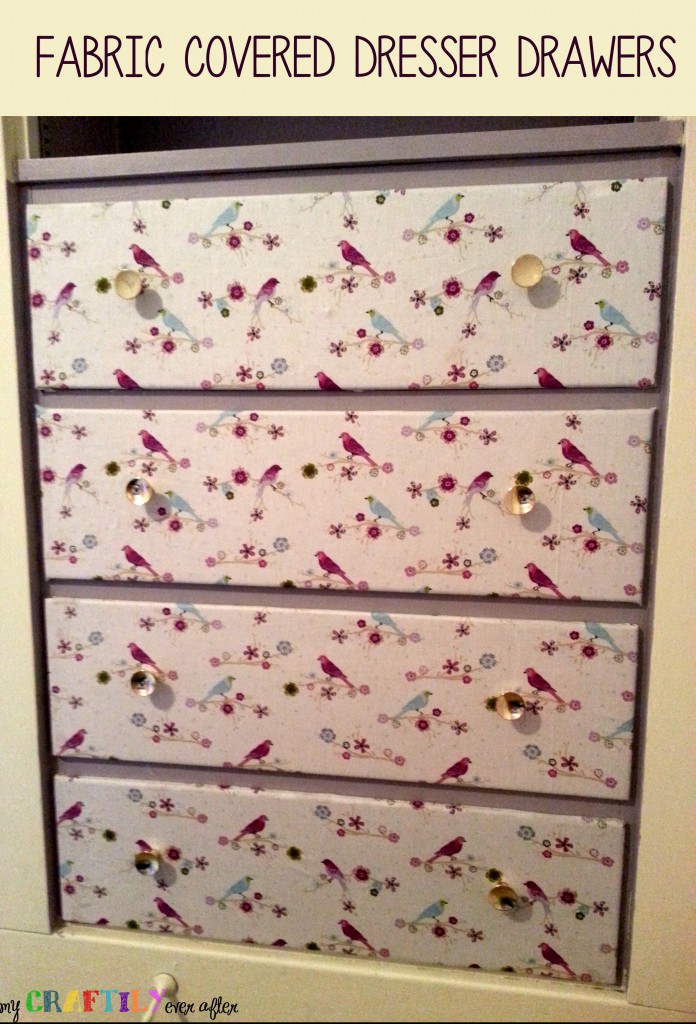
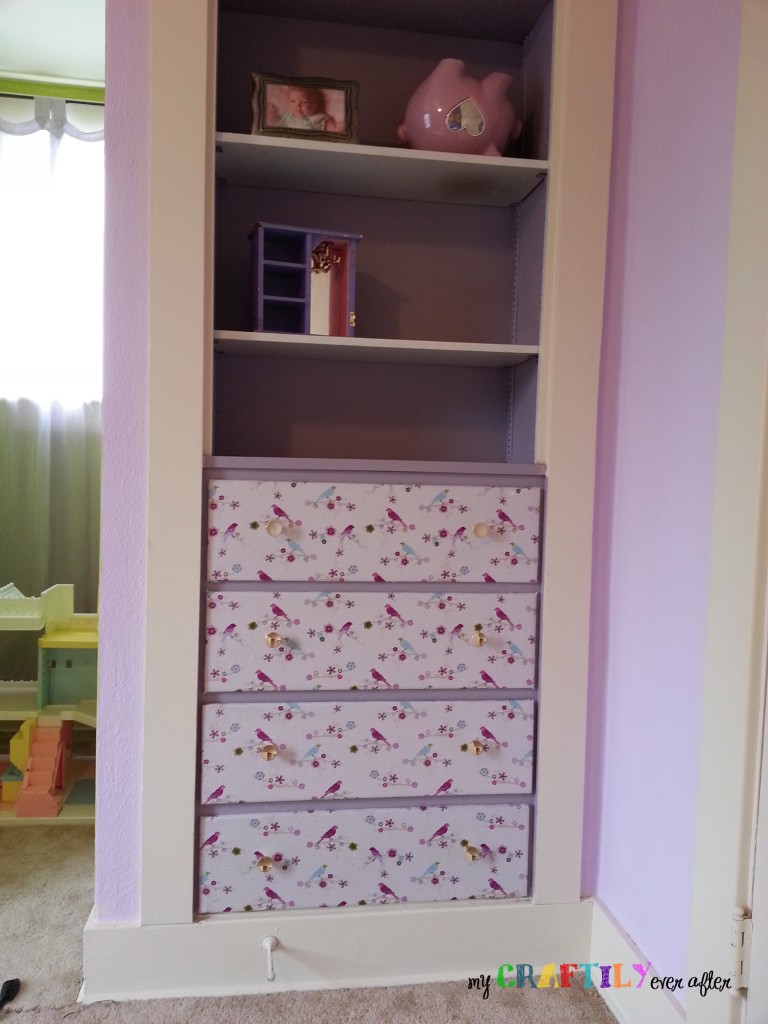
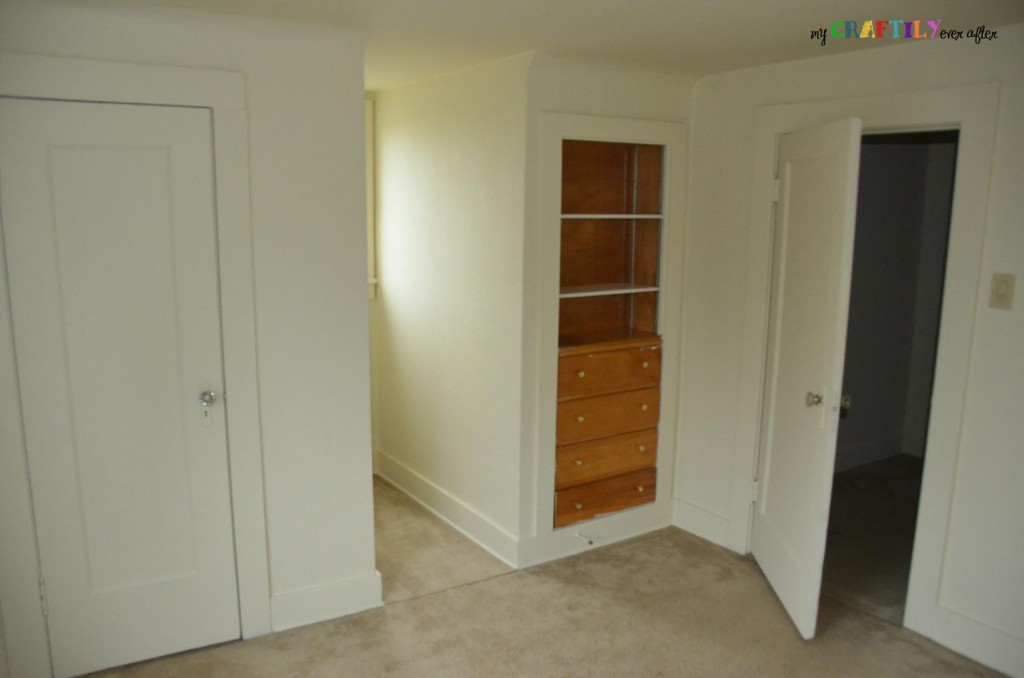
One of the best parts about living in an old house is the fun built ins that usually come along. We have some great ones in or living room, but our middle daughter has two full built in dressers in her room! One of them is in her closet (it holds all of her dress up clothes) and one tucked away behind her door. This is the one that holds all of her regular clothes. After I painted her bedroom purple the old wood totally stood out and not in a good way. It wasn’t super high quality or pretty wood so I had no problem painting the outside edges and backing a darker shade of purple. I knew that I wanted something light and girly on the drawers, and I almost painted an awesome stencil design on them, but at the last minute decided to do fabric covered dresser drawers.
I took all three of my kids with me to Joann’s (which is always a recipe for trouble) and after spending an exhausting hour looking at fabric narrowed it down to a handful that I liked and would match the colors in her room. I let my daughter pick the one she liked best from those and bought a yard and a half. Attaching it was a little tricky only because i had to find a quiet time when she wasn’t in her room so that I could work through uninterrupted without little hands getting in the way.
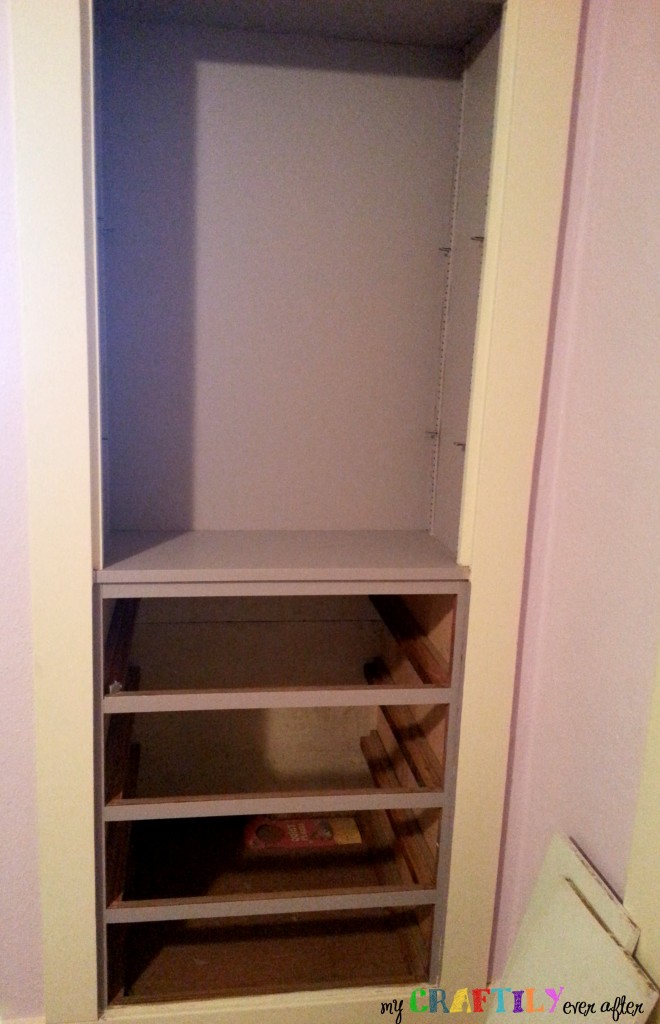
First thing you do is get a rough measure of the width of the drawers and then rip the fabric to that width. You want it to end up about 2-3 inches wider than the actual width of the drawer front. Then pull the drawers out, unscrew the knobs and set them aside. Now you will need to get a rough measure of how high you want your fabric (I just held the fabric up to the drawer and eyeballed about 2 extra inches) and cut it off. Then spray the drawer front very liberally with spray adhesive and let it set up for about a minute to ensure a really long lasting stick. Originally I was going to use mod podge or liquid starch but I didn’t have any starch on hand and it seemed more cost effective and faster to use the spray adhesive than mod podge. Now lay the fabric onto the drawer front and smooth it out starting in the center and working outward. I just used my hands and they seemed to do the trick. If you are worried about bubbles you could use a credit card to get a smooth finish as well.
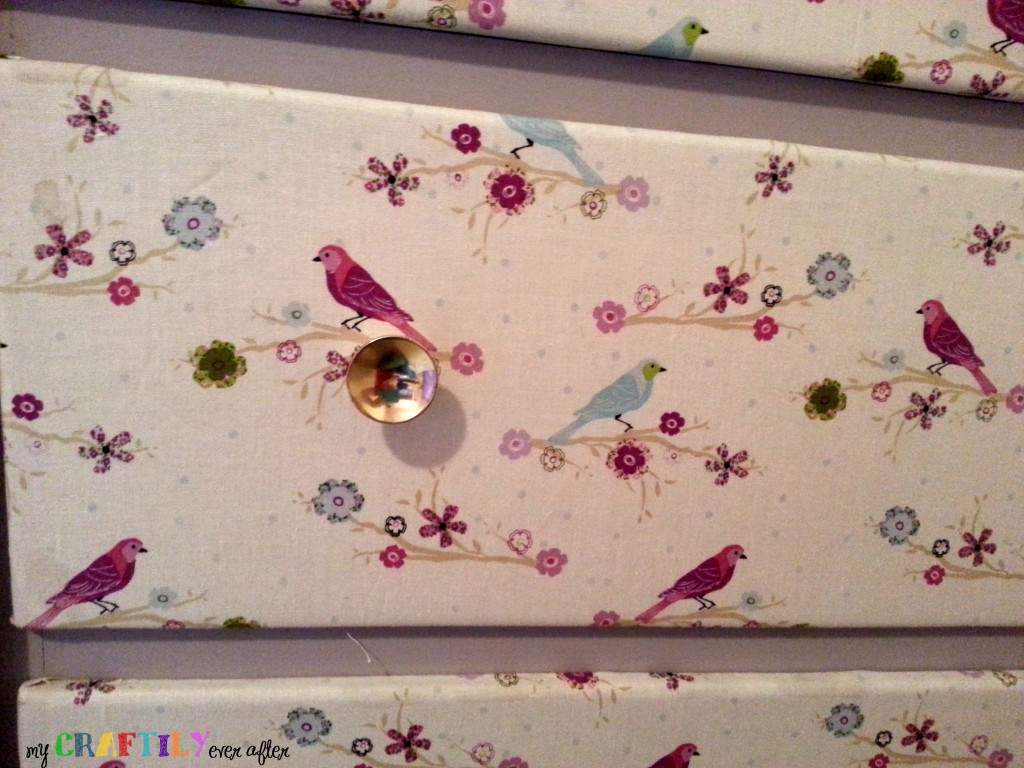
Once the front is secure, flip the drawer over and start wrapping the fabric over the edges like a present, making tiny cuts on the edges to get it to lay flat. Again you will spray the adhesive onto the wood, let it get tacky and then press the fabric into place. Once the drawer is fully covered take an exacto knife and make a small hole where your knobs go. Feed the screw through the hole and into the knob and tighten. Repeat this process for all of your drawers. Return your drawers to the dresser frame and stand back and admire your work!
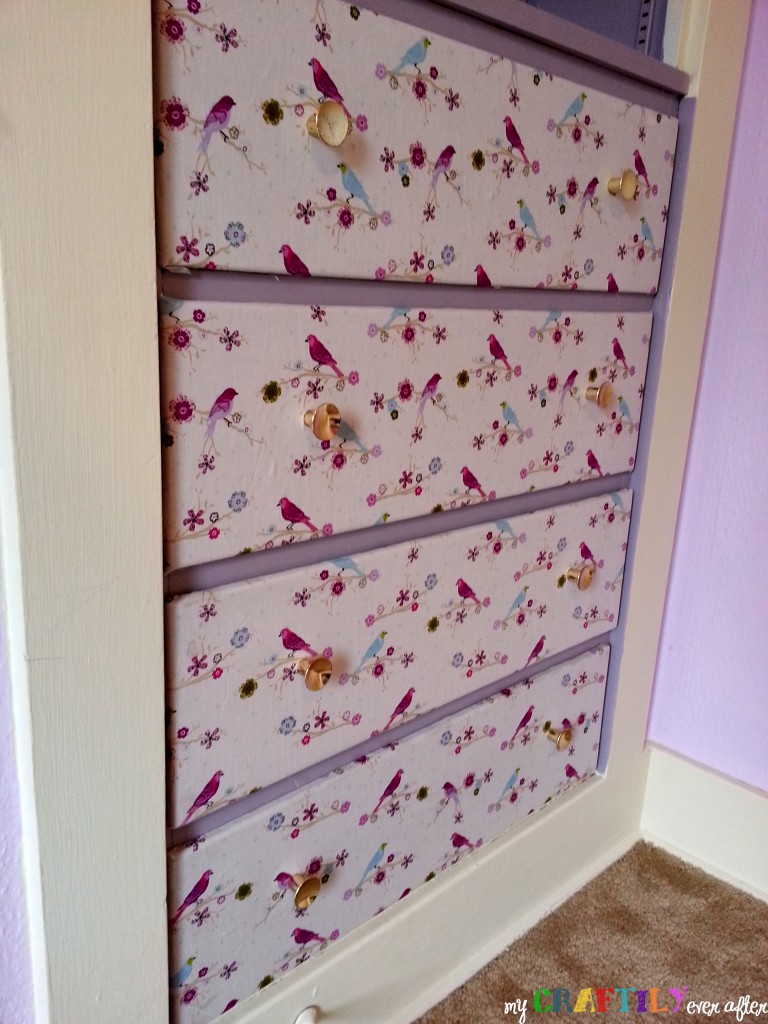
Originally I was going to paint the knobs a bright green, but I decided that by leaving them the original color the material really stood out more. You could easily do this to any furniture that has drawers. I used a similar treatment on a dresser in my craft room that holds all my fabric. It is super versatile and very quick. This whole process only took me about 45 minutes start to finish.
