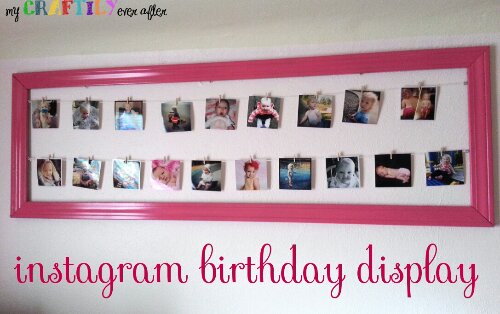
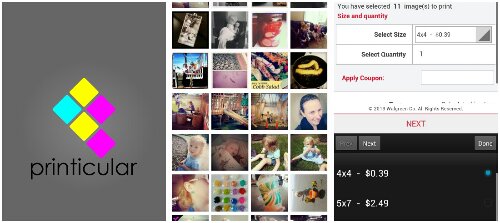
When Laura from printicular approached me and asked if I would like to share a fun project using my instagram photos I was like “YES!” They offer a great service which allows you to print photos directly from your phone to any Walgreens. And the don’t only offer instagram prints, you can order regular photos in a whole bunch of sizes too! I was super excited to order some pictures of my littlest girl since she just had a birthday last week. I thought it would be fun to display some pictures of her along with a more traditional banner.
The first thing I did was weed through 2 years of photographs on my phone (over 1600 pictures!) And pick out my favorite ones of her over the past couple of years. I simply selected them and then added them to my cart. 1 hour later they were ready to pick up. I brought them home and reveled in their awesomeness…I love Instagram and having instagram pictures I can hold in my hand is amazing!
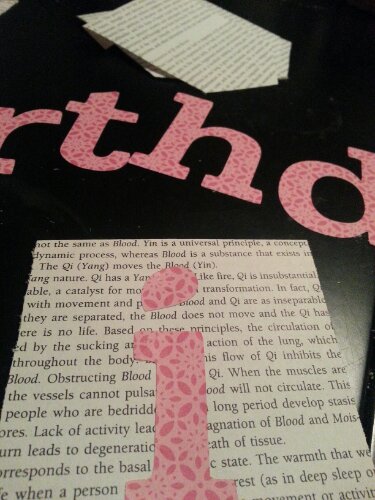
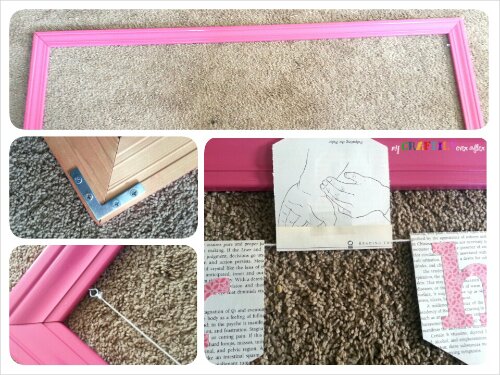
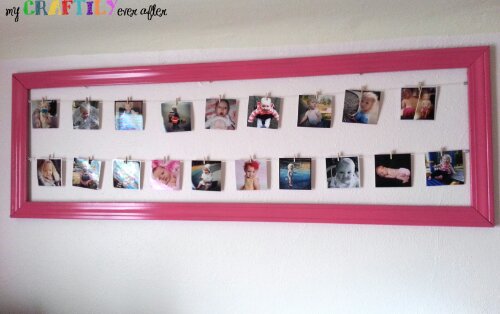
For the display part I made a ginormous frame out of crown molding just like I did for my giant framed engineering print. Only this time I used the right hardware to frame it together! This baby is solid despite the size (almost 6′). After it was firmly attached I took it out and spayed it with the same hot pink paint as last time. I let it dry overnight and got busy cutting out my banner and letters. For the letters I used my Slice machine. I have had this machine for a couple of years now and I use it sporadically. It took some getting used to, and it definitely has some quirks but for my needs it gets the job done! I used the standard font and cut out 4″ letters to spell out “Happy Birthday”. Then I tore some pages out of an old Chinese medicine book my hubby donated to the cause. There was no real formula to how I sized the banner shapes, I simply held the biggest letter on the page and eyeballed what would look best. I then used that one as a template to cut out the rest. I used this
amazing cutter that I have had for seriously a decade. I use it for almost everything, almost every single day. I’ve never had to buy a new blade and it still works good as the day I bought it! Once they were all cut out I used a glue stick to attach the letters to them in and let them dry overnight.
Once everything was dry I got started attaching my hardware for hanging .I used tiny eye hooks and pain white yarn. I simply screwed the hook into the inside edge of the frame and tied the yarn onto each side making sure to pull it very tight. Then came time to attach the banner. I simply slipped the yarn into the folded part of the banner shape and taped it down.
Once the banner was mounted onto the board it was time to hang a second piece of yarn to hold the pictures. Once again I eyeballed this measurement, screwed in the hooks and tied on the yarn. then it was time to hang some of those awesome instagram photos with teeny tiny clothes pins.
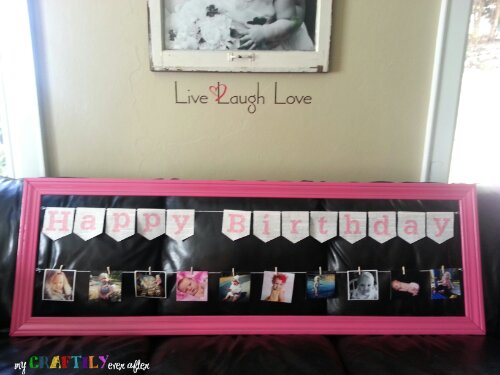
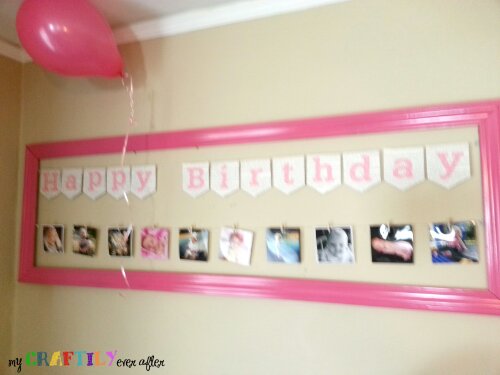
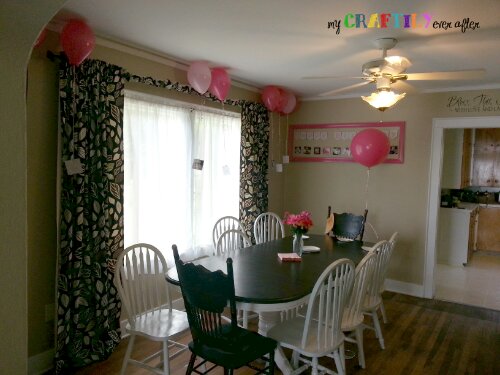
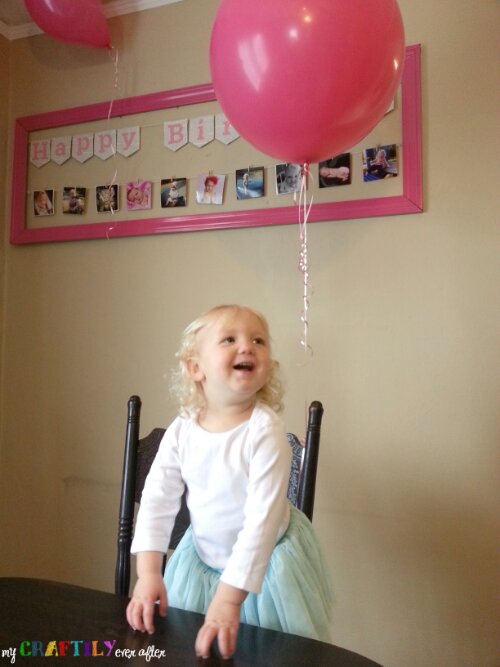
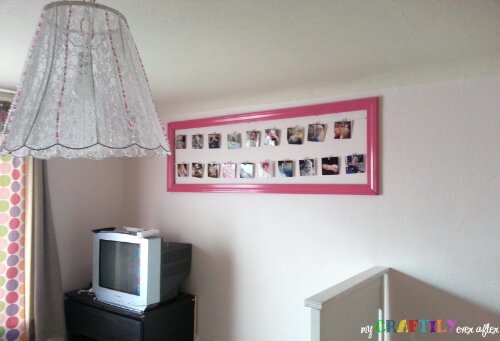
All in all it was a pretty quick and easy project to do, and it made a HUGE impact and was a giant wow factor at my littlest’s birthday! It is now hanging up in her bedroom for her to enjoy. The best part is that it is super quick and easy to change out the photos as she gets older!

this is seriously adorable, I am pinning to my birthday idea board for sure! Isn’t fun to go through pics of the little one? I can easily end up spending hours and hours. I better get busy, my son’t birthday is in March- HA!!
i think the hardest part of this project was picking the pictures… I would love you to share yours with me if you make one!!