This was a project I started on a whim and I fell in love at the first brush stroke! We bought our house earlier this year and it is full of fun vintage features. We have lots of built in dressers in my daughters room, fun built in shelves in our living room and a funky old ironing board closet in our kitchen. I am not about to start ironing (let alone in our kitchen) so this will eventually get turned into a broom and mop closet, but for the meantime it needed prettying up. Our whole house had been updated before we moved in with the exception of the kitchen. It’s definitely on our list of things to do, but it is a MAJOR project so it is totally going to have to wait! I painted our fridge with chalkboard paint right after we moved in and my kids love drawing on it while I make dinner and I love leaving fun notes and messages on it as well. A few years ago I made a picture frame dry erase menu board, but I hadn’t been using it much and I knew it was time to rethink that idea. That’s how this project was born.
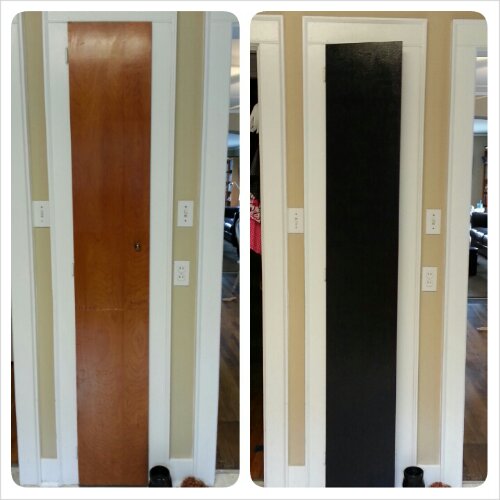
The first thing I did was paint a couple of coats of chalkboard paint onto the door. As soon as I started I knew it was going to be perfect! In fact I loved it so much that it stayed just like that for a few weeks months! I kept waiting to figure out a font I liked and sizing for the words so that I could order them from my good friend over at Quote Krazy Vinyl Lettering. In the meantime, while I was still debating I read a few tutorials about using contact paper instead of vinyl. I don’t have a fancy Silhouette machine (yet), but I do have a Slice machine. It doesn’t allow me to cut out any word I want, but I can cut out individual letters. I decided it was worth a shot and since contact paper can be purchased at the dollar store, it was a project I could attempt with very little monetary risk! I went ahead and picked up a roll of white contact paper and got cutting!
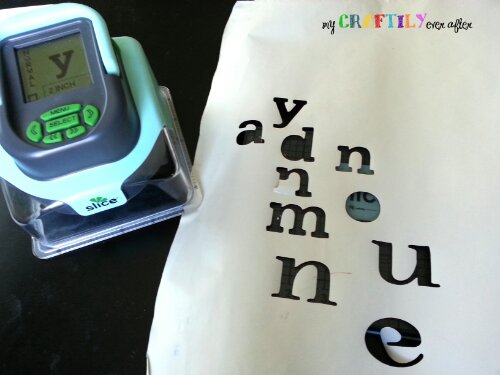
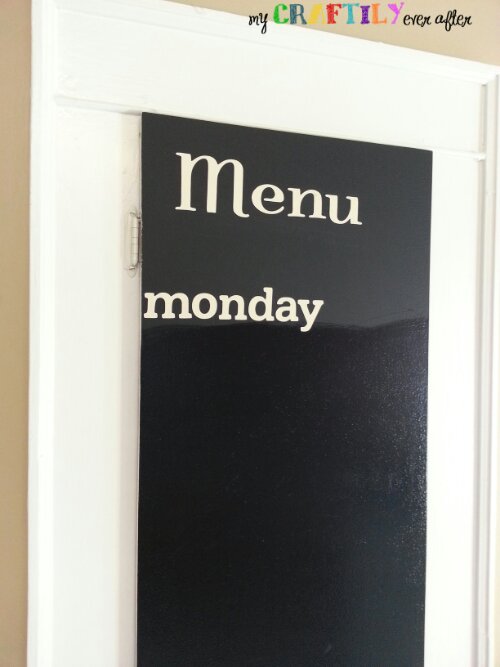
I decided to do just the first couple of words and let my hubby give his opinion, because I didn’t want to waste all that time and energy if he was going to hate it. So I cut out Menu and monday and waiting for him to get home. Luckily he loved it was much as I did and so I went ahead and cut out the rest of the letters and got to sticking them up.
I did not use a level or any other tool to keep my words straight so I am sure that they are a little wobbly, but I think that adds to the charm. It has been a really great instrument in keeping me focused and on task as to what I am making for dinner and also really helps my grocery shopping trips since I am not trying to meal plan at the store!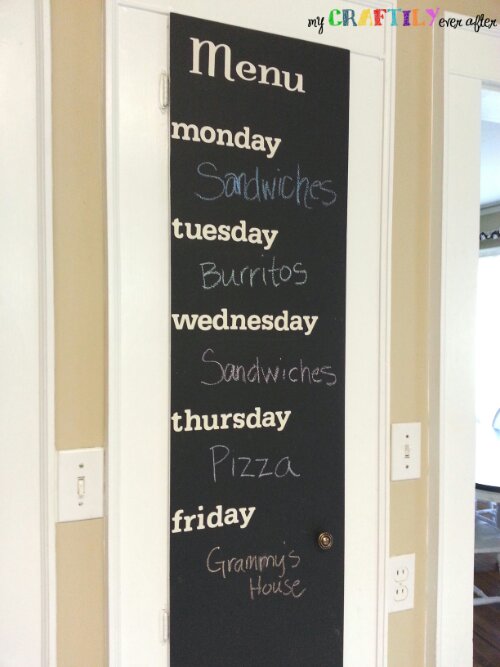
And now it’s time to PARTY
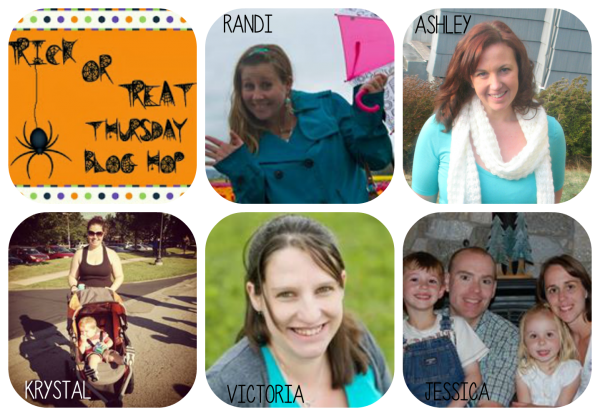
I have teamed up with four lovely ladies and we are hosting a link party for you to share all your seasonal goodies! So go check them out and share what you’ve been up to!

1. Randi’s pick: PVC pipe witch crashing by The Tip Toe Fairy
2. Jessica’s pick: Yarn Candy Corn by Play Party Pin
3. Victoria’s pick: Peek-a-boo ghost by Crafty Journal
4. Krystal’s pick: Halloween Drink Bottles by Play Party Pin
5. Ashley’s pick: Halloween card by Paper Seedlings
Please read and follow the rules before adding your link.
1. You may link up as many projects as you would like. They need to be YOUR creations and projects.
2. Link directly to your post and NOT to your main blog.
3. Please no giveaways, promotions, items for sale, roundups, or posts that do not belong to you.
4. Please make sure to click and check out the other projects linked up!
*By submitting your link you are authorizing me to post your projects and pictures as a feature and on various social media websites along with links to your post. I have the right to delete links that do not adhere to the rules.

I am somehow just now seeing this so just wanted to thank you for featuring my yarn candy corn and Halloween drink bottles. You’re inspiring me to start crafting again in January. 🙂
Yeah! I can’t wait to see what you come up with! Make sure to come link up to our Awesome Things Tuesday party!