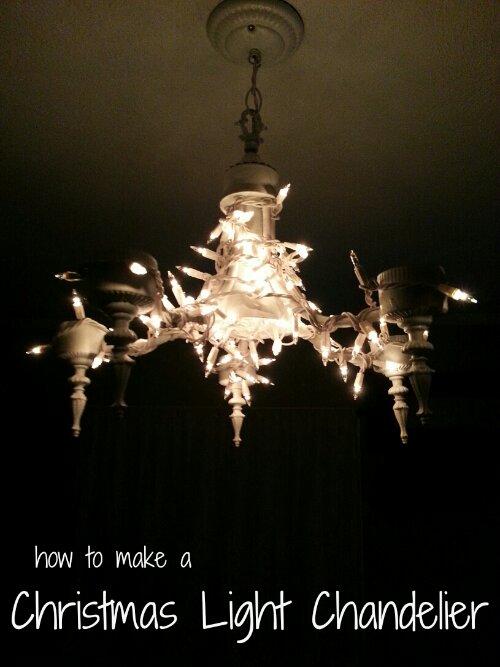
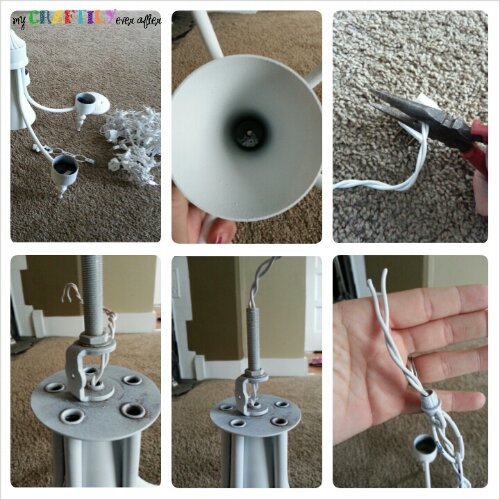
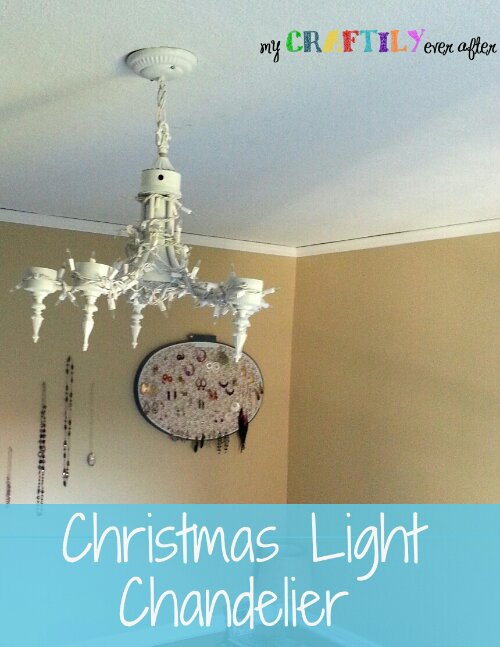
This project has been on my list for a long time and it did not disappoint! I gave you all some spoilers on my instagram feed, but nothing compares to seeing this beauty in real life! This project started with a rusty, dusty chandelier I found at our habitat store for $3. I had been wanting to make a Christmas light chandelier for a long time but couldn’t convince any of my friends to let me put one in their house (or my hubby either for that matter). I finally decided to just bite the bullet and make one for my craft room. I started by removing the bulbs and taking the whole thing apart. I then cut out all the wiring and stripped it clean. Once I was left with just the structure I took some metal snips and cut out the inner structure of the light bulb holder (I don’t know the real name) and rubbed the whole thing down with steel wool to get the rust off. Once all the dust was brushed off I gave it a couple of coats of semi gloss white spray paint.
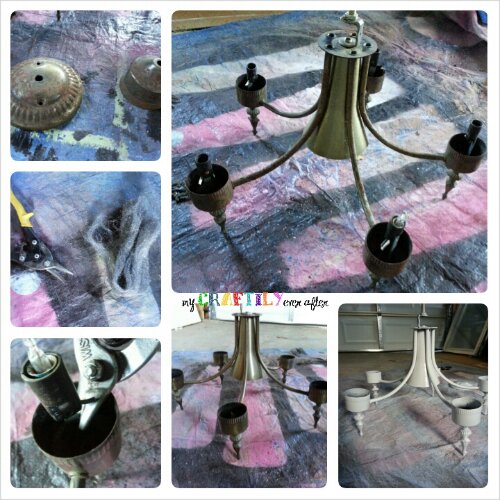
When the paint was finally dry I set about adding the Christmas lights. The first step was to cut the plug side with some wire cutters. This is by far the scariest part because once you do this there is no turning back! Then you feed the wires through the opening in the bottom and up through the “stem” of the light. Using wire strippers cut off the last inch or so of the wires to expose the copper inside.
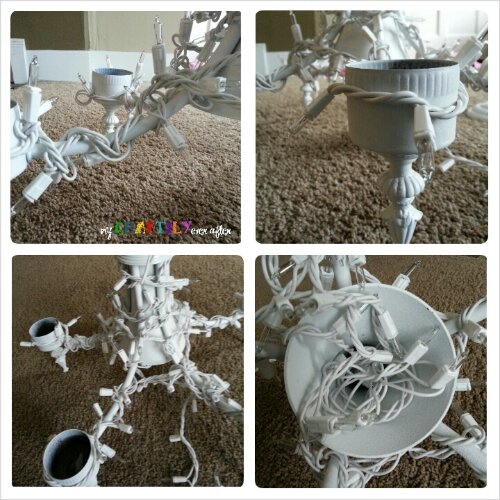
Then you wrap the lights around your chandelier frame in whatever way makes your heart happiest. I chose to wrap them around the arms and the ex-light bulb holders and then back around the arms. Once I had wrapped all five arms I still had some lights let over. I decided to put them all inside the opening on the bottom and used some white ribbon to tie them in place (you can’t see it at all).I then re-attached the rest of the top pieces and fed the top wires through the chain. At this point I was ready to hang it.
Here is a handy trick for you, when you are changing a light on a switch, you only need to make sure the switch is turned off – not the whole breaker. When the switch is flipped off there is no electricity passing through to the fixture so you will not get electrocuted! When you remove whatever light is already hanging in your room you will find (in most cases) something that looks like this. There will be a junction box and sometimes there will be a cross bar, sometimes a ground wire, but always a hot (black) wire and a neutral (white) wire.

In most lights that you buy the light itself will also have a hot and a neutral wire and they will also be black and white. However, in Christmas lights the wires are not color coded so you will have to guess. Now I don’t have any pictures of this part because I was hanging a light on the ceiling by myself so bear with me. You will want to wrap one of the Christmas light wires around one of the ceiling wires and then slip them both into a wire nut and tighten the nut until it is firmly attached. Repeat that process with the other set of wires. Once this is done you will want to check and see if you guessed correctly. Unfortunately the wire nuts alone are not strong enough to hold the weight of your chandelier so you will either need someone else to flip the light switch or you will have to attach the ceiling cap into the junction box and test it yourself. If your lights turn on when the switch is flipped congrats you guessed correctly! If they do not turn on you will need to reattach the wires on the opposite sides. Once you have working lights you simply attach the ceiling cap onto your junction box. Using the same screws that you removed when you took down the old light, screw through the holes in the ceiling cap attached to your light into the screw holes in the junction box in the ceiling. This part can often evoke a lot of swearing if you can’t get your eyes high enough to see where you are screwing so save yourself some frustration and make sure your ladder/stool/climbing tool gets you high enough to see inside the ceiling cap. Once you get those two screws in and tightened up your are done! Congratulations, you just hung your awesome Christmas light chandelier!
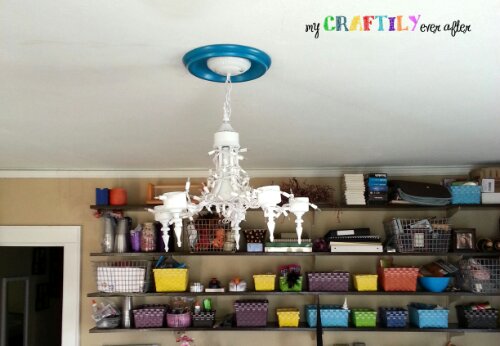
Now originally I hung this in my craft room and I hung an awesome drum shade light in my bedroom (I also hung a ceiling fan/light with my hubby’s help but that is another story) but the light from the Christmas lights wasn’t bright enough to work with and my hubby and I agreed that it would look much better in our bedroom. So I took them both down and rehung them in their new rooms. They are both perfect and I am so in love with the romantic lighting in our bedroom! What do you think?
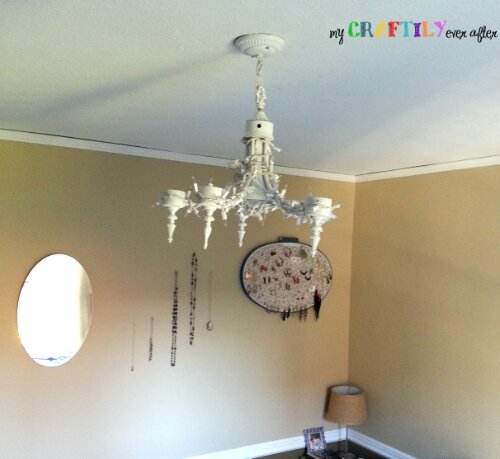
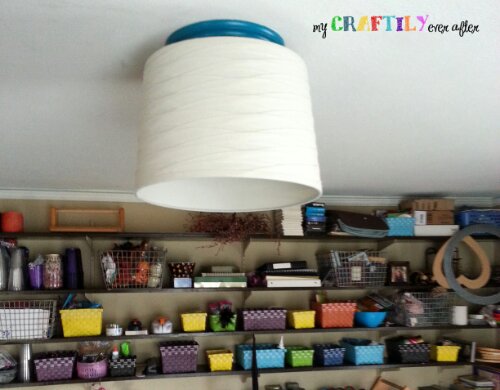
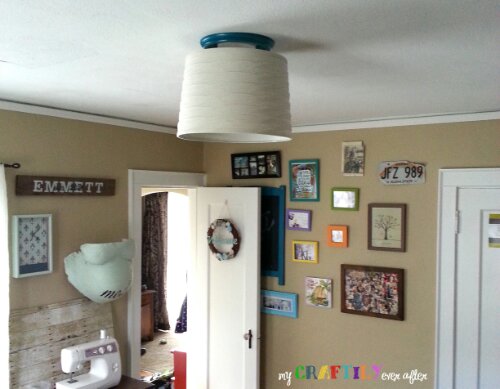
And here are a couple of pictures of my drum shade light in my bedroom and in my craft room (ignore the mess!)
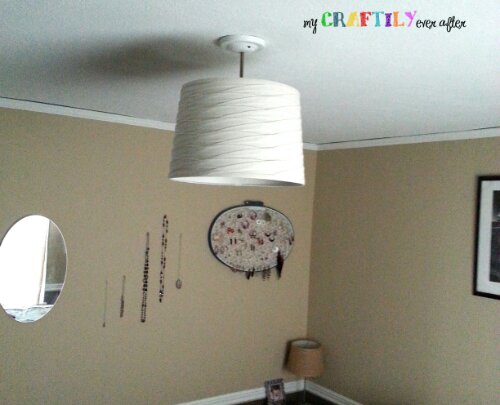
And in case you were wondering yes I changed the length of the rod before hanging it in my craft room. I wanted it to give off as much light as possible so I hung it ridiculously close to the ceiling!
