Disclaimer: I received product and compensation for this post. All opinions are 100% mine.
Okay folks,brace yourselves. This post is amazing and will probably leave you with your jaw on the floor. I say that mostly because I am still in a little bit of shock over how this whole thing turned out. Now prepare yourself, the before picture is about to burn your retinas!
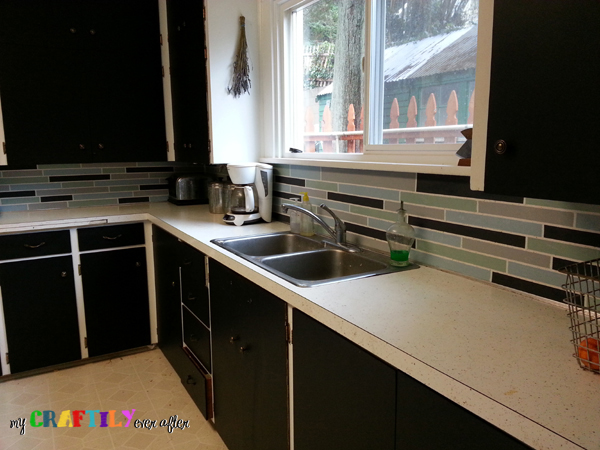
A couple of months ago I had a wild idea to paint the back splash in my kitchen with the amazing herringbone shuffle stencil from Royal Design Studios. Unfortunately they do not make a furniture sized stencil in that pattern. I was pretty bummed about that fact, but after looking at a ton of back splash ideas online (and talking it over with the hubby) I decided to go with a faux glass subway tile design. The amazing back splashes painted by Sawdust & Embryos sealed the deal and I set about getting some chalky finish paint from Americana. This paint is carried at Home Depot and there are so many upsides. The best part about using a chalky finish paint is the absolute lack of prep work involved in making something amazing. I was worried about which kind of primer I was going to have to use, and how I would get the paint to adhere and be durable over the ugly laminate that we already had. The chalky finish paint doesn’t require any primer and can be applied directly over almost any surface and stay like a champ! Sidenote: after the before picture and before this project I painted all the cabinet doors with an eggshell black paint. Two coats, no prep- amazing!
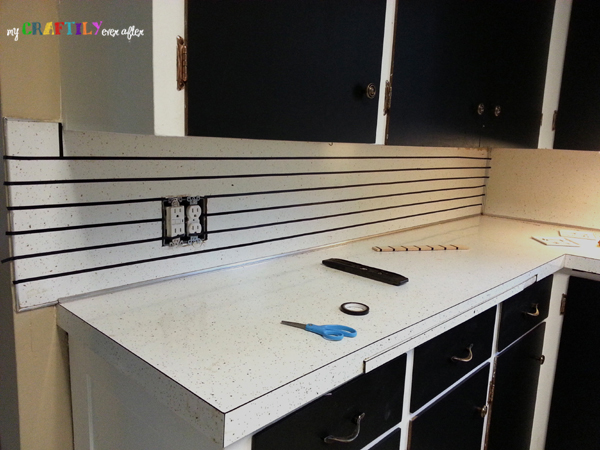
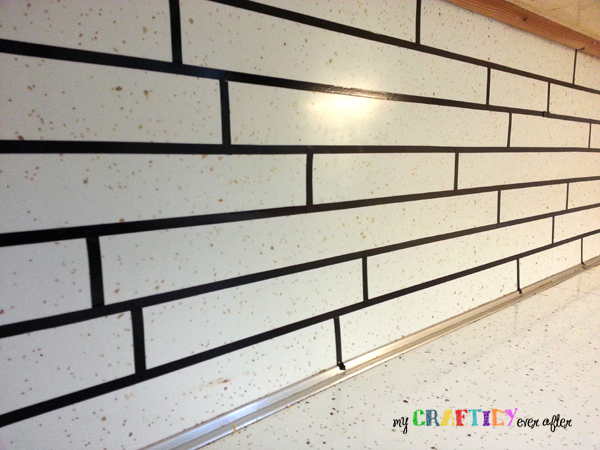
The first thing I needed was some 1/4″ making tape. Now this might not seem like a big deal, but man oh man did I have a hard time finding it! I tried every hardware store and paint store before finally stumbling into Staples. Thes had a product called art tape. It is primarily used to make charts and make spaces of on white boards by teachers, but it was perfect. It had a little bit of give and stretch and it made the whole taping process a little less tedious and awful. I tried to follow the tutorial beth gave, but my upper cabinets are ridiculously low and apparently my counters are sloped so using a stiff ruler didn’t work. I ended up cutting a paint stick and marking it off with little bits of tape. I measured each row of my tiles 1 1/2″ high. I randomly placed small pieces of tape vertically and a mere 2 hours later the whole thing was taped off and ready to paint!
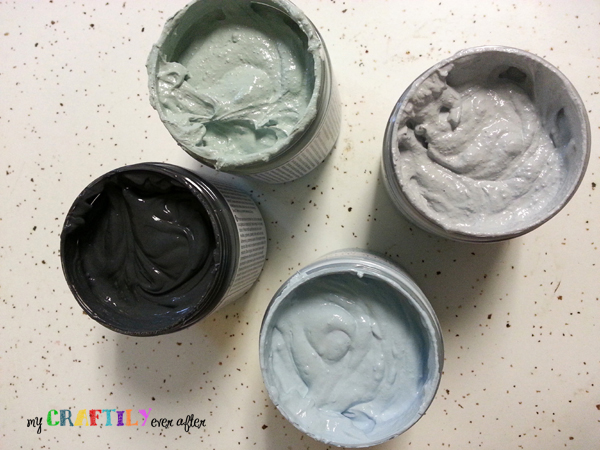
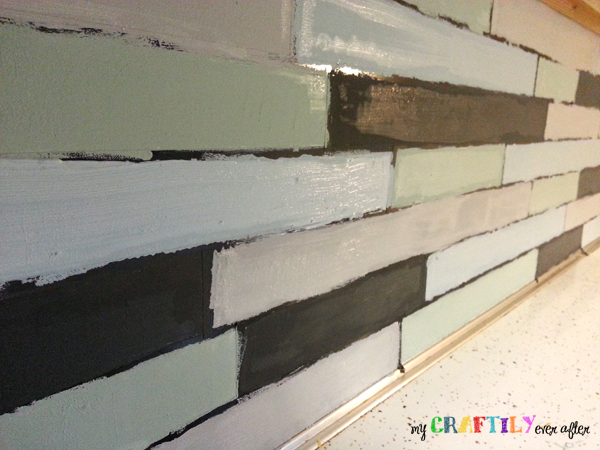
I started off by stirring each container of paint as directed and made sure I had four brushes ready so I could paint the whole thing in one shot without having to worry about washing brushes or mentally trying to figure out what color went where. I quickly got into a groove and only once during the whole process did I accidentally paint the same color on two adjoining blocks. I found that with the smooth surface of the laminate and the thick consistency of the chalky finish paint it was best to dab on the paint rather than brush it on. The paint also dried incredibly quickly which meant that I was able to go back and add a second coat to any blocks that looked a little spotty within 15 minutes.
It took me about 3 hours to paint the whole thing (I stopped midway and made the kids lunch which sort of put a damper on my groove) and as soon as I finished painting I removed the tape. It was so rewarding to be able to see all that hard work right away.
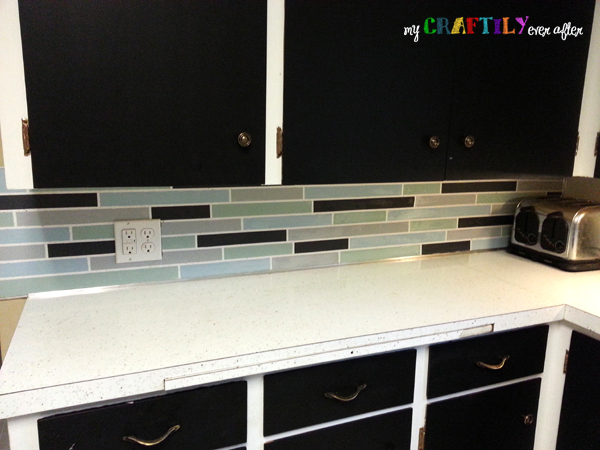
After all the paint had dried, I went back through and applied a special varnish over the paint to protect it and help make it more durable against all the abuse it was going to take in the kitchen. The final finished result is amazing and breathtaking! It was a bit time consuming, but overall a super easy project that anyone can do!
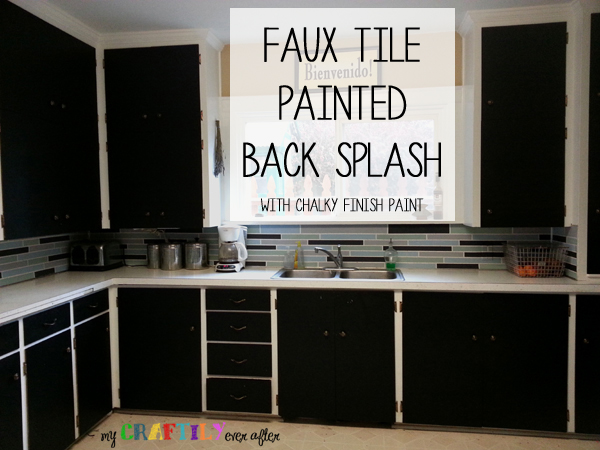

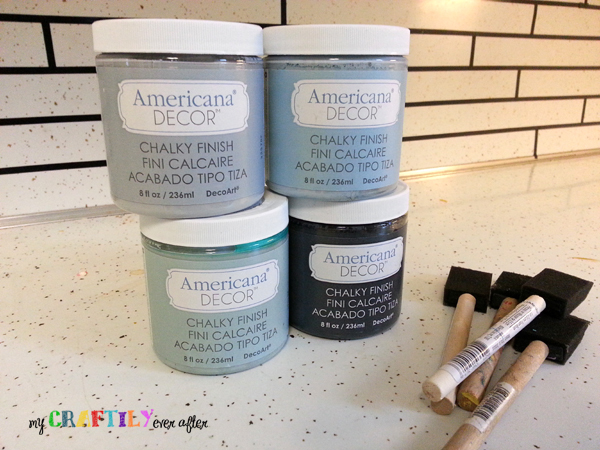
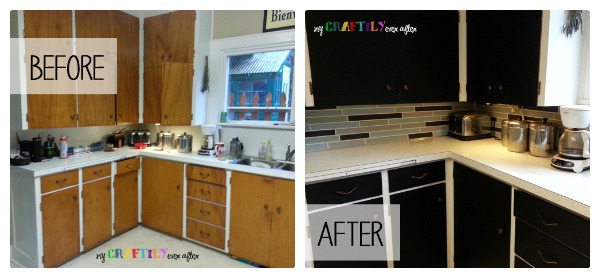
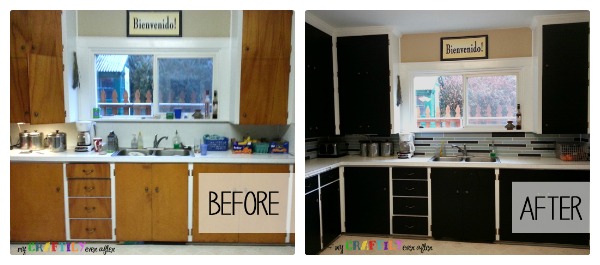

I love how this looks!! What varnish did you use over top of the backsplash?
Thanks so much! I used the Americana light satin varnish. It is also made by DecoArt and is right next to the chalky finish paint at home depot!
WOW!!! I absolutely LOVE what you have done, specially your kitchen, what a huge difference!!
Cant wait to see some more of your creative DIY
This looks fantastic!!!
Wow! That is amazing. I have yet to complete my kitchen backsplash and am considering doing this!
xo
Daniela
Put A Bird On It
Thank you so much! It seriously still amazes me too. If you do it send me a picture, I love seeing everyones work!
Are you going to paint the rest of the cabinets black too? I love the back splash. I am spray painting my counter tops this summer. Already did one section!
The rest of my cabinets? Do you mean the actual the frames, probably not. A LOT of the room is cabinets and I am afraid if I did it all black it would be too much. When we do our major kitchen remodel in a couple of years my plan is to keep the black on the bottom and white on the top! I like the contrast! How is the spray paint holding up? I LOVE spray paint, but I never thought about using it because of the over spray!
I took the counters outside to paint them and it holds up great. I sanded, primed and used the “stone” texture spray paint and the polyacrilic. My cabinets are white in top and dark gray on bottom