I have a love/hate relationship with jewelry. I really love the idea of jewelry, I love the way it looks on other people and I love buying it…but I don’t really love the way it looks on me. I think it may just be that I am uncomfortable with change and adding lots of jewelry when you don’t normally wear it feels weird. Don’t get me wrong, earrings are the exception. I LOVE LOVE LOVE earrings. The bigger the better, but when it comes to bracelets, necklaces and even rings that aren’t my wedding ring…I just feel awkward.
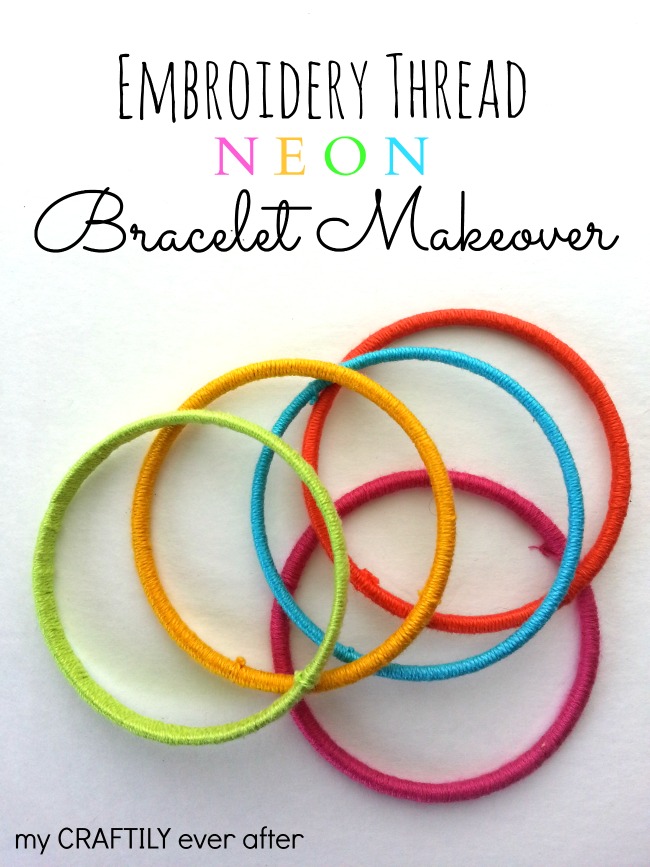
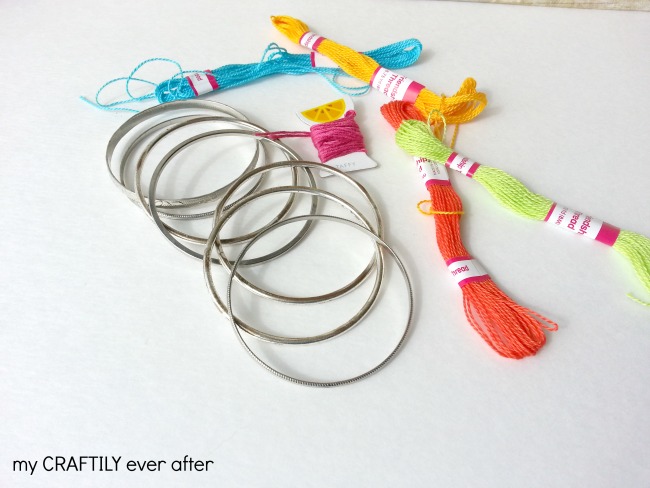
This project started off with a bunch of those silver bangle bracelets that were super popular a few years ago and are still kicking around in a more layered look these days. I don’t mind wearing a bunch of these, but I am not a huge fan of how much noise they make when they are all banging (bangle bracelet – banging…hmmm) together. I figured that I would try to update them with some neon thread, which would make them even trendier (if that’s possible) and quieter. I started off by picking out some fun colors of embroidery thread I had on hand and a few of the many bracelets I have in my stash. I went with a variety of widths for the bracelets so that each of my finished ones would have their own unique twist.
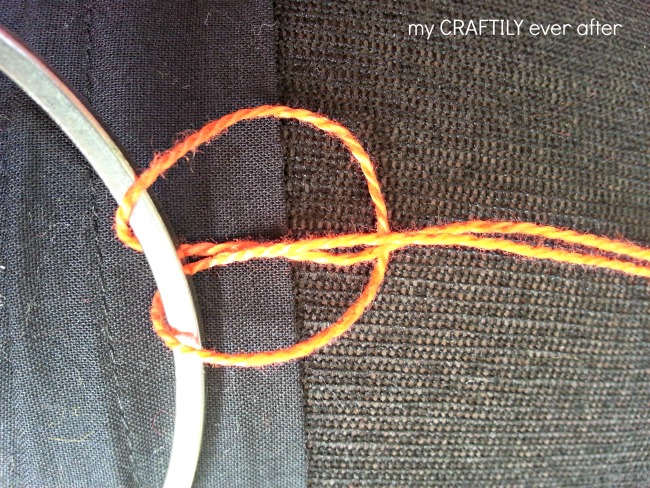
I started off by cutting about 6′ of embroidery thread and then folding it in half. I fed the two loose ends through the loop, around the bracelets to attach them initially. I wanted to avoid using glue so that there would be less of a chance of them unsticking or falling apart later on. Once they were tied on I split the two sides apart and pushed one aside to work on later. I started wrapping the embroidery thread around the bracelet, tightening it as I went. I continued doing this until I had about an inch of thread left. I then used a tiny piece of tape to hold it in place and moved on to the other piece of thread.
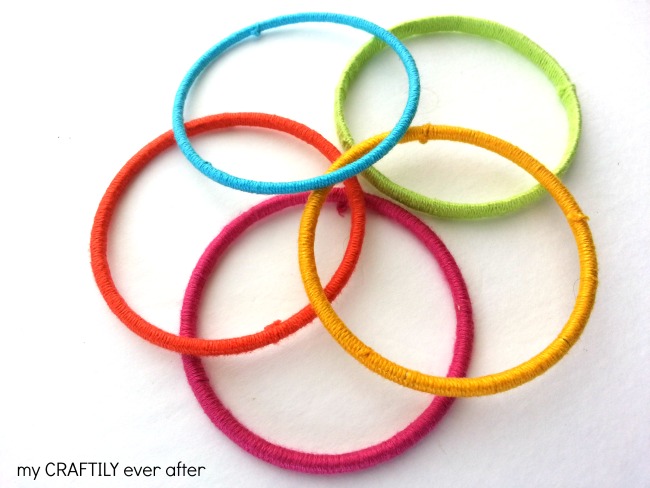
Now you might be wondering why I decided to do this in two halves. I realized pretty quickly that pulling 6′ of thread around this little bracelet was going to become a tangly, annoying mess pretty quickly. Somehow only pulling 3′ through was much more manageable! Anyway, repeat the same process of wrapping and tightening the thread around the bracelet until you reach where you left off before. Now this is probably the trickiest part of the whole operation…you have to tie the two end together, tightly. It really isn’t that bad, but you want to make sure you have the bracelet completely wrapped before you attempt it. After all that hard work you don’t want to have see through spots! Simply tie the two threads together in a knot and then cut the tails off as close to the knot as you dare without actually cutting it!


What a cute idea 🙂 I would love for you to share this on my Friday T.G.I.F. linky party 🙂
I went and looked for your party, but I couldn’t find it. Do you have a link?
How cute! My daughter will love this project.
I hadn’t even thought about making some kid sized ones, but it’s on my list now!!
They look great and the colours look great together. I actually tried this when I was making some bracelets just the other week, but I glued mine and ended up with a sticky mess when I was wearing it and washed my hands, so I only published the versions that did work (always hide your fails!) I’m experimenting with a varnish type coating right now to see if that helps. I think your simple but effective was the way to go, you were absolutely right about not having too long a length of thread too – wise woman!
I had seen other people use a glue gun, but for some reason my glue gun doesn’t seem to get hot enough and the glue NEVER ends up sticking so I figured I would try this out. I probably need a heavier duty glue gun, but for now tying it off seemed like the way to go! I went and checked yours out and they are great though!
What a great idea! I will be trying this 🙂
Do it!!! It is a little time consuming, but the end result is so much fun!