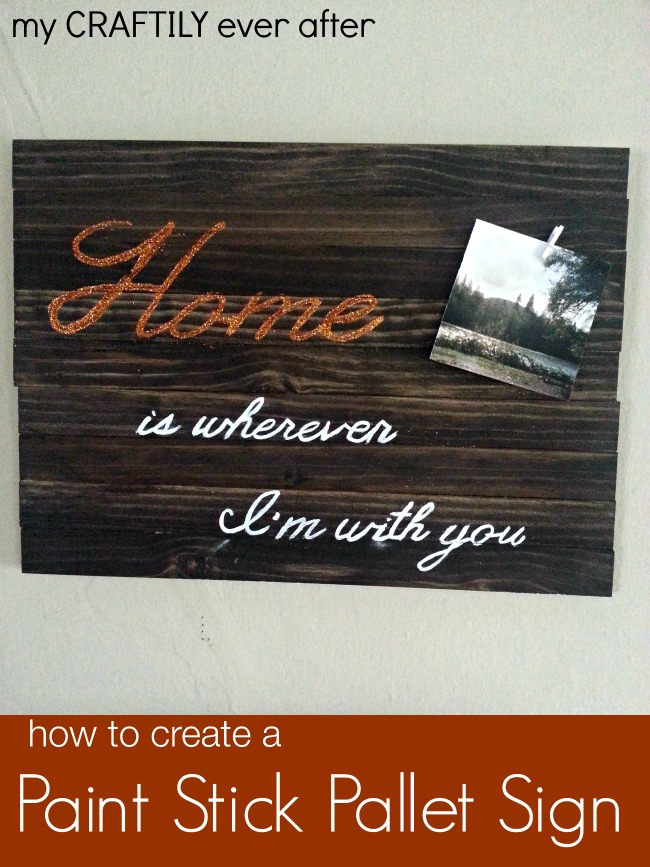
I think that I might have a little bit of a crush on wooden pallet signs. I have an updated version of this one in my dining room and I made a few more for my daughters school auction and now I have one in my living room. This one was a little bit different though and even those who normally shy away from power tools will be able to make this in a snap!
Supplies (may contain affiliate links):
- Paint stir sticks – found at any home improvement store
- Wood Glue
- Wood Stain, Rustoleum Brand in Kona
- Glitter
- Paint Pen
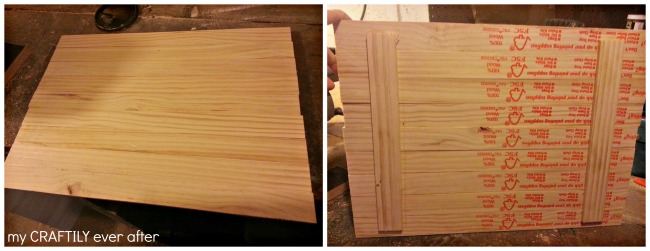
To start you will need 11 of the big paint stir sticks from your favorite home improvement store. I was really nervous about taking this many, but when I asked the employees working in the paint department they said to take as many as I wanted. Really? Well okay then! I stacked nine of them up and make one cut just below where the curved part of the stick is so they were all about the same length. I cut the other two to fit vertically along both sides of my sign. Just eyeball it! Then I laid the original nine logo side up and ran some wood glue along the other two and then just stuck them on and set some heavy stuff on top while they dried. I also used one of the scrap pieces of stick and glued in horizontally along one of the stir sticks to act as a ledge for hanging (sorry forgot to get a picture of that).
Once they were dry I flipped the whole thing over and applied some of my favorite stain (used here, here, here and EVERYWHERE!) to the exposed edges and front of the sign. It takes a few hours for the stain to fully dry so I used that time to try and figure out what I wanted my new sign to say.
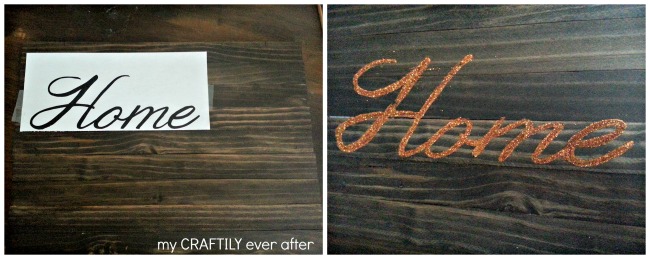
I decided on a line from one of my favorite songs (and one of our wedding songs). Over the past five years that my hubby and I have been together we have been through some serious stuff, however no matter where we are or what’s going on he is my home. Sorry for being so sappy, but that man makes my knees weak still! I typed it up in Word and then printed it off on regular paper. I laid it out over my dry sign and traced around the letters just like here! Then it was time for some fun! Here is a throwback picture from our wedding day, and yes I am 8 1/2 months pregnant with our littlest here!
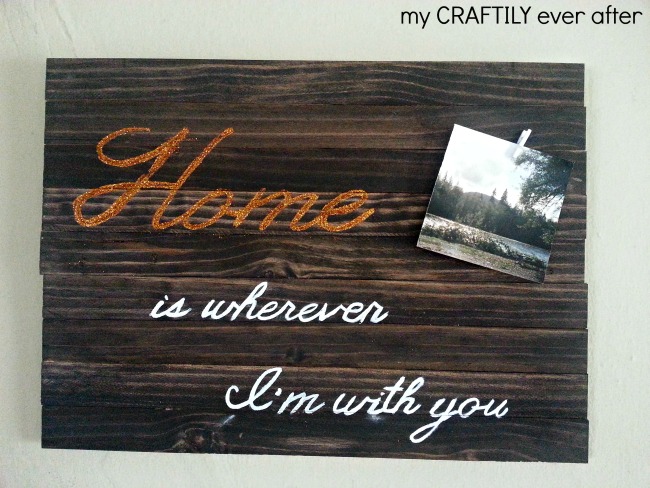
I knew I wanted this sign to have a little something extra and so I dug through my stash and pulled out an amazing coppery glitter leftover from this project. I painted some of the Martha Stewart durable gloss in the letter outlines for the word HOME and then sprinkled the glitter over top. I let it sit for a couple of minutes and then stood the sign up and shook the excess off onto a piece of paper so I could funnel it back into the container, waste not want not!
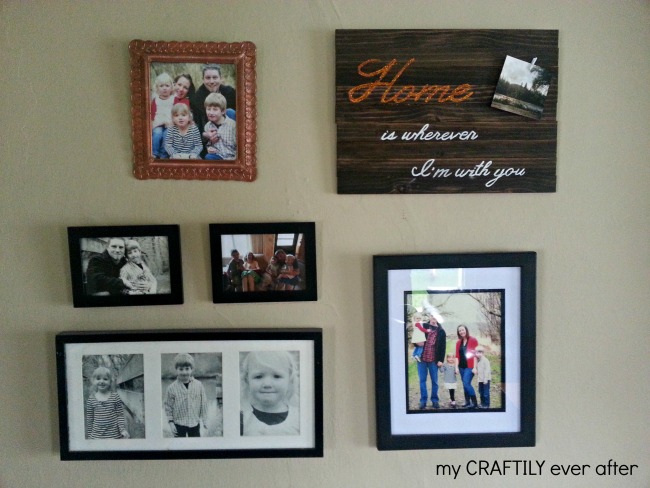
Then I pulled out my favorite Elmer’s paint pen and traced over the rest of the words. I used some E6000 to add a fun printed clothespin from here and then stuck one of my favorite pictures from a trip we took to my “home” in there. I added it to our living room gallery wall along with another new frame I spray pained with a copper finish as well. I love love love how it turned out and I love the little bit of metallic tones that are slowly finding their way into my home decor!
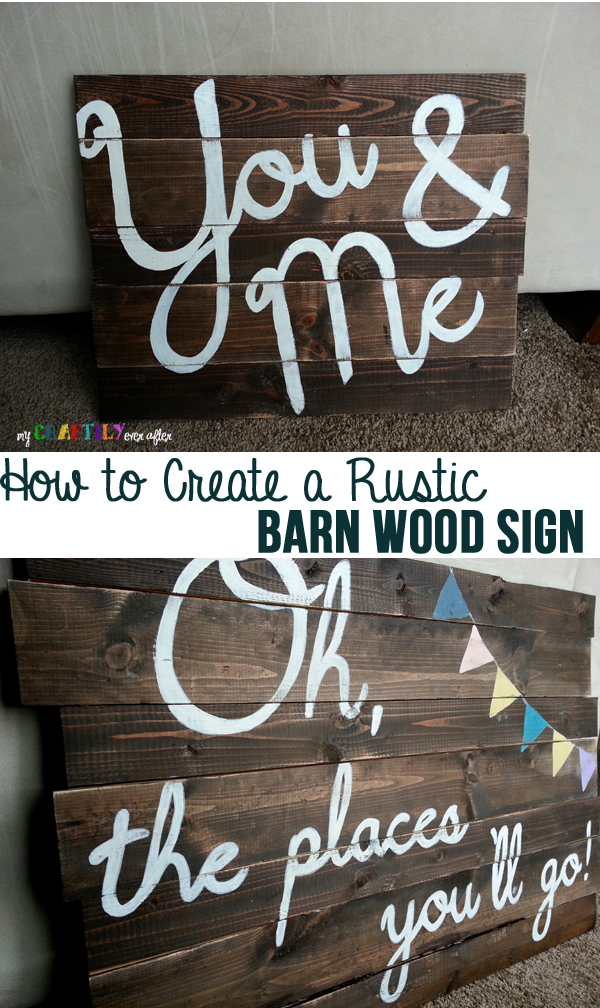
 If you like this project you’ll probably also really like my tutorial for how to make a rustic barn wood sign!


So cute! pinned! Sending love your way! Lou Lou Girls