As part of the DecoArt Blogger Program, I receive product or compensation for posts. However, all projects, pictures and opinions are my own.
Of all the crafts I do and things I make my favorite ones are always the ones that involve wood, stain and paint. There is something so peaceful and calming about making something beautiful out of all these ordinary pieces. With summer right around the corner and Memorial Day in the very recent past I knew that I wanted to make something to beef up my seriously lack luster supply of patriotic decor. Of course this meant a trip to Home Depot to peruse their culled lumber pile. I love buying my wood from the culled lumber section because usually I am going to be cutting it down into much smaller pieces and any imperfections will either be cut out or masked by the shorter pieces AND it is all 70% off. I mean really, why pay $4 for a strip of lumber when you can pay $1! It also meant that I was going to get to play with some of my new favorite paints, the Chalky Finish line from Americana. I’ve used them a few times before (remember my backsplash?) and I am completely smitten with the way they adhere to any surface without any prep work!
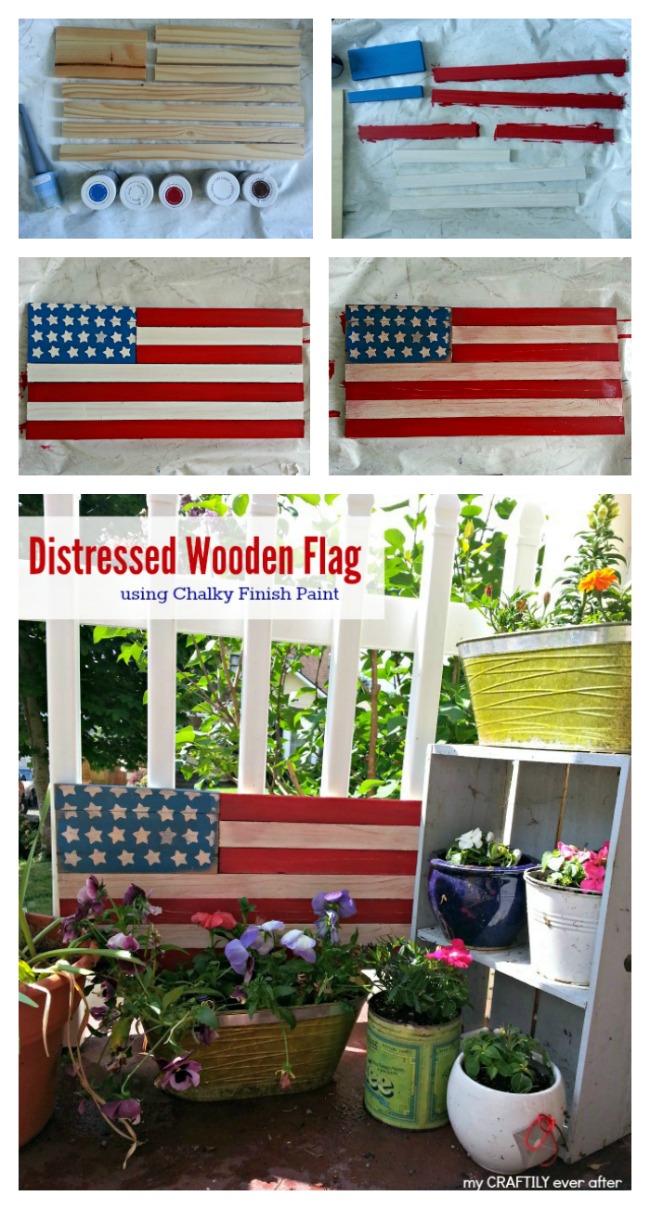
I started off with two 1″ X 2″ X 8′ board. I cut 4 pieces to 21″ and three pieces to 12″. I also had a couple of 1″ X 4″ scraps laying around so I cut two to 9″ and then cut one of those down to fit in the top of the flag. I also grabbed my Chalky Finish paints in Romance, Everlasting and Legacy as well as the clear creme wax and the deep brown creme wax and the special waxing brush.
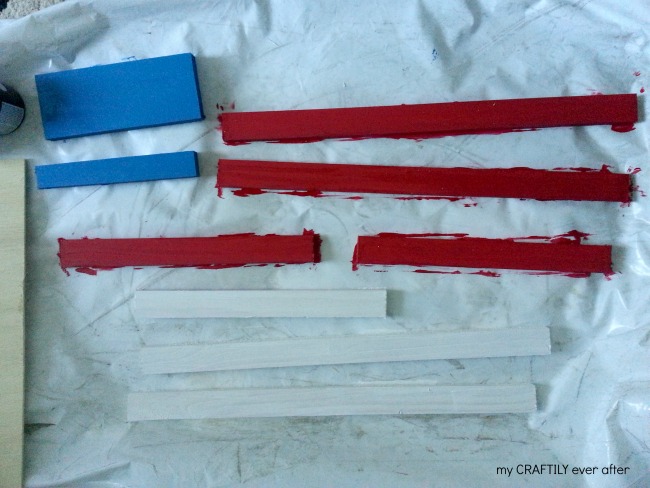
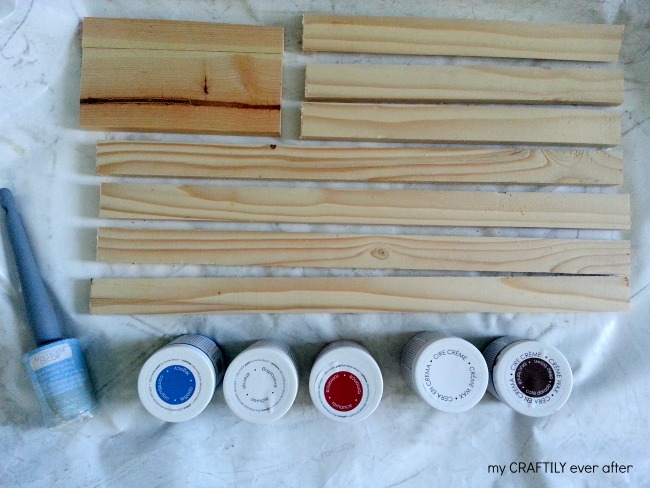 I laid out all my boards in the right order so I would know which ones to paint which color, because sometimes I get easily confused. I gave them all one coat of the chalky finish paint and then let them dry for about an hour.
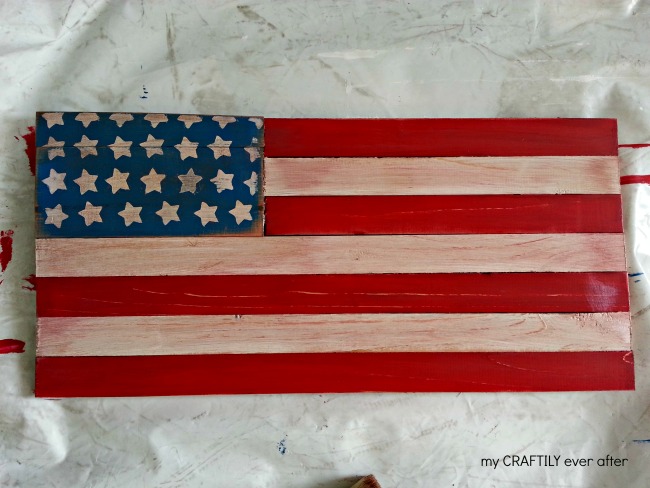
Once they were all dry I put them back together and attached the backing. For the backing I used a super thin piece of underlayment cut about 1/2″ smaller than the total size of the flag. I attached it with 1/2″ screws into each individual board. That bad boy is locked in place! This is when I painted on the stars. I simply cut a star shape out of a shipping label (any sticky backed paper will work) and dabbed on the white chalky finish paint. I didn’t try to make them super straight or symmetrical as I think the wonky placement adds to the look, but you certainly could!
Then came the fun part! I took a piece of sand paper, really and truly any grit, any size will work and I rubbed it all over my sign (going with the grain) rubbing a little extra hard around the edges and the parts that stuck up higher than the rest. Once I had it where I wanted it, and everyone’s taste is different, I wiped it clean with a rag. Then I broke out the creme waxes and started applying them. I dipped just the end of my brush into the clear wax and gave my whole flag a liberal coat of it. I used the clear wax first because I wanted the white parts of the flag to stay whitish and I knew that if I applied that dark wax on top it would end up a muddy color. I let the wax dry, it only took about 15 minutes and then I did the same thing with the dark creme wax.
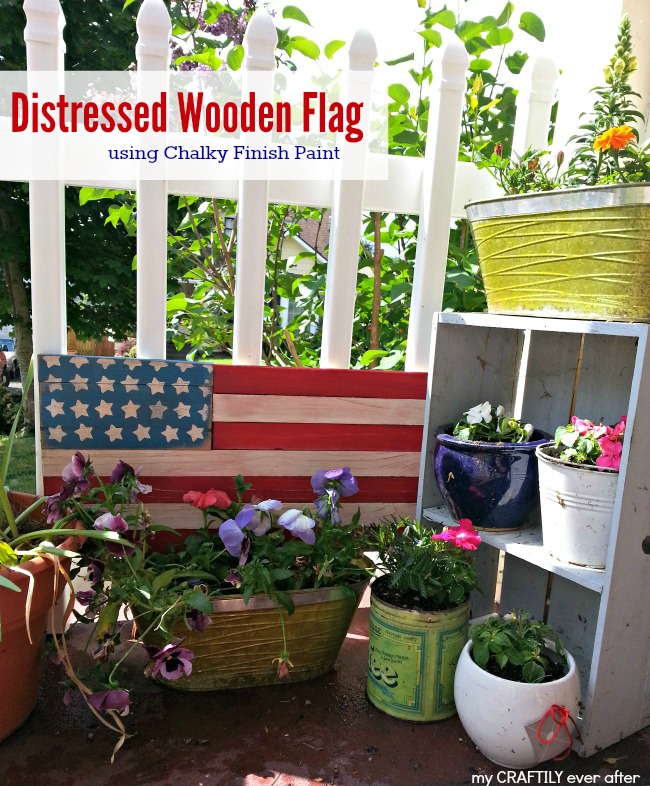
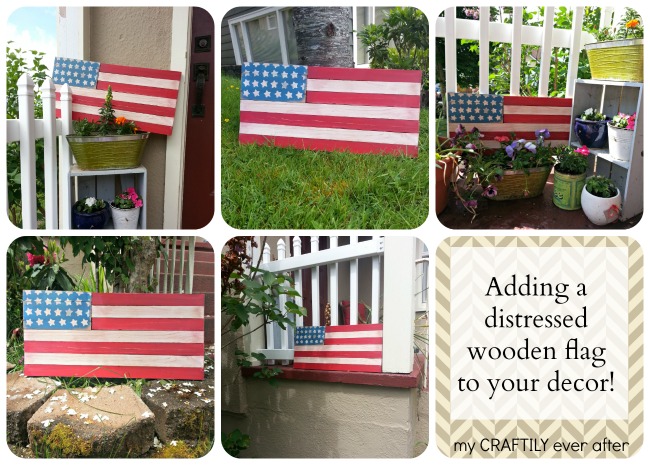
I thought I was in love with it before the waxing, but adding that tiniest bit of dimension to the wood really made me fall even deeper in love with this project! I tried it out in a bunch of different places around my house and yard, but finally settled on it nestled in with the flowers on my porch? What do you think, where would you have put it?

I haven’t used chalky finish paint yet! Looks like I need to jump on it! Love this flag project! It is one of my picks from last week’s Hit Me With Your Best Shot! Thanks SO much for linking up and hope to see you again this week!
Thanks so much for featuring me! I love the chalky finish paint so much! You should totally jump on the band wagon and pick some up! 🙂
Awesome flag. Love the rustic look and it looks so perfect on your porch among your flowers. Doesn’t really matter what anybody else thinks, it’s your home/porch/flag so it’s perfect wherever you want to put it. Do you like to change things around periodically?
Glad to know Americana has chalky paint. Nice way to try it without having to make so much of an investment with other brands(if you don’t feel like making your own). Hope craft stores in Grand Junction have some of it.
We have a Jo-Ann’s, Michaels, and Hobby Lobby but they seem to all be slow in getting new products. I hear about new products on blogs but when I go into stores to ask about them nobody seems to know what I’m talking about, bit frustrating.
I made a flag from end of pallet, wood was lighter and stripes more apart so filled in with some narrower ones. It’s a good size flag. Had intended to hang it on front porch rails for Memorial day but haven’t gotten the stars filled in yet. One of projects to finish. Have it by the couch with paint pen so I’ll do it.
Found you thru: Hit me with your best shot party. Glad to find your blog and project. Happy days
I totally move things around all the time and it drives my husband crazy! I love, love, love the Americana chalky finish paint! It is the perfect size (and price) for pretty much any project and there are a ton of colors! I know that you can order it from Home Depot online and it is available in some stores too. I do a lot of my shopping for craft supplies online as we live in a small town with NO craft stores! Send me a picture of your flag when you finish it, I would love to see how it turns out!