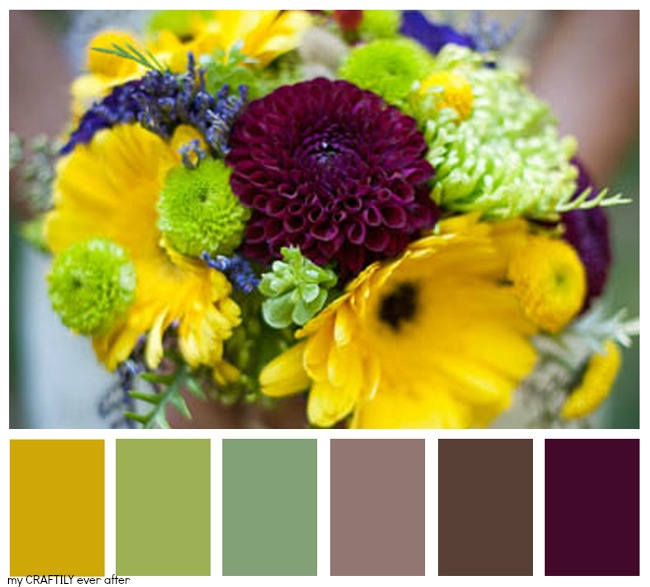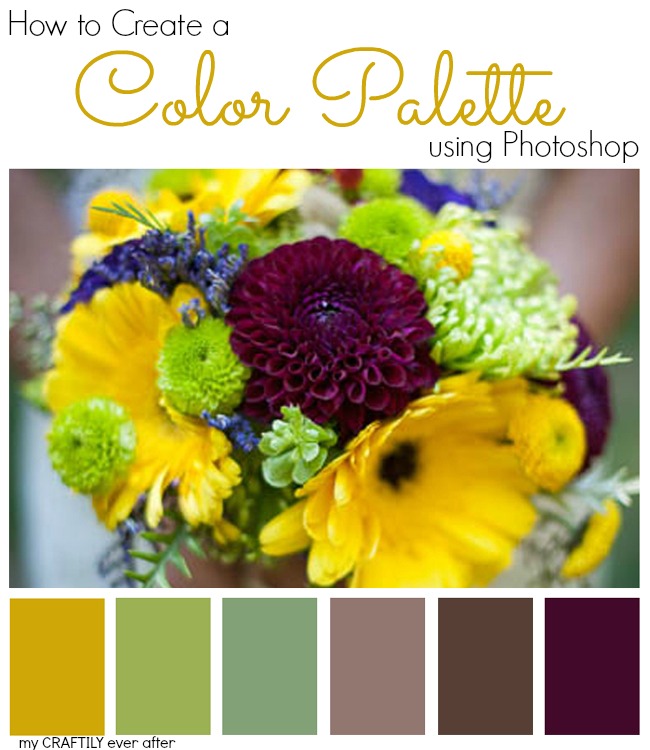
One of my favorite things to look at on Pinterest are color palettes. It’s amazing how a photo and a few colors can elicit so many emotions without you even realizing it! Not only do I love to look at them, but I love to make my own! So today I am going to show how you can make your own color palettes from ANY photo in just a few easy steps!
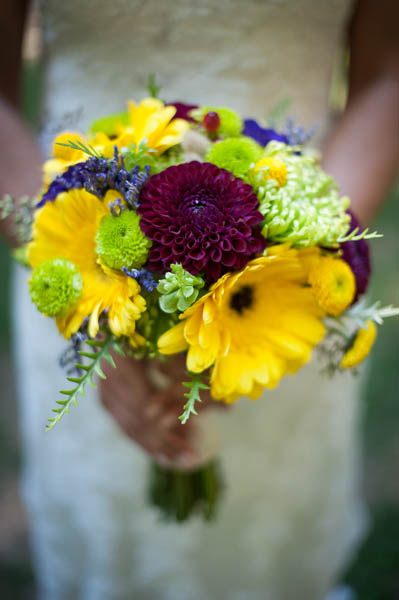
Step one is to find a photo that evokes feeling. Whether it is happy, calm, energized whatever, just find something you love! I chose to use one of Cori’s wedding photos, specifically one of her holding her bouquet. Side note: please don’t steal other peoples photos and then try to sell them or any products you make from them. It’s not very nice and inevitably you’ll get caught and possibly sued. Not worth it! Once you have saved your photo open it up in Photoshop. You are also going to want to download a Color Palette Template (horizontal or vertical) and open it up too.
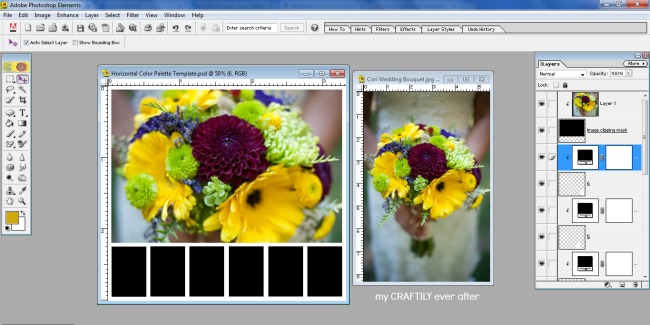
Step two is going to be adding your inspiration image to your color palette template. You will simply drag your image on to your template. It will populate as a new layer at which time you will want to arrange it so that it is the very top layer (above the layer that says “image clipping mask”). Once there you will want to join the two layers together. Simply hover your mouse in between the two layers and press the alt key. This will give you a little Venn diagram looking symbol and you’ll click. Now you might have part of your image hidden behind the frame, but don’t worry, you can still drag it around and transform it (CTRL+T) until it fits in the frame exactly how you want it!
Step three is where all the magic happens! You are going to click back over to your original image. Once there you are going to go up to your toolbar and click on filter. Now from that drop down menu you are going to slide on down to pixelate. This will open yet another menu and you will choose mosaic. Here is the fun part, move the little slider on the bottom of that box until your image is as blocky as you want it! I went with 56 for mine!
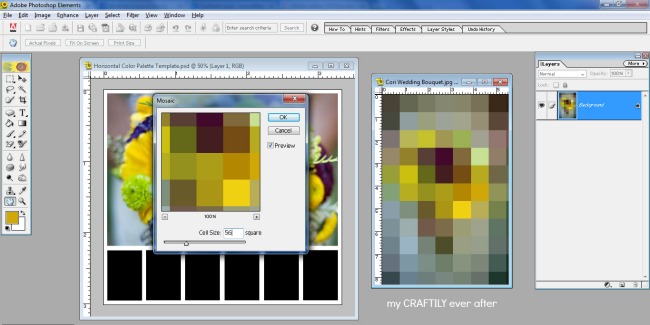
Now for the final step you will need to choose your colors. You are going to start by double clicking the first layer below the image clipping mask. When you double click on it your color grabber box will come up and you can simply choose a color from your now mosaic inspiration image. Click ok and then move on to the next layer box. Repeat until all your boxes are filled up and your color palette is complete!
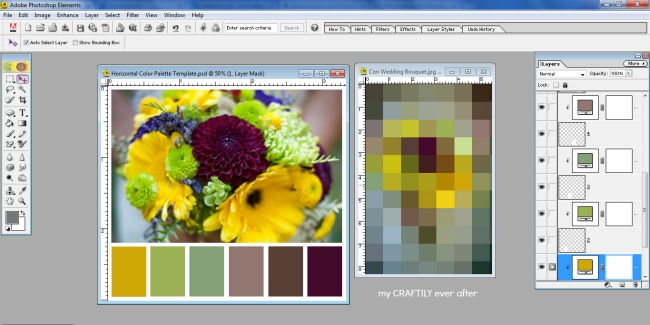
Now I probably don’t need to tell you, but you are going to want to “Save As”. I’ve made the mistake one too many times of hitting save when I am done with something that is in a template and it is a pain in the rear to undo all your work to get your blank template back. Save yourself the headache and just do it right the first time!
