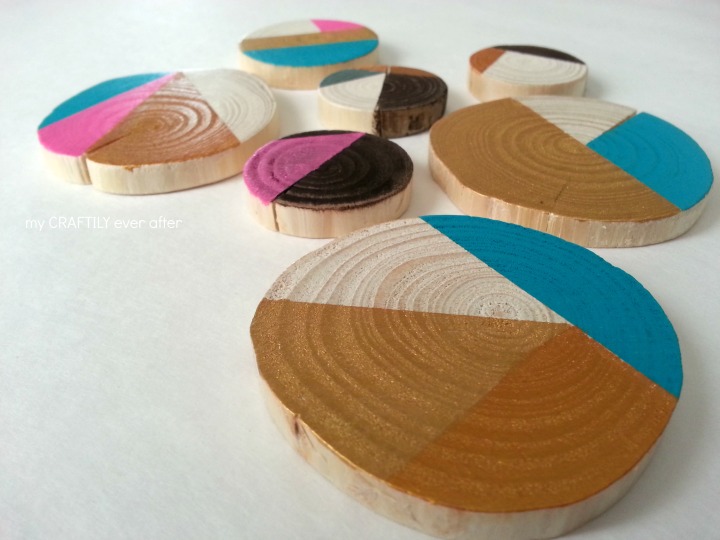
I’ve been totally enamored with geometric designs lately, and I was looking for a way to incorporate that into my Christmas tree this year. For the first time in a LOOOOONG time I do not have a themed Christmas tree so it felt like the right time to try out some new and fun designs for ornaments!
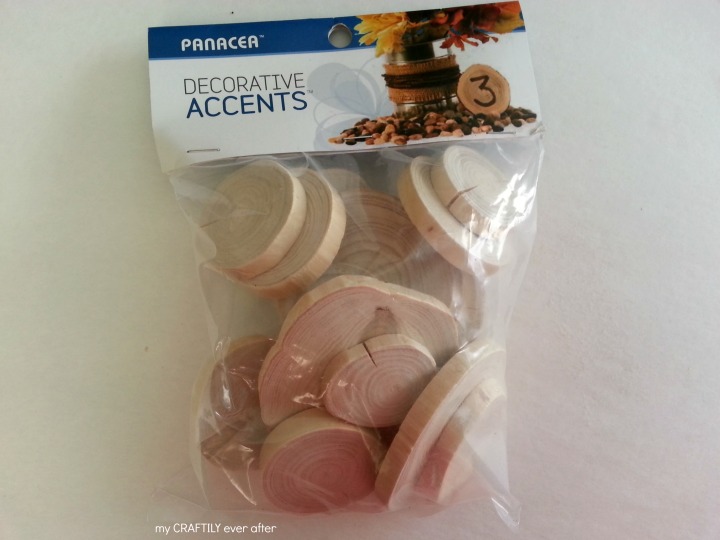
I started off by buying a bag of these wood slices from JoAnn’s when I was there a few weeks ago. Now some people might be lucky enough to have perfect sized tree branches hanging out in their yard (or their neighbors) but I am not. So I bought a bag, no shame in this girls game!
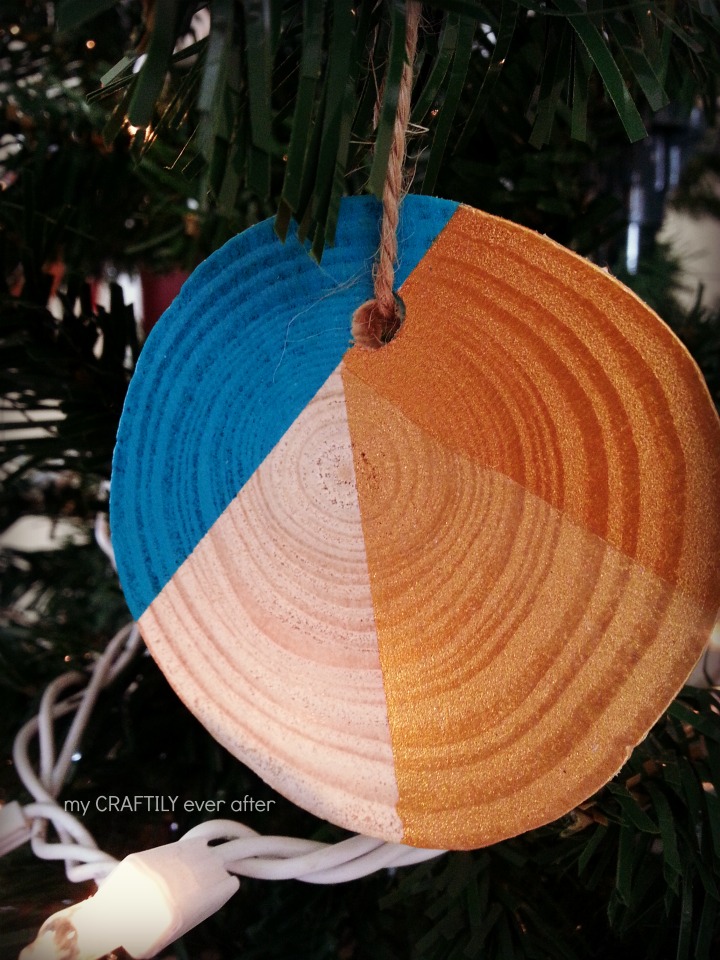
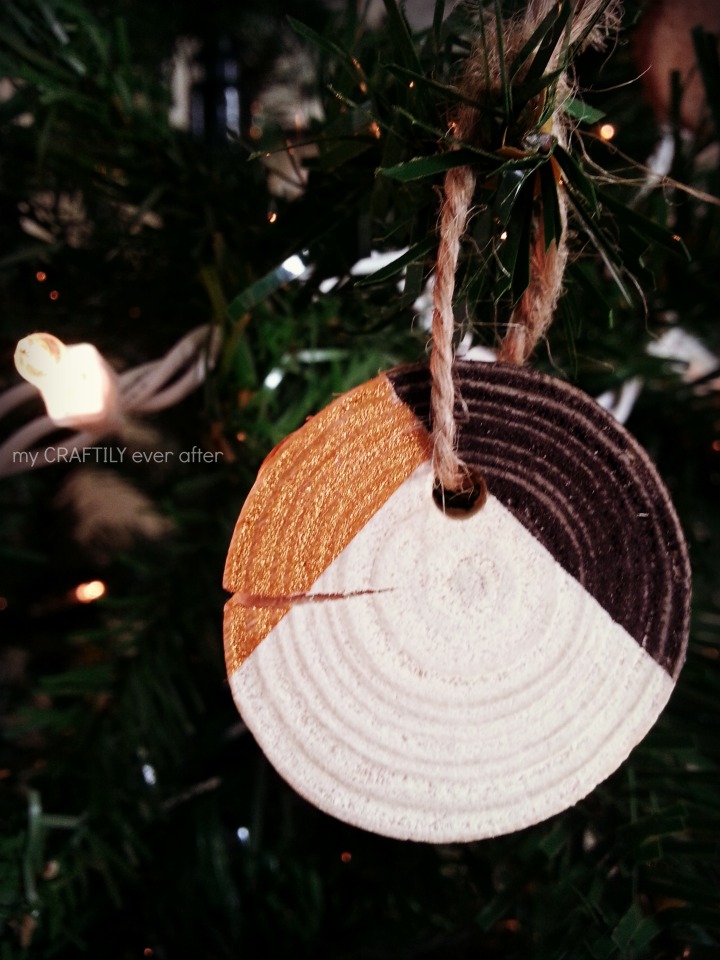
The process itself is pretty simple. I laid down some tape at odd angles and painted on some of my favorite colors. Because I didn’t have to go very thick to get good coverage the paint dried within a few minutes and I was able to add the next color without too much of a wait. I continued adding colors until I felt like it was just the right splash of fun and geometric! I am feeling especially warm and fuzzy toward golds and metallics right now so I made sure to include plenty of those alongside my all time favorite teal!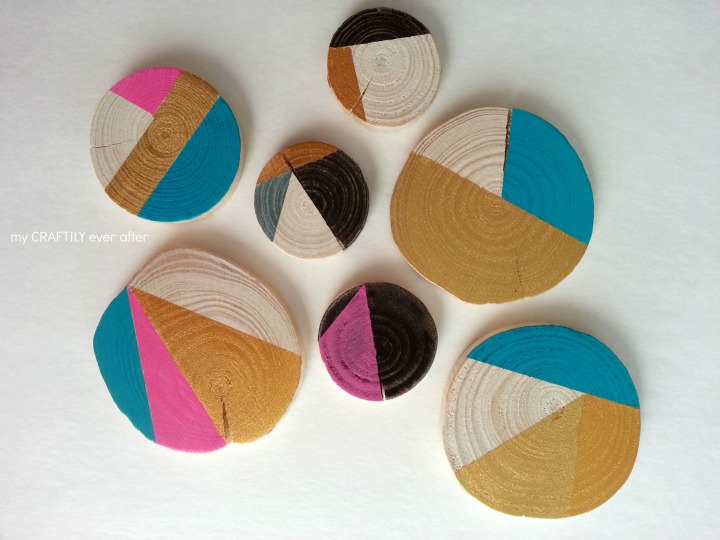
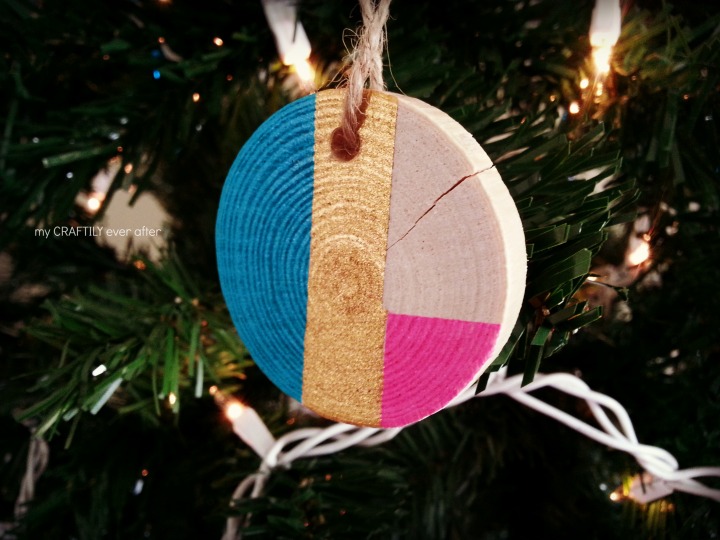
Once all the paint was dry I drilled a small hole in each of the wood slices, making sure to avoid any of the cracks and not to go too close to the edge. The first one I tried I went to close to the edge and split the whole edge off! Also, one of the ones that got a little too close to a crack caused the whole thing to split into two pieces. So BE CAREFUL! 🙂 Then use some twine, yarn, ribbon or ornament hook to get those beautiful things onto your tree!

Such a cute idea!
These are super cute! I’ll have to make some for my tree next year.