Hi all! Let’s get the obvious out of the way before I start talking about this project: I am crazy excited to be here with Ashley at My Craftily Ever After. Like, CRAZY excited.
Now that has been said, let’s talk about Valentine’s Day! I have two little munchkins in my home (kids, not the donuts…mmm…donuts) which means we need to come up with two sets of Valentine’s Day cards to hand out every year. Of course, I can’t just buy a box of pre-made Dora the Explorer cards like a normal person – I have to make something myself.
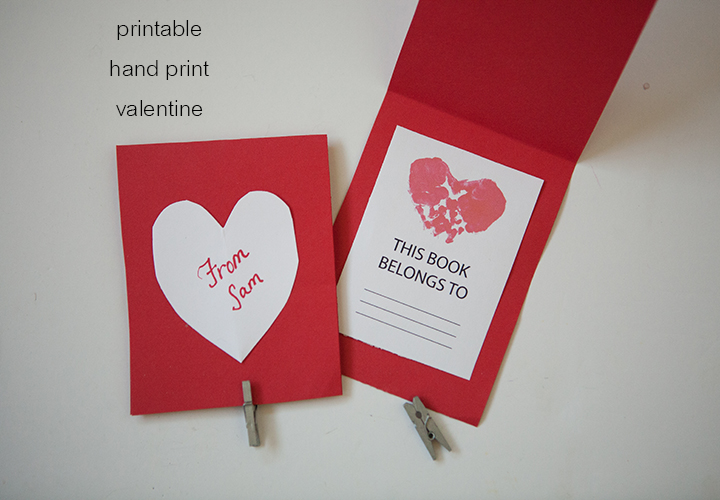
My youngest is only 2, so I had to get creative when it came to coming up with a project that he could help with but that didn’t look like it was made by a 2 year old. We ended up making these Valentine’s Day book plates. He and I made the hand print heart together as a fun little art project, and then I did the rest digitally after he was in bed. When it comes to making these yourself, I am giving you two options. You can make them the way I did or you can just print out the book plates I made on adhesive paper and cut them out. No one is going to know that those handprints don’t belong to your little darling and I promise I won’t tell!
Materials
- Washable red paint
- Paint brush
- White paper
- Scanner
- Word processing software & computer
- Printer
- Adhesive backed paper
- Scissors
- Red paper
- Double sided tape
- Red Pen
- Mini clothes pins – optional. You can just use the remnants of your adhesive backed paper to stick the actual cards closed.
How To
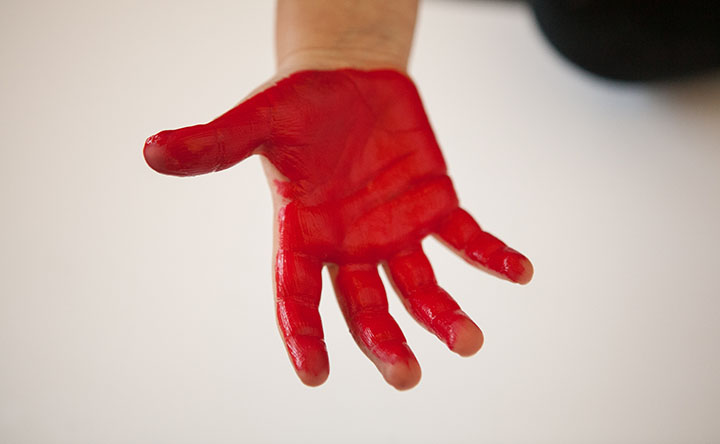
1. Paint your little tyke’s palm red.
2. With the fingers and thumb together, press the palm down flat on the paper making a hand print.
3. Paint the other palm red.
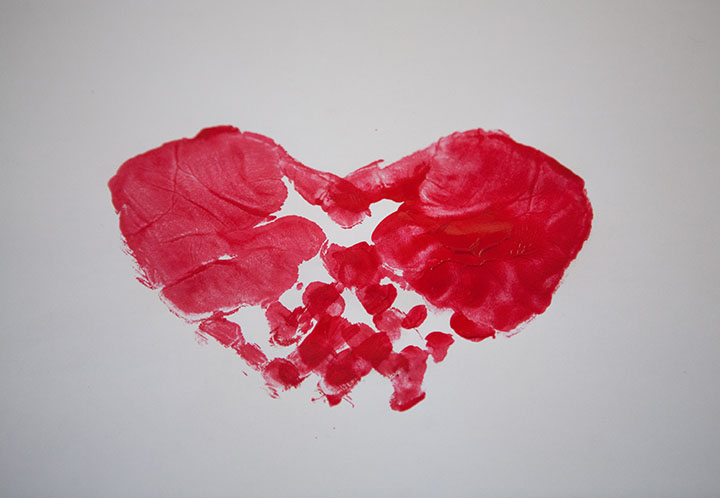
4. Using the same method as before, press down the palm so that the thumbs of each print touch and the fingers overlap. This will make the heart shape.
5. Let the paint dry while you try to get your kid to a sink to wash off the paint while keeping them from touching anything. Good luck.
6. Once the paint is dry scan your image.
7. Open the image in your word processing software and scale the image down to a size you want for the book plate.
8. Add a text box below the image and type in “THIS BOOK BELONGS TO” with lines underneath.
9. Select both the image and the text box and copy and paste them until your page is filled with sweet little book plates.
10. Print out your book plates on paper with an adhesive back and cut them out.
11. Cut out strips of red paper large enough to cover the front and back of the book plate. Fold these in half to create a top seam for your card.
12. Attach the book plate to the inside of the red paper card with a piece of double sided tape.
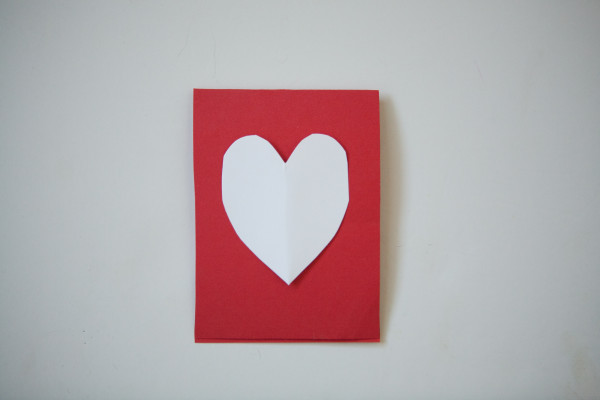
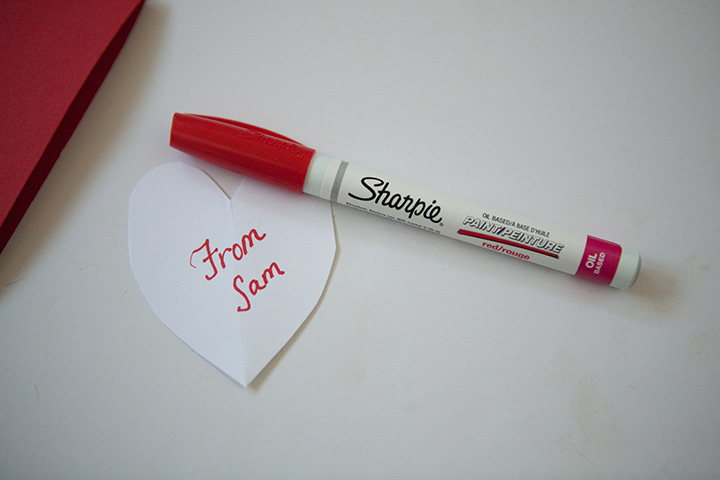
13. Cut out a heart shape from white paper. The heart should fit on the front of the card.
14. Write a note in red pen on the heart. I wrote “From Sam.”
15. Attach the heart to the front of the card using double sided tape.
16. Clip the card closed with a mini clothes pin or square of adhesive backed paper.
And finally, if all that computer work sounds like your worst nightmare, here is the printable book plate!





Thaanks for a marvelous posting! I certainly enjoyed reading it,
you might be a great author.I will make sure tto bookmark your blog and definitely wwill come back in the future.
I want to encourage continue your great posts, have a nice
day!