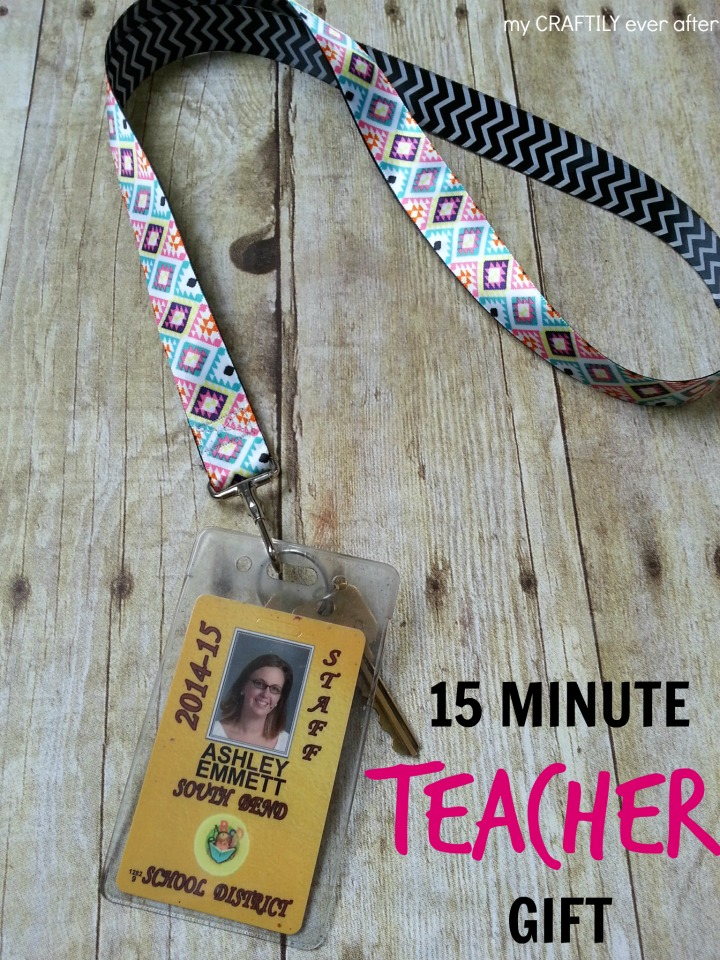
I love these craft lightning challenges, because it really speaks to my overworked and crazy busy life. I can’t excuse myself away from a 15 minute project, I can always squeeze 15 minutes out to do something creative and I ALWAYS feel better afterwards. This craft challenge was making something for teachers. You know this one is close to my heart and I had a million ideas. The one that stuck with me those was this easy ribbon lanyard. You see, as a teacher I have to wear this awesome badge when I am at school, so people don’t think I am some weirdo off the street. I have my two work keys attached to it as well (otherwise I would lose them).
I started off the year using my SNAP lanyard, and it was perfect. But it was white. And then one sad day on my way to work, when I was fighting off this sick thing that had been going around, it took the brunt of some side of the road puking. And no matter how many times I washed it, I just couldn’t look at it the same. So I switched it up for a bully prevention one we got at work. But it’s also white. And anything you wear around your next every day isn’t going to stay white for long. It was time to make a change.
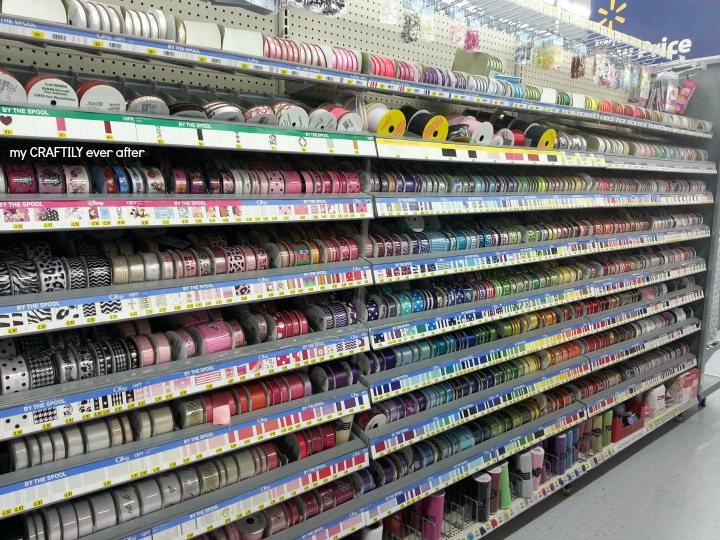
I was Walmart picking up some other stuff, and as I wandered the craft aisles looking for inspiration (you do that too don’t you??) I saw these pretty spools of ribbon. I realized that a lanyard is nothing more than a ribbon with a clip at the end. So I picked a couple of my favorites (I’ve told you how much I like choices haven’t I) and got busy.
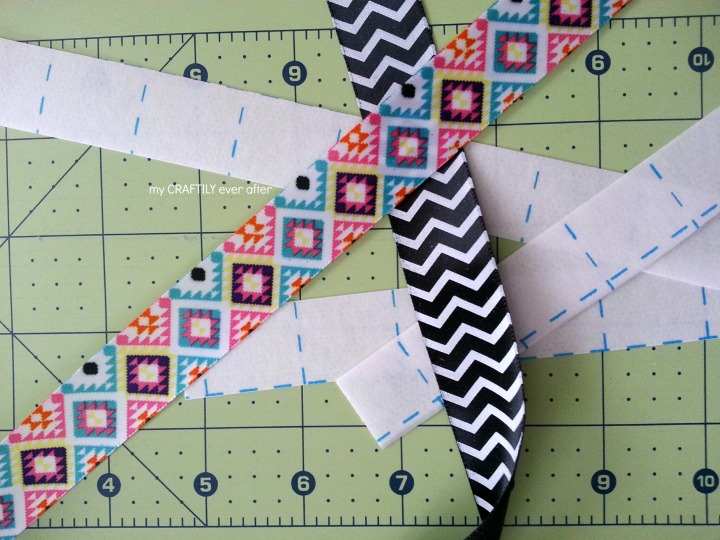
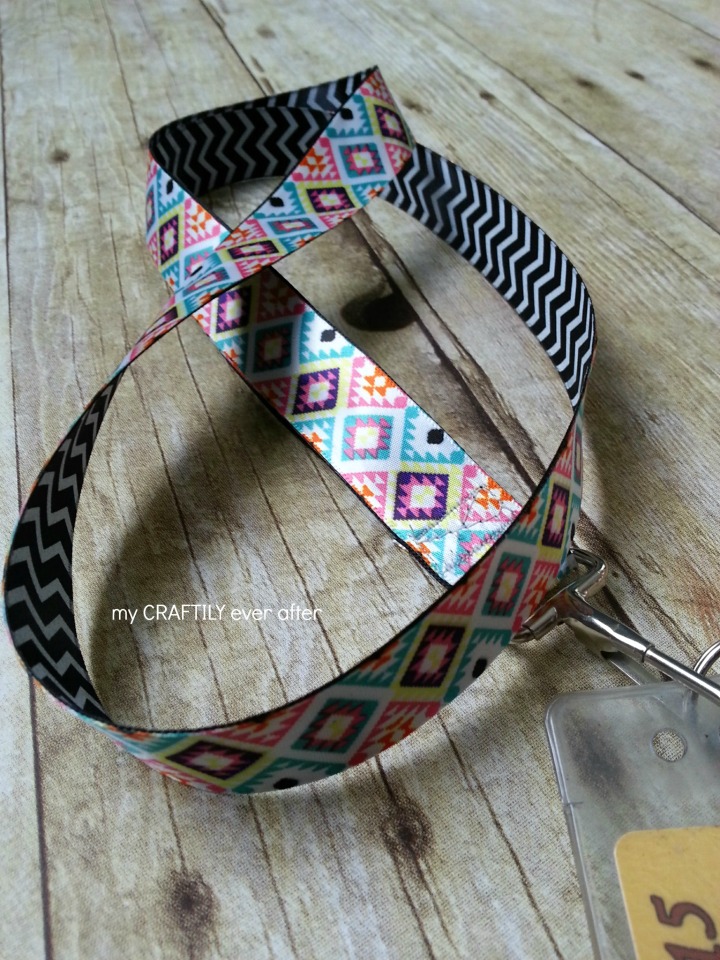
If you want to do this too (which you should), you will need a yard of your favorite ribbon and a badge clip. The one thing I found was that all of the patterns I liked were that sort of silky thin ribbon and I knew that wouldn’t hold up as well as the thicker grained ribbon. So I picked two and used my favorite steam a seam to weld them together. I cut strips of the steam a seam the same width as the ribbon and then ironed them together to make it super thick and double sided. Bonus!
The secret to getting a lanyard to lay right is to lay the ribbon one on top of the other. So instead of making a circle, you’re going to make an exclamation point.
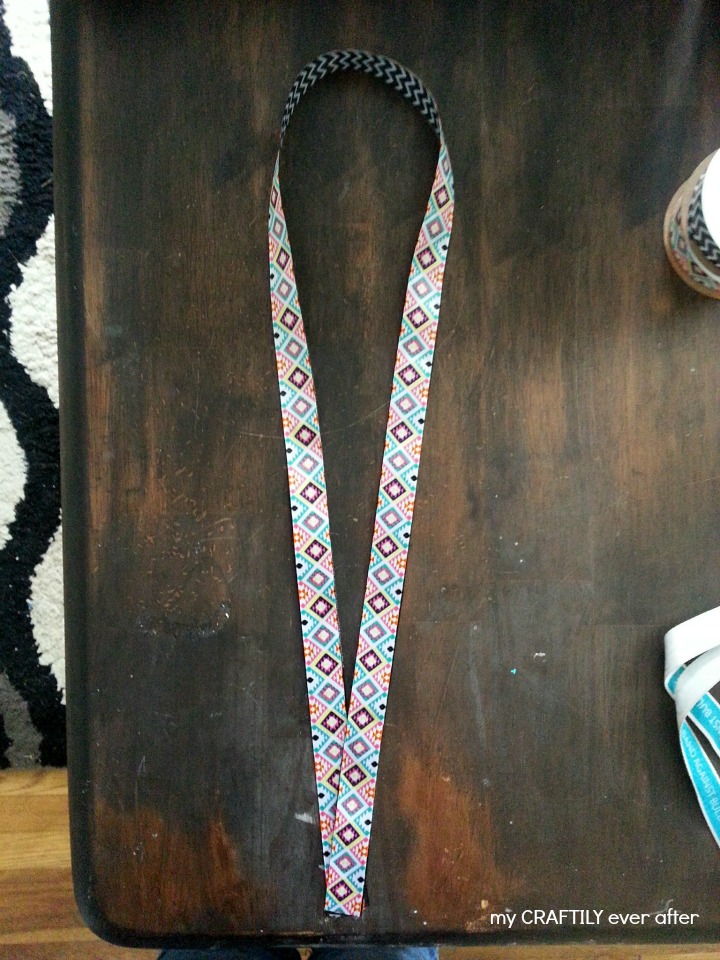
Then you simply slip the ends through the clip and sew them shut. Done and done.
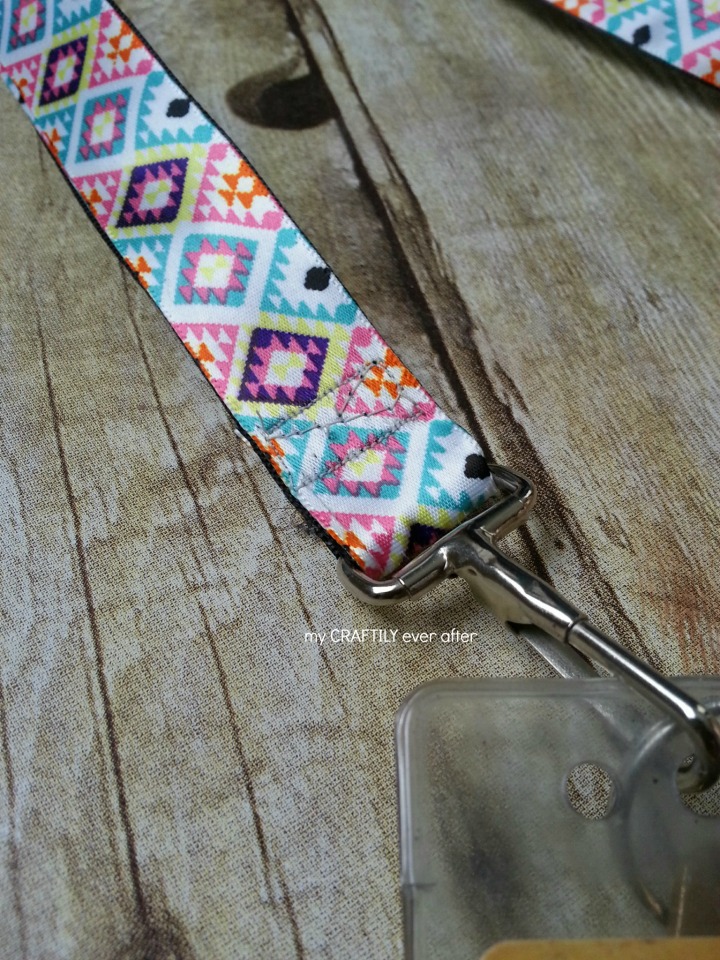
So go ahead and make one for all the teachers in your life, and for anyone else you know who has a need for such a thing! And don’t forget to check out all the other 15 minute teacher appreciation crafts linked up this time!


Love those ribbons! Great idea! Thanks!
This looks so easy I want to make one for myself! Thanks for sharing your idea.