Hi everyone – I’m Robyn from Robyn Builds a Nest and I’m here today with a really fun and easy project, printing photos on wood. Our family moved into our new home just over a year ago and we are still trying to figure out how to decorate the walls. Today I decided to make something easy and personalized.
Supplies:
– Piece of wood
– Image printed in reverse/mirrored, printed using a laser printer
– Foam Brush
– Gel Medium
– Water in a bowl
– Old rag
– Sealant (optional)
STEP ONE:
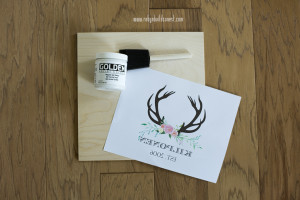
Gather your “painting” supplies – the wood, your mirrored print, foam brush and gel medium. I used Golden brand gel medium in matte.
STEP TWO:
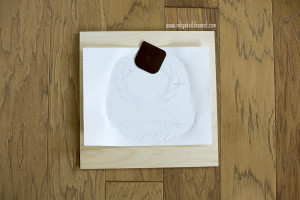
Place your image print side down on the paper and apply a thin coat of gel over the top.
*NOTE* next time I’ll trim my photo down to only the printed portion to make the removal faster.
Smooth out any bubbles with a flat object or the bottom of a spoon (I used a Pampered Chef scraper).
STEP THREE:
Let dry for 8 hours.
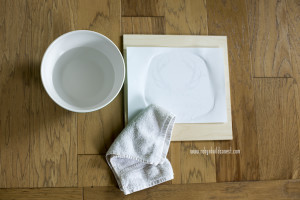
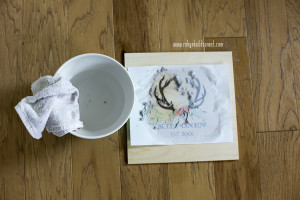
Gather your second set of supplies – a bowl of water and an old rag
STEP FOUR:
Use the rag to put water onto the paper and soak the paper fibers.
STEP FIVE:
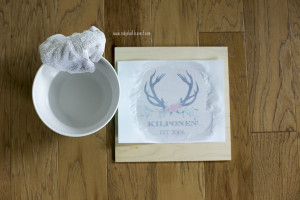
Work the paper fibers with your rag and fingers to remove all traces of paper. Be patient!
STEP SIX:
Let the wood print dry completely and cover with sealant if desired. Enjoy!
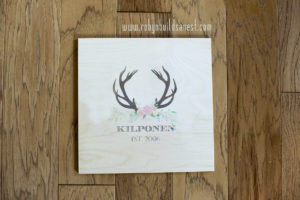
Congratulations, you’ve just finished your first print using photos on wood! I hope your enjoy the results and I’d love to hear how everything turned out. You can also try this on canvas!
Here are some ideas to resource your project (these may contain affiliate links, which help fund my DIY supplies)
Customized Print – Sweet Water Decor
Golden Gel Medium
Wood & Foam brush – Michaels
