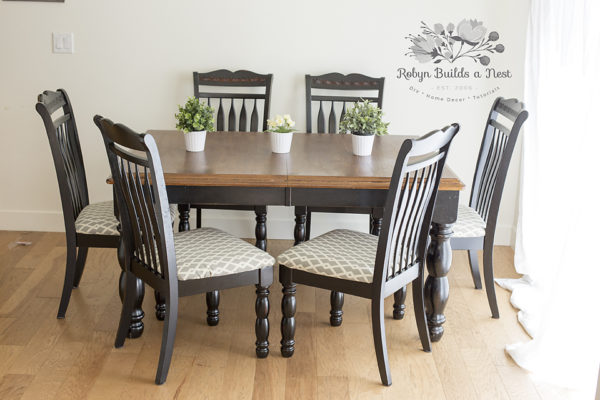
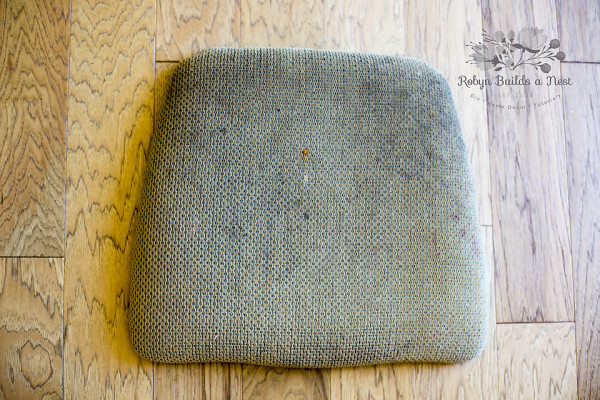
I’m here today to show you how easy it is to recover dining room chairs. I have to admit, I’m a bit embarrassed to post this because my “before” fabric is so filthy but it was the fifth that motivated me to finally recover the dining room chairs. I was going to clean them, yet again, and then I realized that I never really loved the fabric to begin with, they don’t actually cover the stains that well even after multiple cleans, and after three years with three messy children they were just never going to look good without taking drastic measures. Now that this is done I am left wondering why it took me so long, this is one of the easiest DIY projects you can do. The hardest part is pulling out the staples to remove the existing fabric – I suggest you do it while watching your favorite TV show (or two or three) because this part takes the longest.
Supplies:
- Staple gun & staples
- Indoor/outdoor fabric
- Fabric scissors OR Rotary cutter and Mat
- Screwdriver
- Heavy duty staple remover
I have six chairs and it just so happens that each one takes about a fat quarter of fabri. There are four fat quarters in a yard so this took 2 yards of fabric. Next time around I think I’m going to buy 6 coordinating fat quarters so each chair has it’s own fabric. My fabric was purchased at JoAnn’s using a coupon so it cost me less than $20. I also purchased my staple gun and staples there, although to be honest I wish I would have gotten something a little better from the hardware store because I had a hard time getting the staples to go all of the way into the wood on the seats of my chairs. Also, if you have black fabric covering your chairs maybe look for black staples instead of gray.
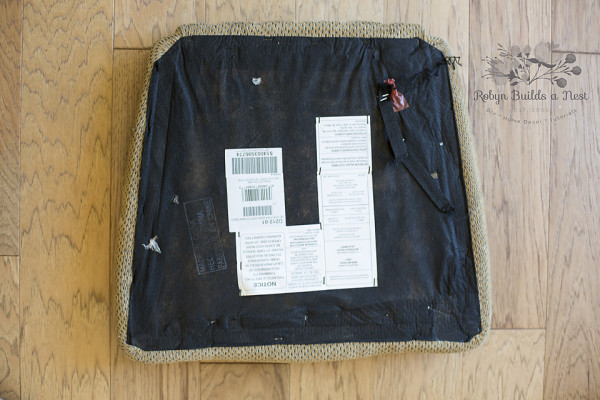
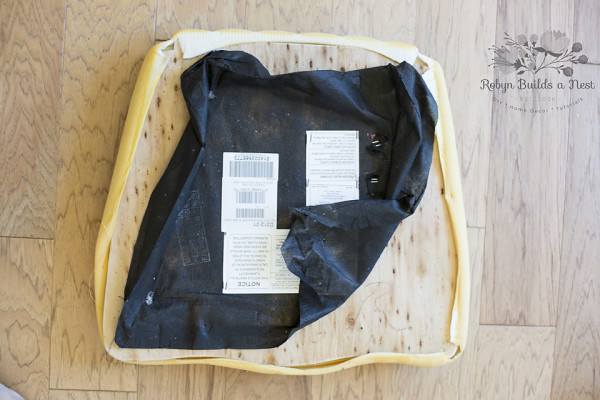
1. First up is the most time consuming part. Using your screwdriver remove your chair seats from the backs and then flip them over so you’re looking at the back/bottom of the seat. Carefully start removing all of the staples from the fabric so you can remove the cover from the seat. Notice in my photos that I didn’t remove the black fabric completely since it wasn’t being replaced. Be really careful removing staples, it’s not hard but you can injure yourself if you’re not using the right tools. For example a flat head screwdriver instead of a staple remover (not that I would know personally…)
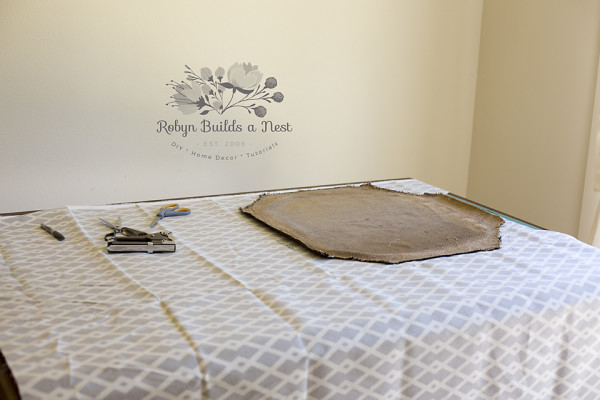
2. Get your supplies all set out on your cutting surface. I used my large cutting mat and rotary cutter on my kitchen table.
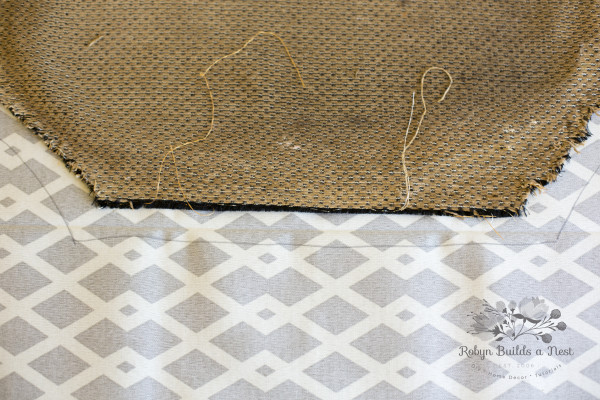
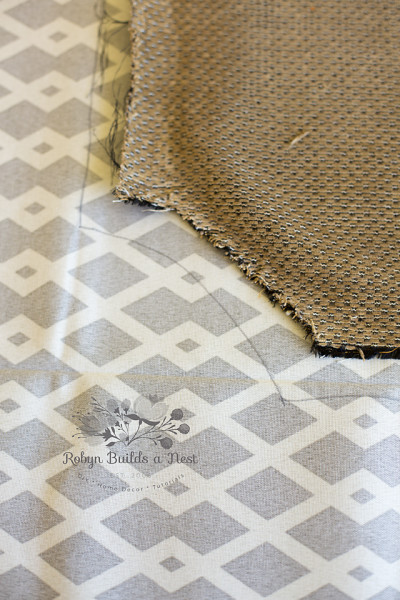
3. Lay your old chair cover on the wrong side of your fabric and trace around the old cover – leaving 1.5 to 2 inches seam allowance all of the way around.
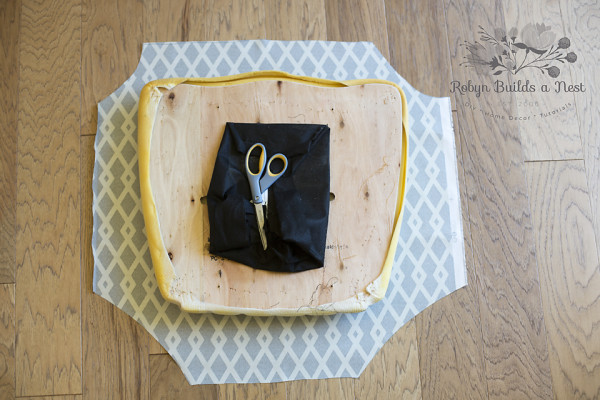
4. Using your rotary cutter on the mat (or scissors) cut on your line. Take your chair seat with padding and new cover so a good location for stapling. Make sure your fabric is facing the correct direction if there is a pattern on it. If you kept your bottom cover fabric partially stapled on make sure you hold it down so you don’t accidentally staple it under your new fabric.
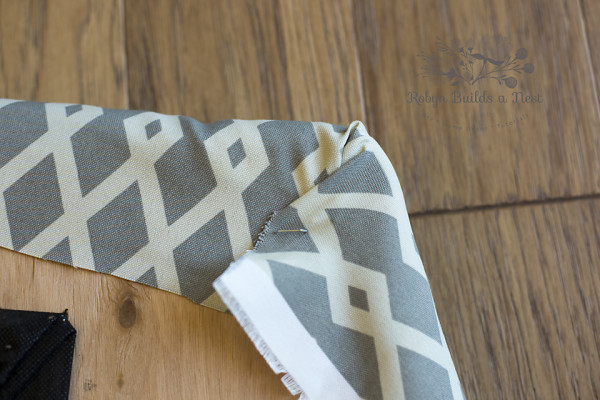
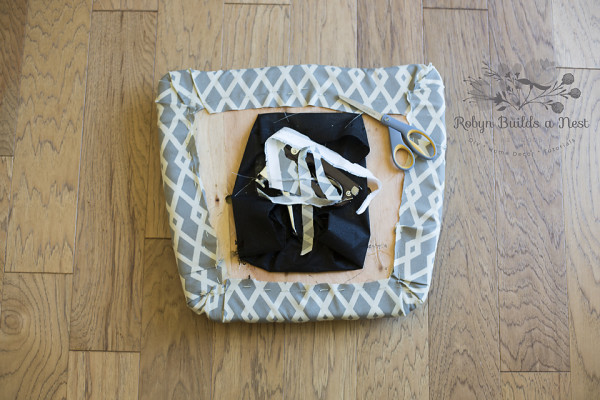
5. Begin in one corner, pull tight and start stapling. You will need to crease/overlap a bit in the corners. Make sure you are stapling far enough in that your black fabric will cover the staples once it’s down. CAREFULLY trim your new fabric down so it’s not bulky under your black fabric.
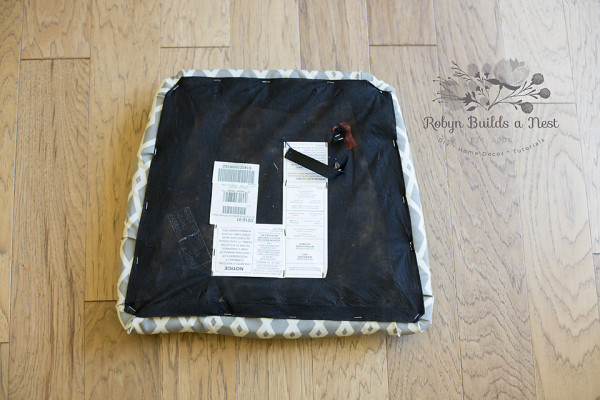
6. Fold your black fabric down and staple it back down around the edges.
7. Screw your seats back onto the chairs. Also, if you have children that love to drip yogurt, syrup, etc everywhere while eating then I highly recommend cleaning your chairs while the seat is removed. It’s so much easier. I used my doTERRA OnGuard cleanser and I was amazed at how easily everything came off! If you do everything assembly line then it comes together quite quickly and before you know it you’ll be sitting back enjoying your “new” dining room table. Congratulations!
Thank you – if you have any questions please post them!

So pretty! I love that fabric!