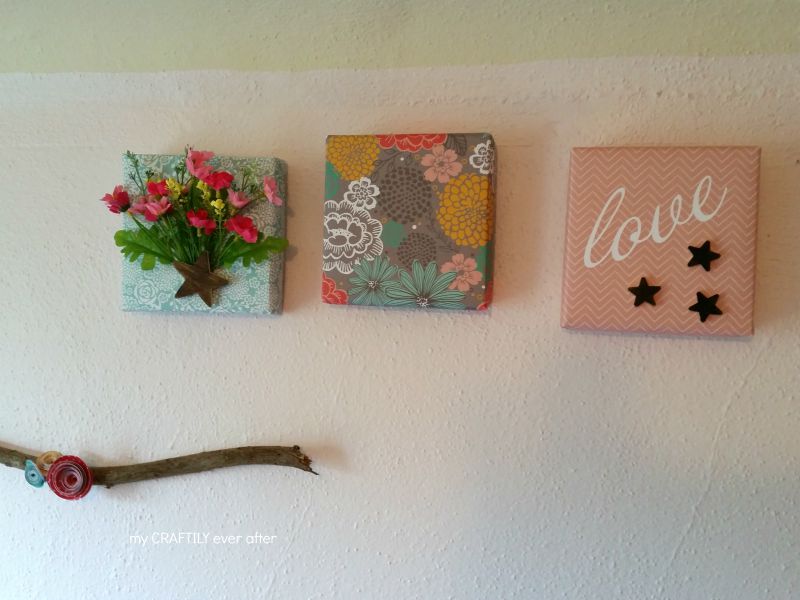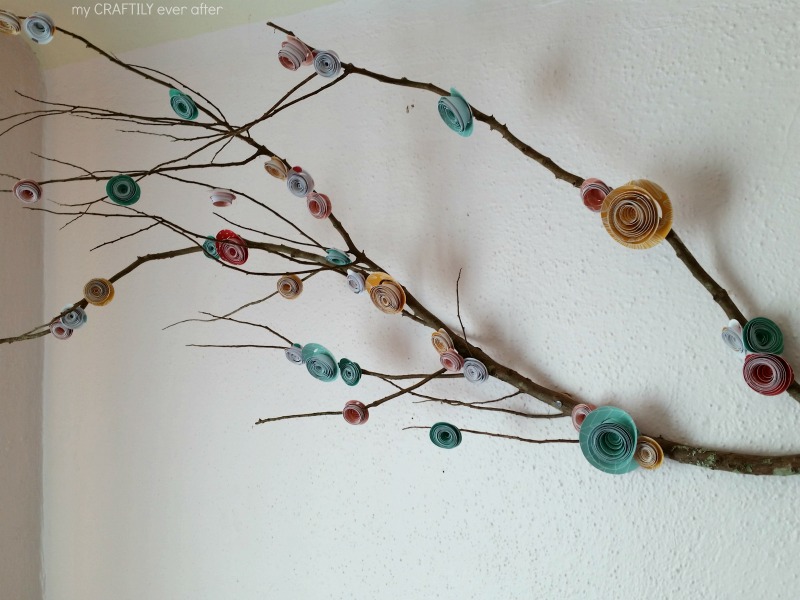
Hey there!! Today I am over on Tatertots & Jello sharing this amazing paper blossom branch that I made for my youngest daughters room. Go check it out over there, right after you read all about how I created these paper covered canvases to go along with it!
The first thing you’ll need to do is gather up all your supplies. I used:
- three 6×6 canvases
- pebbles paper pack
- staple gun
- fake flowers
- wooden stars & stain
- hot glue gun
- vinyl and cutting machine (or really steady hands)
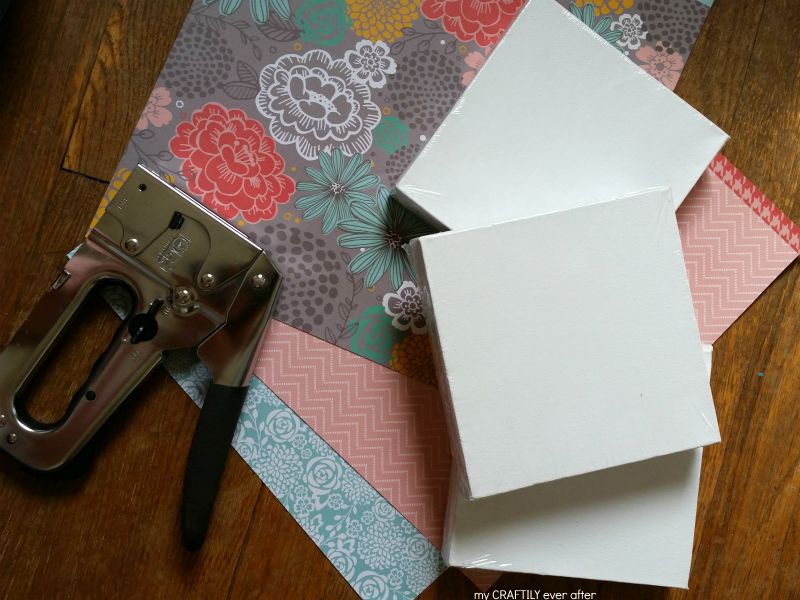
Start by choosing your papers. I went with one super fun floral pattern and then two simpler patterns in coordinating colors. There were so many choices in this paper pack from wood grains, to black and white herringbone to florals and polka dots. Seriously, something for everyone! Lay your canvas face down on the back side of your paper as close to center as you can get it. Fold your paper over (making sure to get it really tight on the edge) and staple it once in the center. Turn the canvas around and fold the opposite side over and staple it once in the center. Now here’s where it gets tricky. You are going to wrap the sides in and up just like a present. Make sure you get your folds and flat as possible so your canvas will lay flat on the wall when you are done. You are going to end up with one staple in the center on each of those sides as well. Once it is all wrapped up go around and stick a staple in each corner to hold all the paper flat.
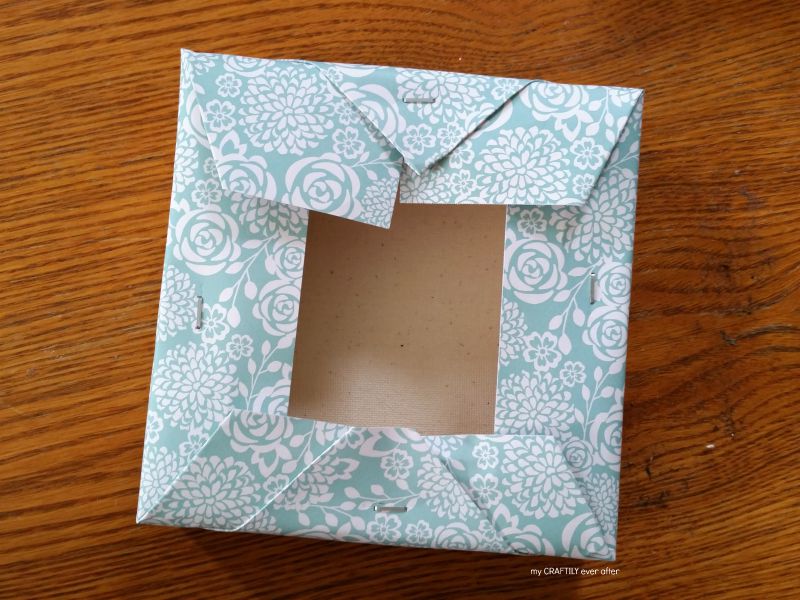
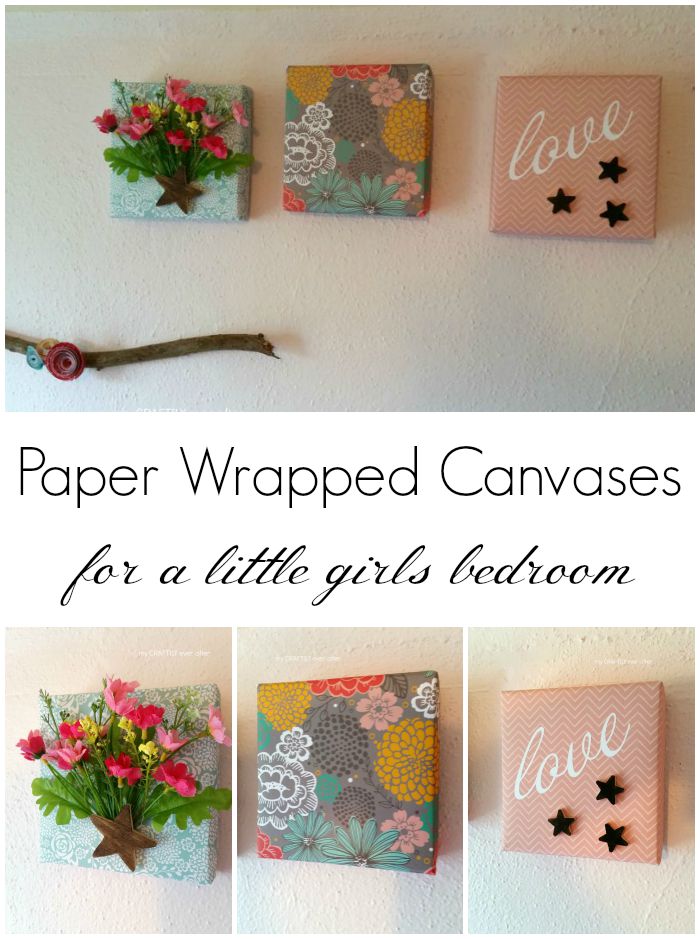
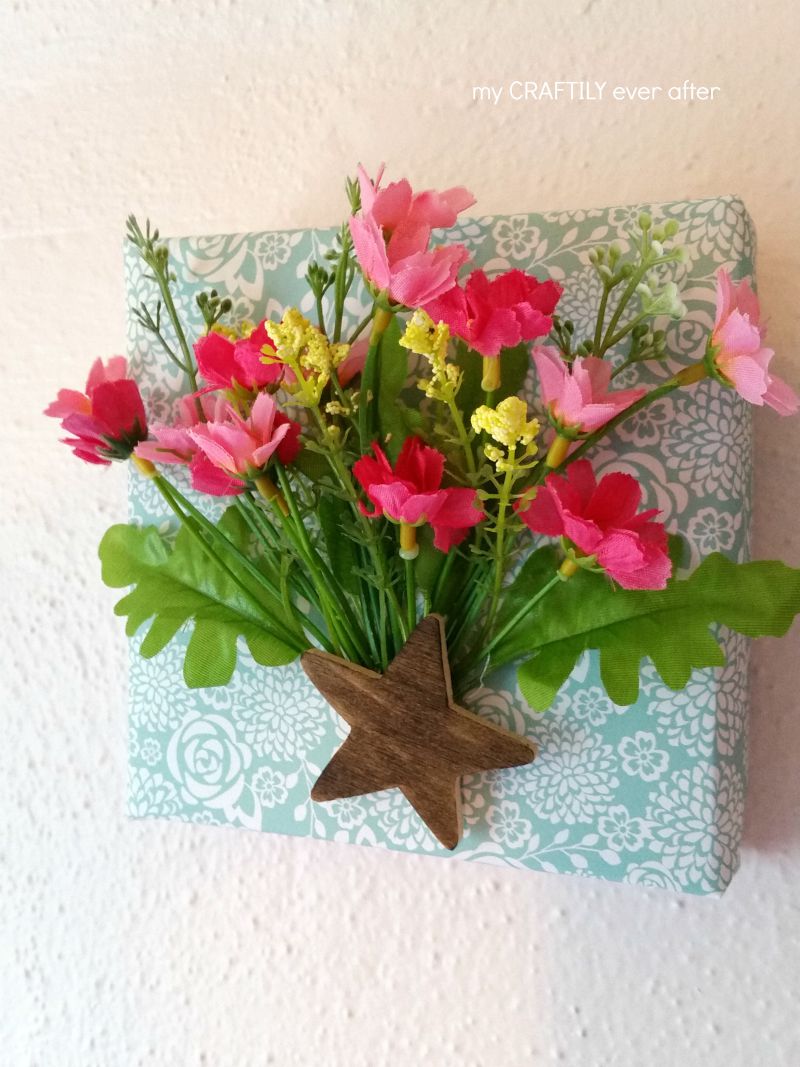
Now flip it over and admire it, you’re halfway done! I wanted to do a few different designs on mine to go along with the branch I already had up there. I decided to use some of my leftover fake flowers and glue them down in the center of one canvas. I used three sprigs off the bunch and I think it was just enough to be full, but not so many it was going to fall over. I used a medium sized star that I stained with a dark walnut stain marker to cover up the glued stems.
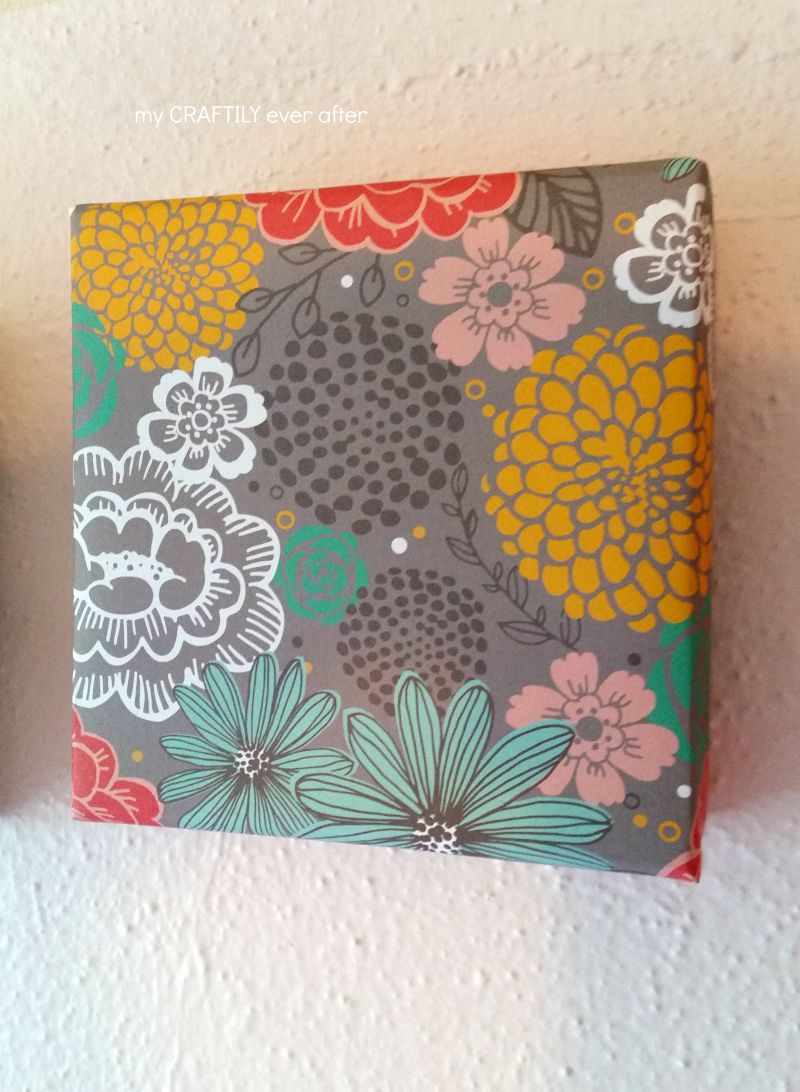
One the middle one I felt like the pattern was busy enough that I just left it alone. I mean sometimes you just can’t improve on perfection. 🙂
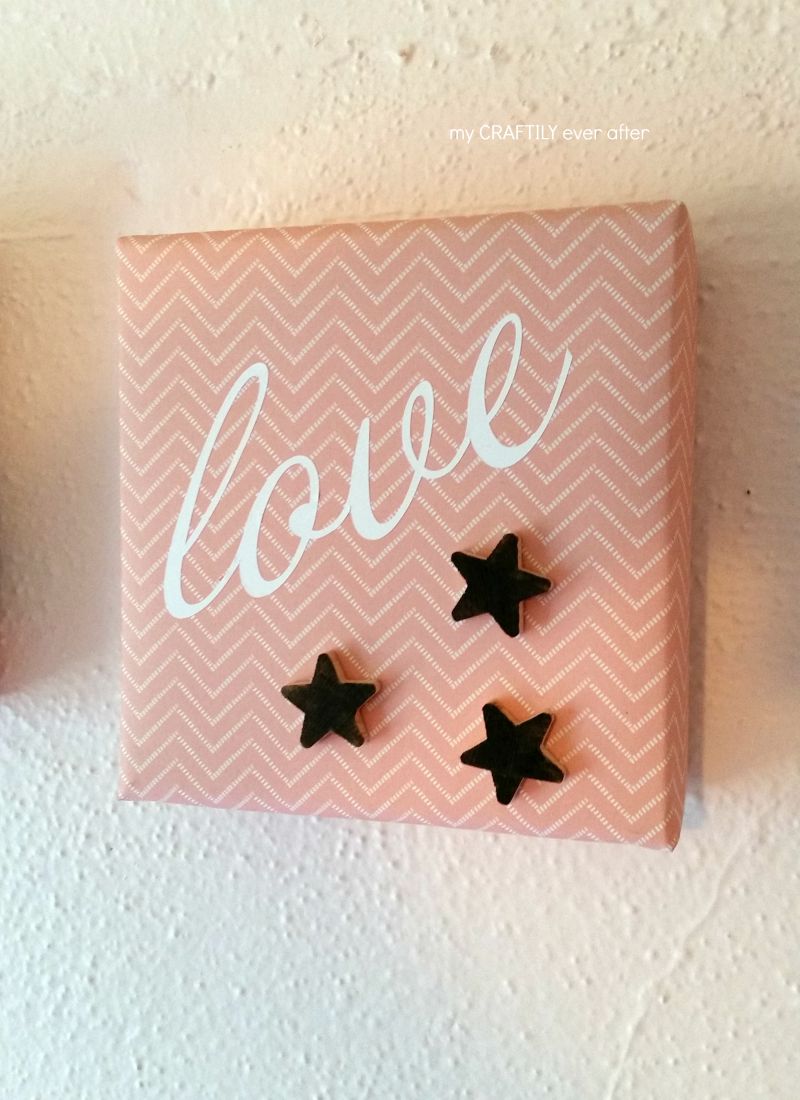
The final one I did involved cutting some white vinyl with my Silhouette. I used the font “Annabelle” and typed out love to fit the width of the canvas. I purposefully made it a little skewed so I could add a trio of tiny wooden stars, stained with the same marker, to the bottom corner. I love the combination of pretty papers, flowers, and wood elements.
These canvases are almost like the reverse of the branch and I love the way they play off of each other! I have a few more projects lined up using this line of products so come back soon and check them out!
