This shop has been compensated by Collective Bias, Inc. and its advertiser. All opinions are mine alone. #BeHealthyForEveryPartofLife #CollectiveBias
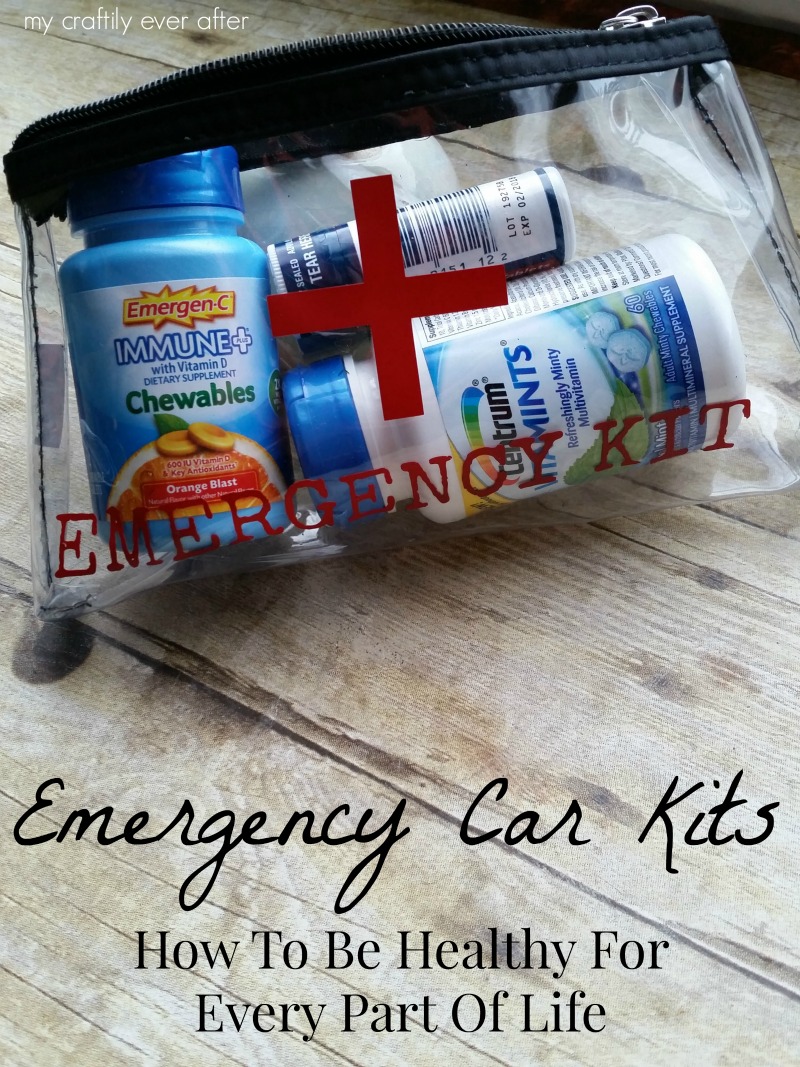
I am a big believer in always being prepared. Back when I was in college I kept a spare change of clothes, beach towel and swimsuit in the trunk of my car “just in case.” Then as I got older and I became a mom that emergency bag was filled with diapers, wipes and baby clothes. Basically, I have always kept an adventure pack. Now as a mom of three, a teacher and a frequent road tripper my list of necessary items has grown up even more.
Gone are the days of diapers and wipes (thank goodness!) and on to the loooong days of teaching and momming. These days my “just in case” bag contains a lot of super practical things, and less spur of the moment ones.
I had a couple of these makeup bags leftover from a conference I attended earlier this year and they were the perfect size to pack up with all my much needed supplies. I decided that these would also make a fabulous gift for all my other crazy busy friends and so I whipped up a couple to give out this holiday season. I decided to get fancy with the outside of the bags and so I added a few vinyl words and a fun image.
It was super simple. I simply cut the vinyl with my silhouette software, and then pressed the design firmly onto the outside of the bag using contact paper as a transfer medium. It only took a couple of minutes total.
Supplies
- Small makeup bag or purse organizer pouch
- Olive green adhesive vinyl
- Red adhesive vinyl
- Contact paper or transfer paper
Start by designing your words in your silhouette (or other cutting program) software. I knew I was going to use two different colors so after I was done designing, I drug the green leaves off the cutting mat on my screen and cut just the red words and berries. I then swapped them and cut the green leaves. I am also a little cheap (what!?!?) and so I use clear contact paper instead of official transfer paper.
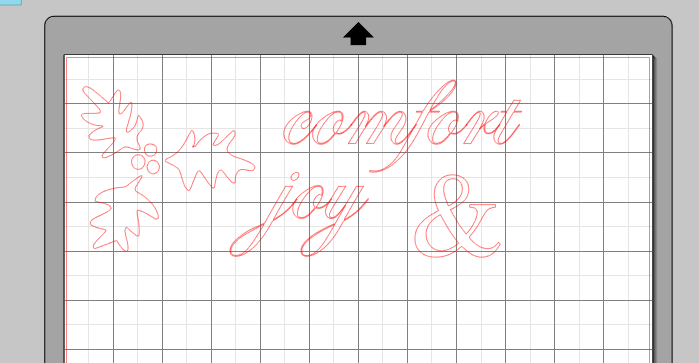
I added each word and the ampersand (ohhhh, I just love that word, ampersand) individually so I could get them lined up just where I wanted them. It is super easy to apply vinyl to a smooth surface like this. Simple place your contact papered vinyl and then slowly peel back the contact paper. The vinyl naturally wants to stick to the plasticy surface and makes this design transfer a snap!
I did the lay the leaves all at once, I really like the spacing I had when I cut them, and I knew if I tried to do it individually it would end up all cattywampus. However, I hand placed the berries!
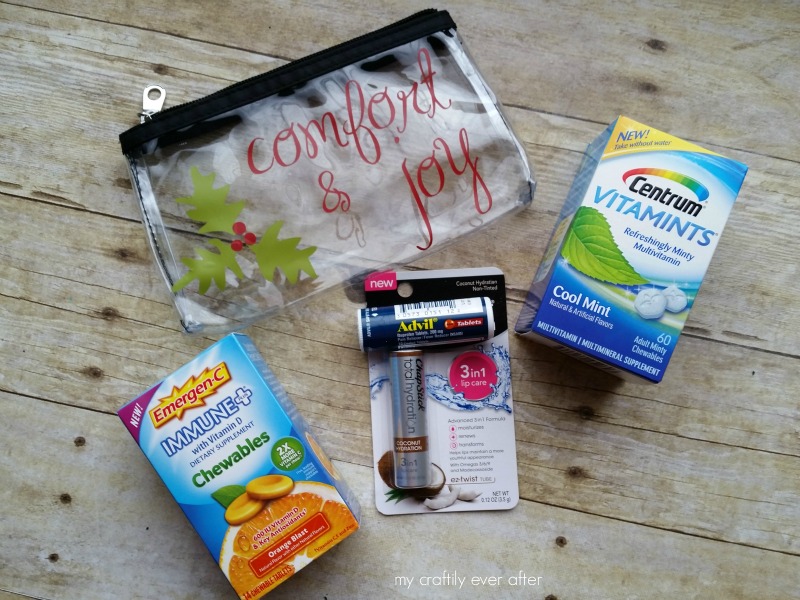
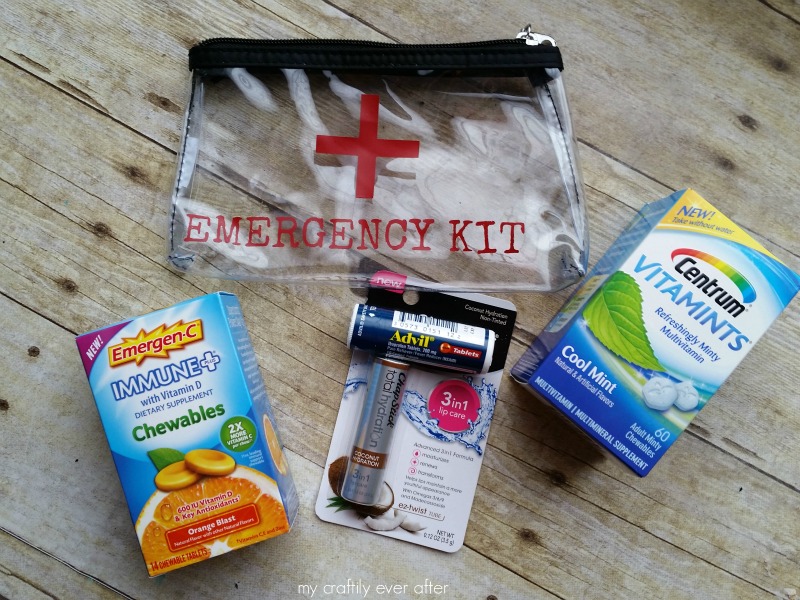
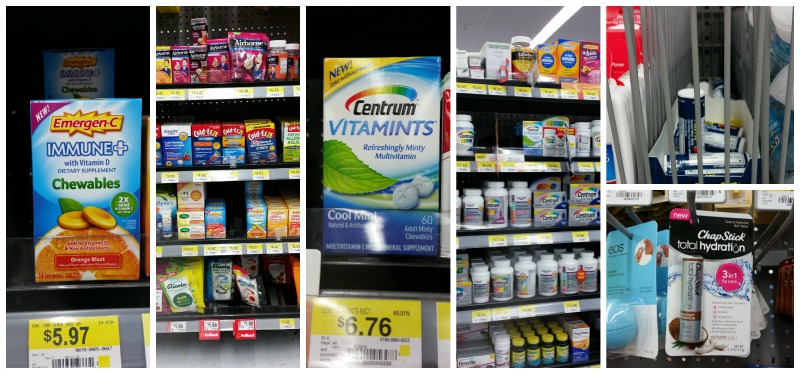
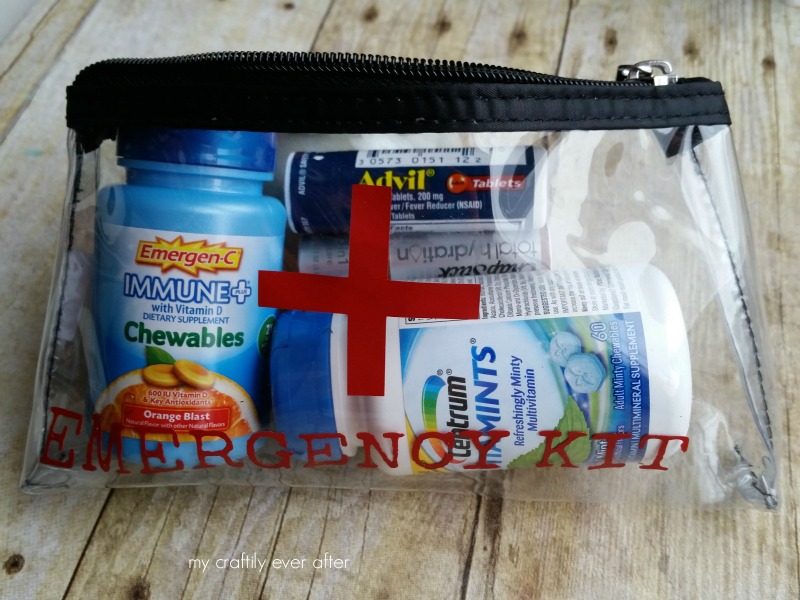
Then I loaded them up with all my favorite goodies! I headed to Walmart to pick up some travel sized items: an Advil Tablet Vial because nothing’s stronger, longer lasting or better on your tough aches and pains than Advil, and nothing works on more pains than Advil (among OTC pain relievers) and Total Hydration ChapStick! Then I added some Centrum VitaMints (no chalky taste, just cool mint flavor), and Emergen-C Immune+ Chewables, which give a boost of immune support and I was set for whatever came up!! The Total Hydration ChapStick has become my new go to beauty essential because it is made with an advanced nourishing formula with argan oil and avocado butter and rosehip oils!
So even though I don’t carry a purse, I keep my emergency bag in my car so that no matter where I am I always have those much needed supplies with me! This pouch is compact enough though, that it could easily be slipped into a purse or diaper bag for you less minimalistic (probably far more stylish) ladies out there!
If you liked this post, click on the button below to see more 15 minute or less holiday crafts!

