You are not going to believe how easy making your own chalkboard art can be. I just made this Christmas chalkboard art in less than 30 minutes, that included cleaning my Thanksgiving chalk art off my chalkboard, prepping the board, creating my art on my computer and printing it and then actually making the sign. So let’s get started, shall we?
Supplies:
1. Chalk (the regular kind, not the pens)
2. Chalk pens/markers (optional)
3. Towel, napkin or paper towel
4. Computer/printer
5. Pencil
Steps:
1. Clean your chalkboard and make sure any old writing is completely gone. I often use a chalk pen/marker and it’s pretty tough to remove so I usually wet a Magic Eraser and clean my board.
2. Take a regular piece of chalk and “season” your chalkboard by laying the chalk on it’s side and rubbing it all over.
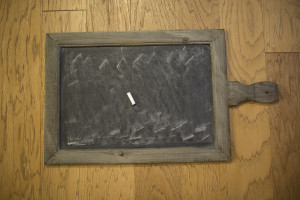
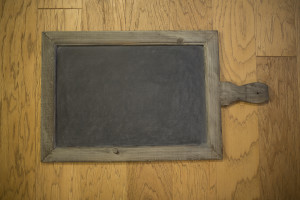
3. Use your towel to remove the chalk and now it’s all clean and ready to begin.
4. Print your chalk art onto a regular sheet of paper – you can do this in Word or Photoshop.
5. Rub chalk on the BACKSIDE of your paper over the word(s) and/or pictures that you’d like to transfer to your chalkboard.
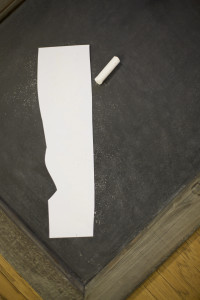
6. Flip the paper over and place it where you’d like your art/words on the chalkboard. Use a regular pencil to trace the print and it will transfer the chalk from the back of the paper onto the chalkboard.
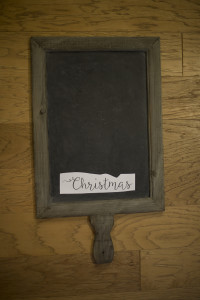
7. Remove the paper, then do any additional work.
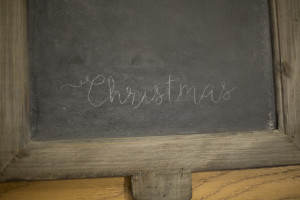
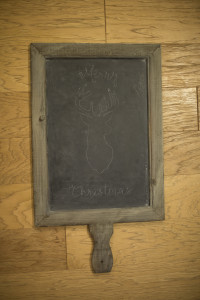
8. Once finished you can then go back and trace your outline with a thicker line of chalk. You can use your regular chalk or even wet it a bit to get the print a bit darker. I use a chalkboard marker on mine, however if you do this please test it in a small space first as it might be difficult to remove.
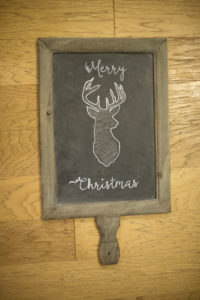
Enjoy 🙂
