I was lucky enough to be gifted some fun heat transfer vinyl from my favorite company, Expressions vinyl for this post.
Over at the Expressions Vinyl Facebook Page they are having a rock your stockings contest! People can upload a picture of a stocking they fancied up using vinyl! And they asked some of their favorite bloggers to get the ball rolling with some fun ideas! (You can enter to win a gift card–but I also have a gift card for $100 to Expressions Vinyl at the bottom of this post! )
I started labeling my kids stockings about 4 years ago. Back then I was using my Slice machine to cut letters and fabric with steam a seam fabric transfer to attach it. Since then I have upgraded my machine to Silhouette and I’m now using heat transfer vinyl. Let me tell you, it makes all the difference in the world!
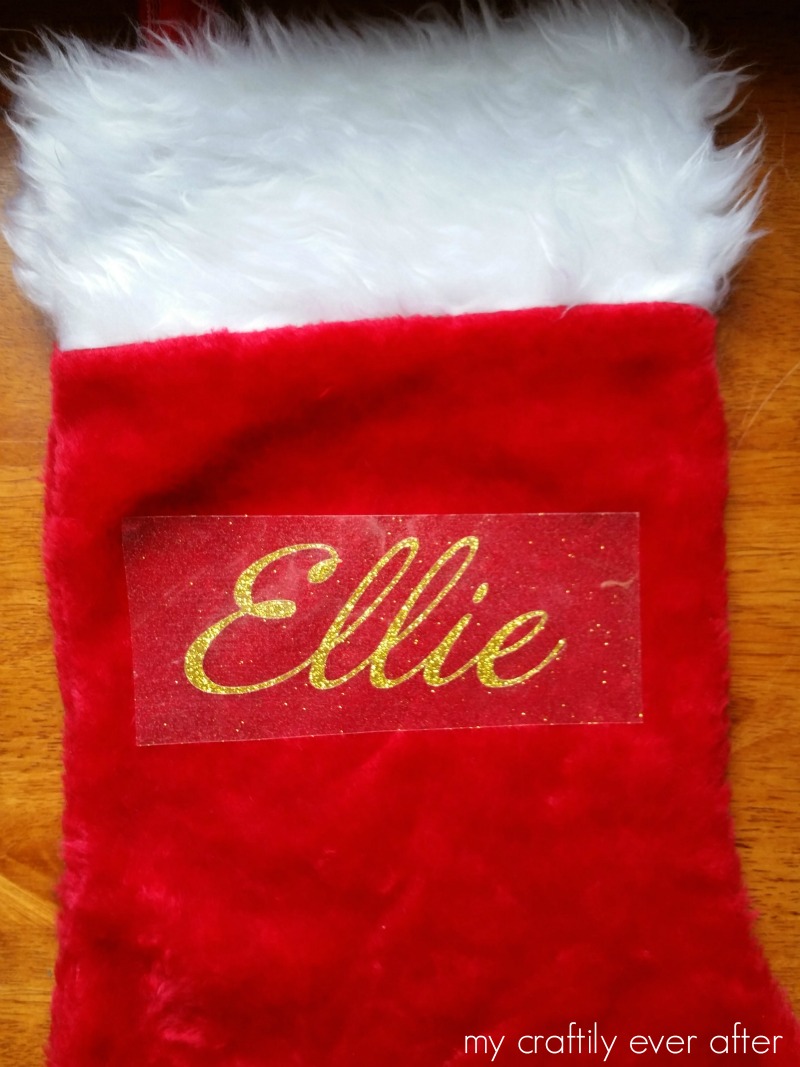
I started by typing out my daughters name in the silhouette program, then I mirrored the design, because with the heat transfer vinyl you need to cut it out backwards. I ALWAYS mess this up! I set it up and hit cut. Now when you lay your vinyl on the cutting mat, you will want it wrong side up. So, don’t be like me and waste oodles of vinyl cutting it on the wrong side….

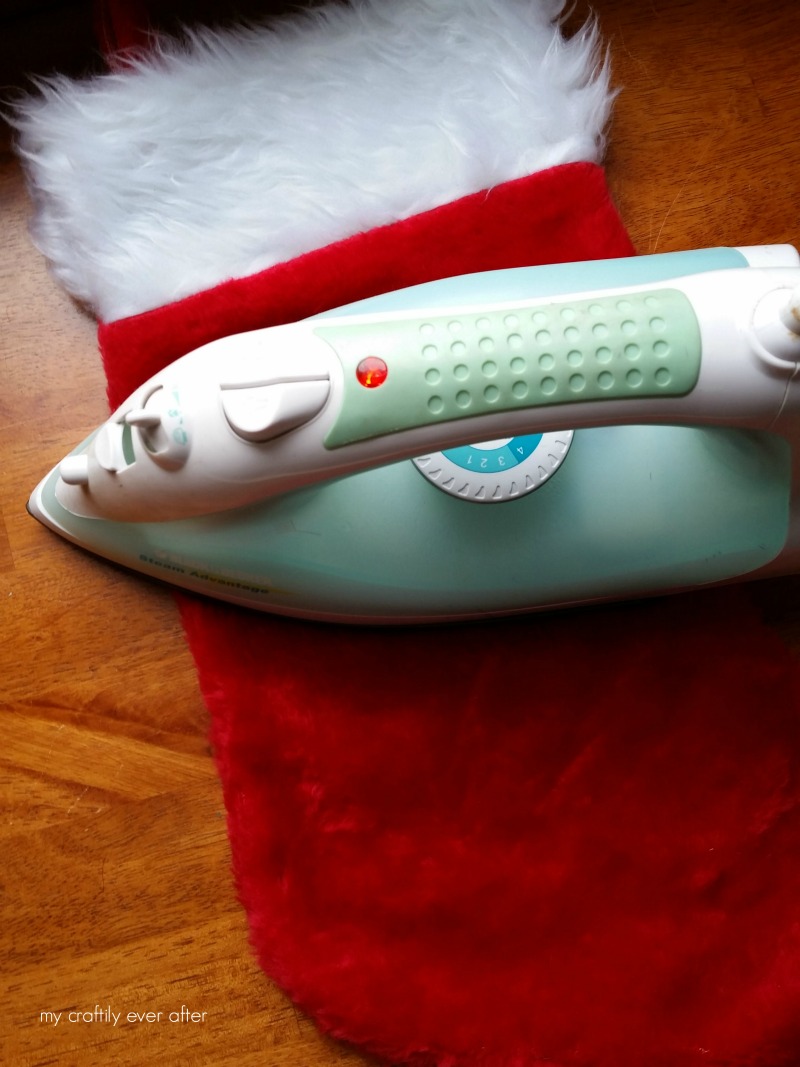
Then I prepared the stocking. This means I took it off the mantel and laid it out on my desk. I have found that trying to get the ironing board out and set up requires too much commitment and so I do all my ironing tasks on my desk. It is an upcycled dining table so it can handle the heat and it won’t melt!

Place your vinyl right side up on your stocking and get your iron REALLY hot! Normally you will need to press down pretty hard and for a good while in order to get a good adhesion. The first few times I worked with heat transfer vinyl I struggled with this. My designs wouldn’t stick and kept peeling off. Now I know better. Hot, hot heat and a lot of pressure. HOWEVER, with these stockings I set it on there for about 5 seconds and it was stuck. They are dollar store stockings and I wasn’t sure they wouldn’t melt or something weird so I just gave it a little test. 5 seconds was plenty for these!

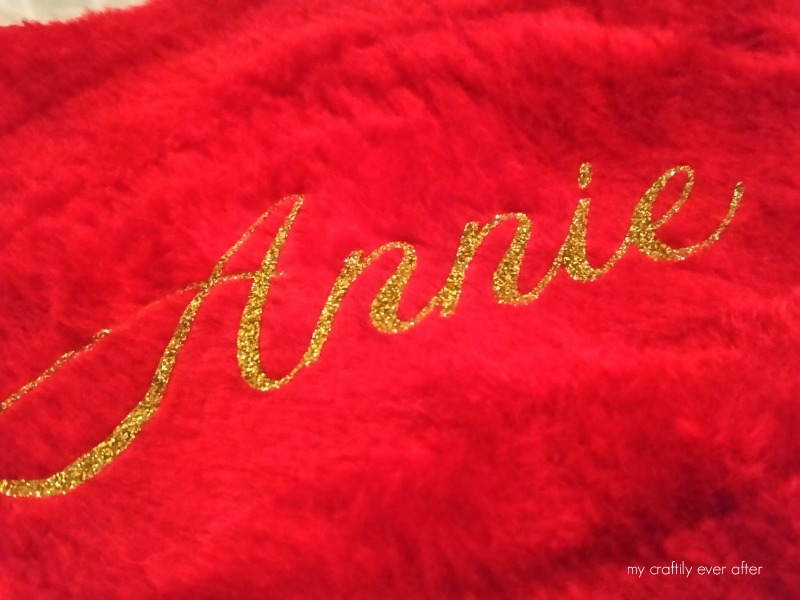
Once I had names attached to all the stockings, I hung them back up on the mantel and admired my handy work. Now all the kids have a custom stocking and they can’t wait for Santa to come fill them!

Here are 18 fun stocking ideas that all have Heat transfer vinyl on them!

1. Faux wool sock from Fynes Design
2. Personalized stockings from Maybe I will
3. Gift card holder from 733 blog
4. Customized stocking from Artsy Fartsy mama
5. Stocking tag from Strawberry Mommy Cakes
6. Stocking pillow from One Krieger chick
7. Stocking shirt from Pitter and Glink
8. Stocking banner by Sugar Bee crafts
9. Boy Scout stocking from mm scrap shoppe
 10. No sew from Holy craft
11. Personalized Pajamas from Ginger snap crafts
12. Diy Stockings from Mabey she made it
13. Stocking with car from Kiki Comin
14.Personalized stockings from Craftily ever after
15. Burlap Joy stocking from A girl and a glue gun
16. stocking placecard from Crafting in the rain
17. Scandinavian inspired stocking from Tried and true
18. cute stocking from Flamingo Toes
Make sure to enter to win $100 gift card to Expressions Vinyl! Good Luck!

THANK YOU for posting about those cheap fuzzy stockings! I’ve been scouring the internet all morning to find out if they are safe to iron or if they would melt or catch my house on fire. You are a lifesaver!
So fun! I would have been hesitant to use htv on that fabric and am so glad you shared that it works. Loving the gold against that red!
Such a great addition to those cute fuzzy stocking. And thanks for the ironing tip!s
Custom stockings with names are the best! How else does Santa know which one to fill? 😉