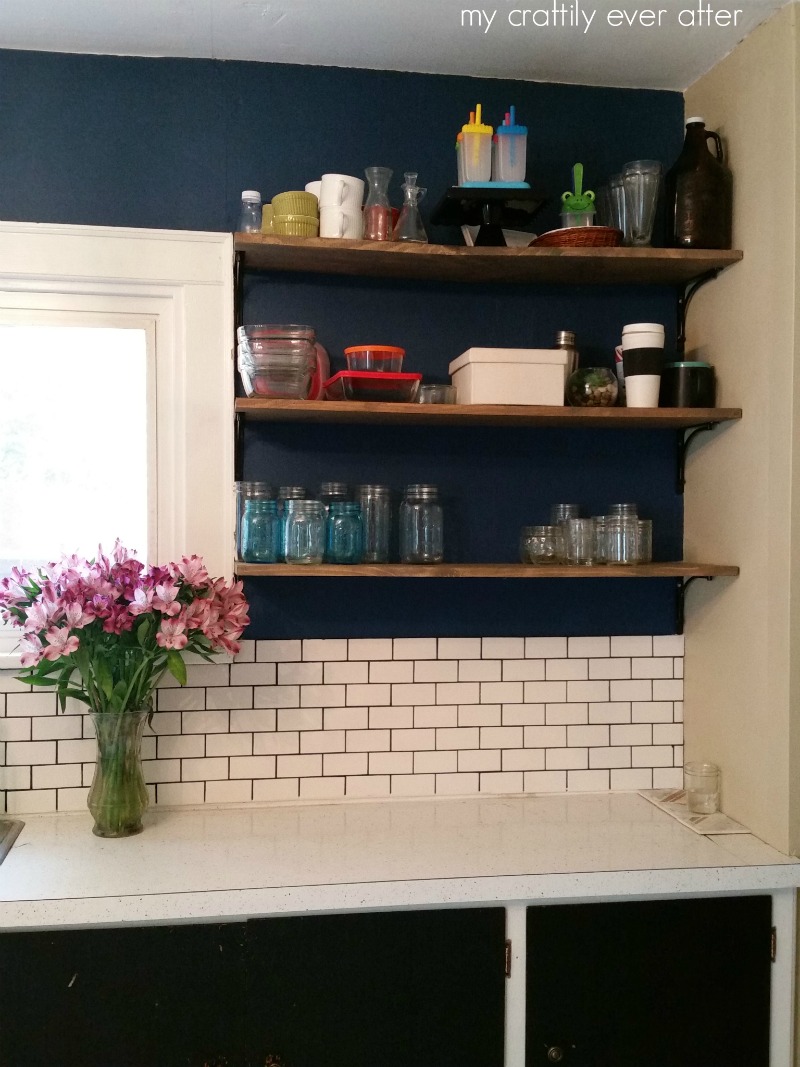
Hi my name is Ashley and I’m a procrastinator! My husband and I demo’d and updated the top half of our kitchen back in April and I’ve been putting off editing photos and writing this post for a whopping 6 months now. I am trying to kick myself into gear with winter approaching and so here I am finally sharing my kitchen update with you all!
When we first started touring houses and looking for our forever home 4 years ago one of the first ones we toured was this house. I loved everything about it until we got to the kitchen. I was like one of those annoying women on House Hunters who just couldn’t (or didn’t want to) see the potential that was hiding behind those nasty orange cabinets and linoleum floors. Twenty houses and no luck later, we came back to this house and I started to relent a little bit about the kitchen. I told my husband then that they kitchen was way up high on my list of things to deal with and I set the condition of a new kitchen in the next 2 years.
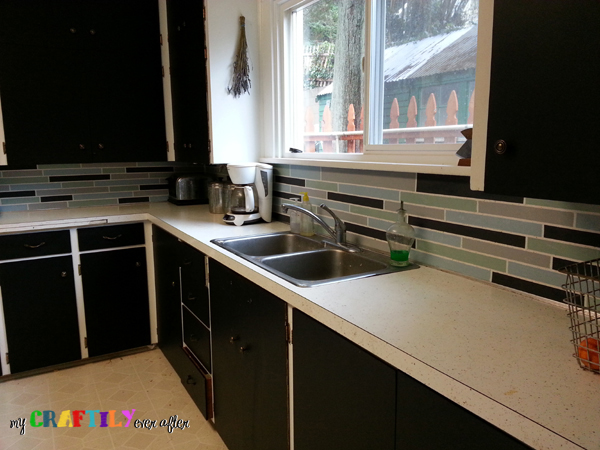
That first year I made a couple of changes, just so I didn’t cringe each and every time I walked through this super central part of our home and a room I spend 50% of my day cleaning and cooking in. I painted the cabinets black and added an amazing painted back splash over the hideous gold flecked Formica that adorned the counters and walls. However, 3 full years later and we were still living with the same ugly kitchen hidden behind a coat of paint.
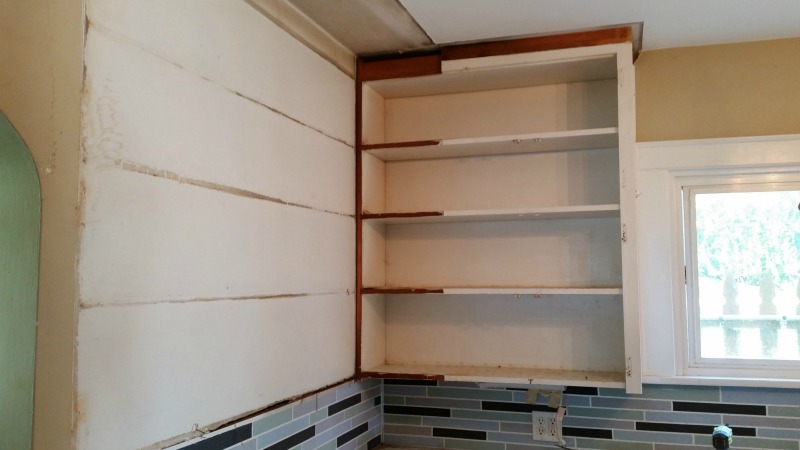
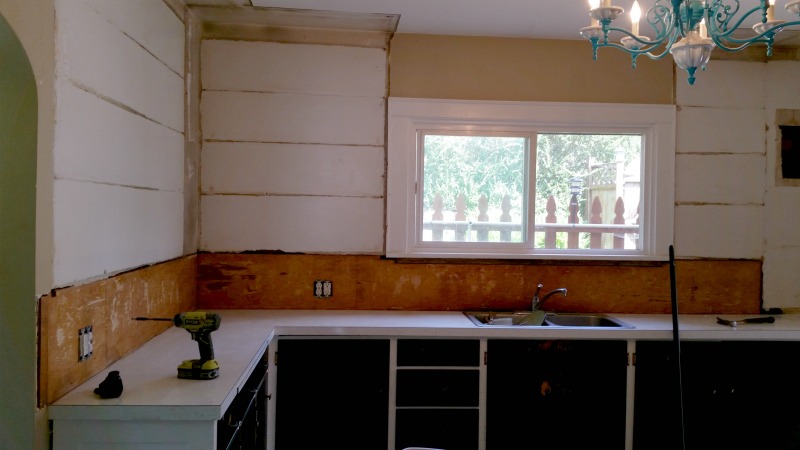
I had originally set up a phased plan for our eventual update, I had created a gorgeous walk in pantry and relocated everything in the upper cabinets to its new home except for our daily dishes. So we had nothing but floor to ceiling empty cabinets. There was no end to the awfulness in sight though. Then this past April my husband surprised me for my birthday by suggesting we rip out a couple of the uppers. We were just going to remove two upper cabinets and paint the walls behind them. I was ecstatic and my excitement must have been catching because before long ever single upper cabinet in my kitchen was firmly planted in the bed of his truck waiting to be hauled to the dump.
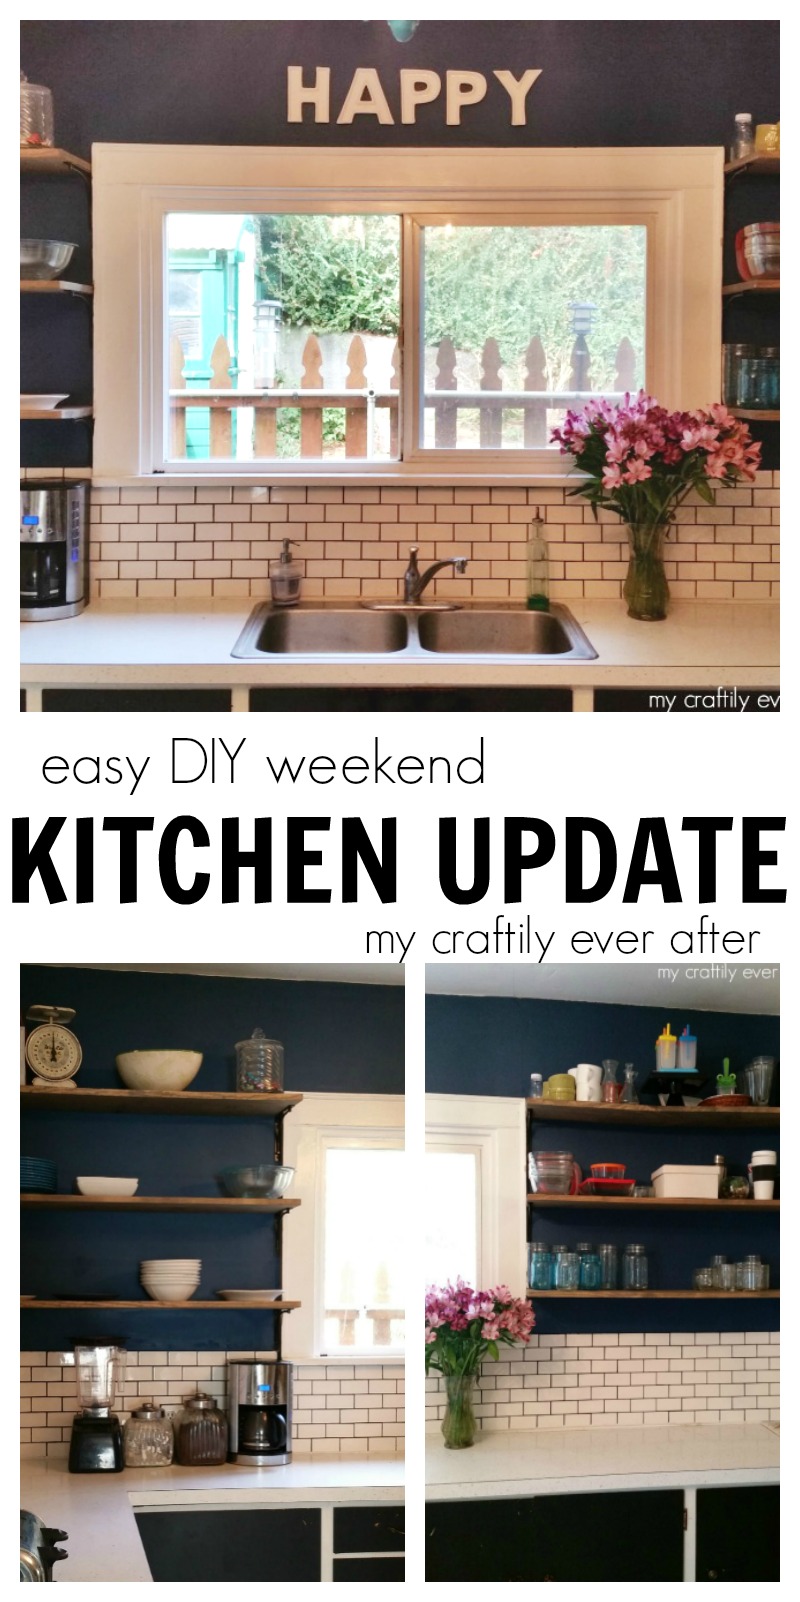
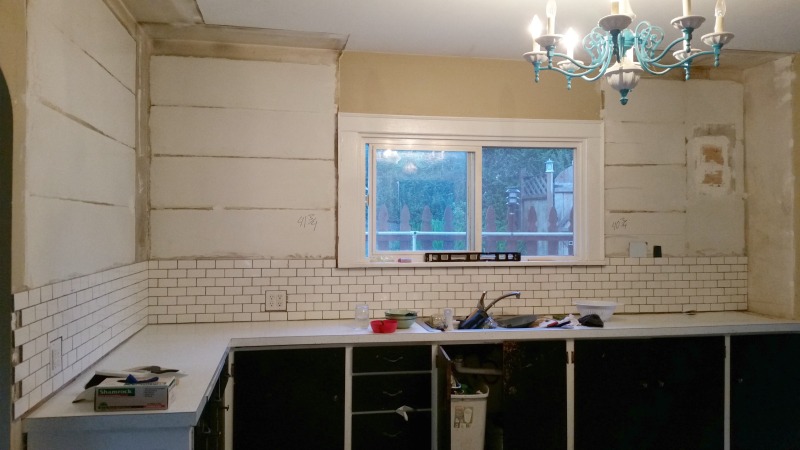
Then came the hard parts. Because we had only planned on removing one tiny section of cabinet and paint the wall we hadn’t picked out any tiles, shelves, brackets, NOTHING. There isn’t much on this earth more motivating than a half torn apart kitchen when it comes to making compromises and buying supplies. We headed to our local Home Depot and began the agonizing process of choosing a back splash tile. We were quickly brought to our senses when we saw how much tile can cost and agreed on a sensible white subway tile. It fit our budget, our design and we could happily agree on it. Here we are at the end of day 1, cabinets removed and tile installed! Don’t mind the dirty dishes in the sink…for some reason the kids still wanted to be fed during this process.
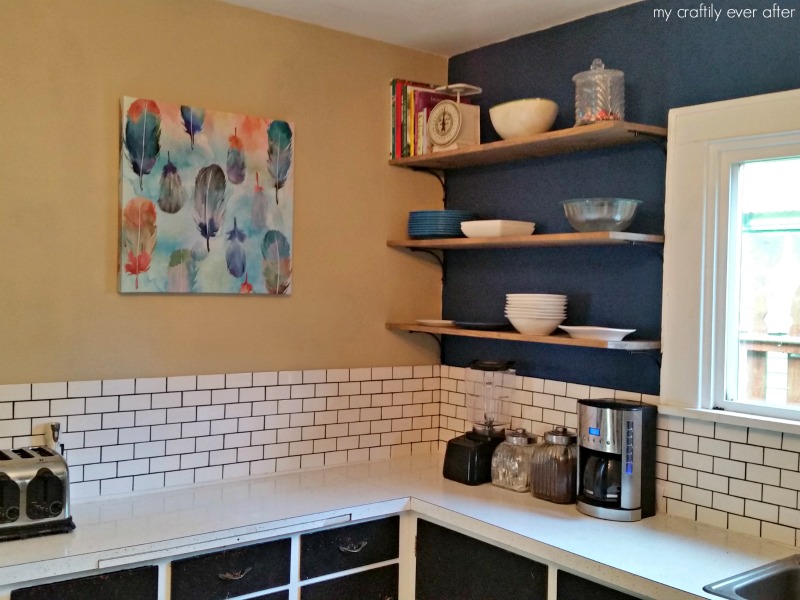
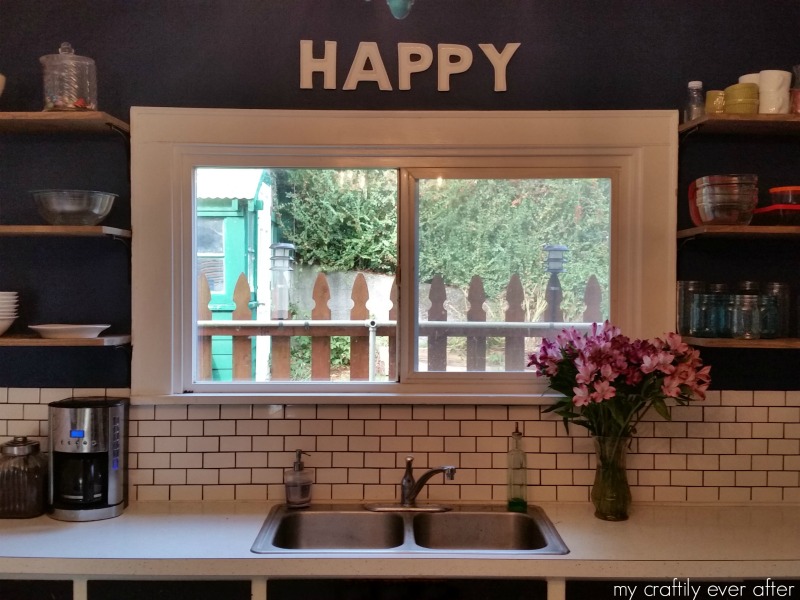
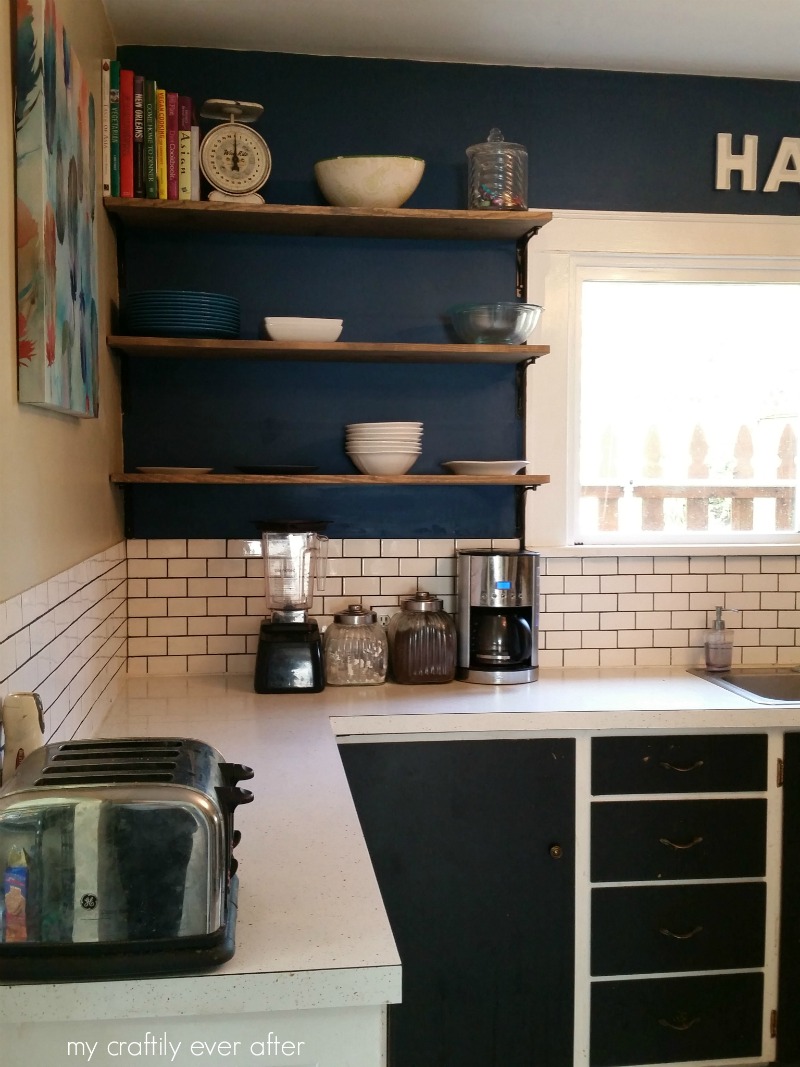
For everything else, my husband let me take the reins, giving his input and suggestions along the way, but really letting my “vision” lead the process. He is the absolute best, and I am so lucky that he goes with the flow and trusts my ideas! I knew I wanted open shelving, and I wanted the natural wood to shine through while still adding some depth and interest to that whole wall of our kitchen. I choose a 1×10 pine board for the shelves and gave them a solid coat of Briarwood Smoke stain, which is a blue/grey stain that tied in really nicely to the Superior Blue I painted the focal wall behind the sink and shelves. I absolutely LOVE this paint color and you can find it in accent pieces throughout our house (bookshelf, hutch), which gives our home a curated look without being too matchy matchy.
Once the back splash was installed, the walls (and ceiling) were painted and the shelves were installed it was time to put everything away. It was amazing how fast everything went once we got to this point. I had originally thought it would take a few kid free, 12 hour days to do this project however, it ended up taking only two 8 hour days with all three kids running around beneath our feet!
Once the jars and dishes were put away I got to get to work on adding some decorative (and functional) pieces. I moved all of our cookbooks into the kitchen where I could actually see them and use them while meal planning and stored all my food blogging props on one of the top shelves out of the way, but still easy to access. We were able to get out coffee maker and blander under a shelf (now that the shelves were more than 8 inches above the counter) and the amount of usable counter space we gained was like 500 times more than it was before!
I absolutely love every single thing about the top half of my kitchen these days and after using it for the past six months I haven’t found a single thing I would change, which if you know me, says A LOT!
