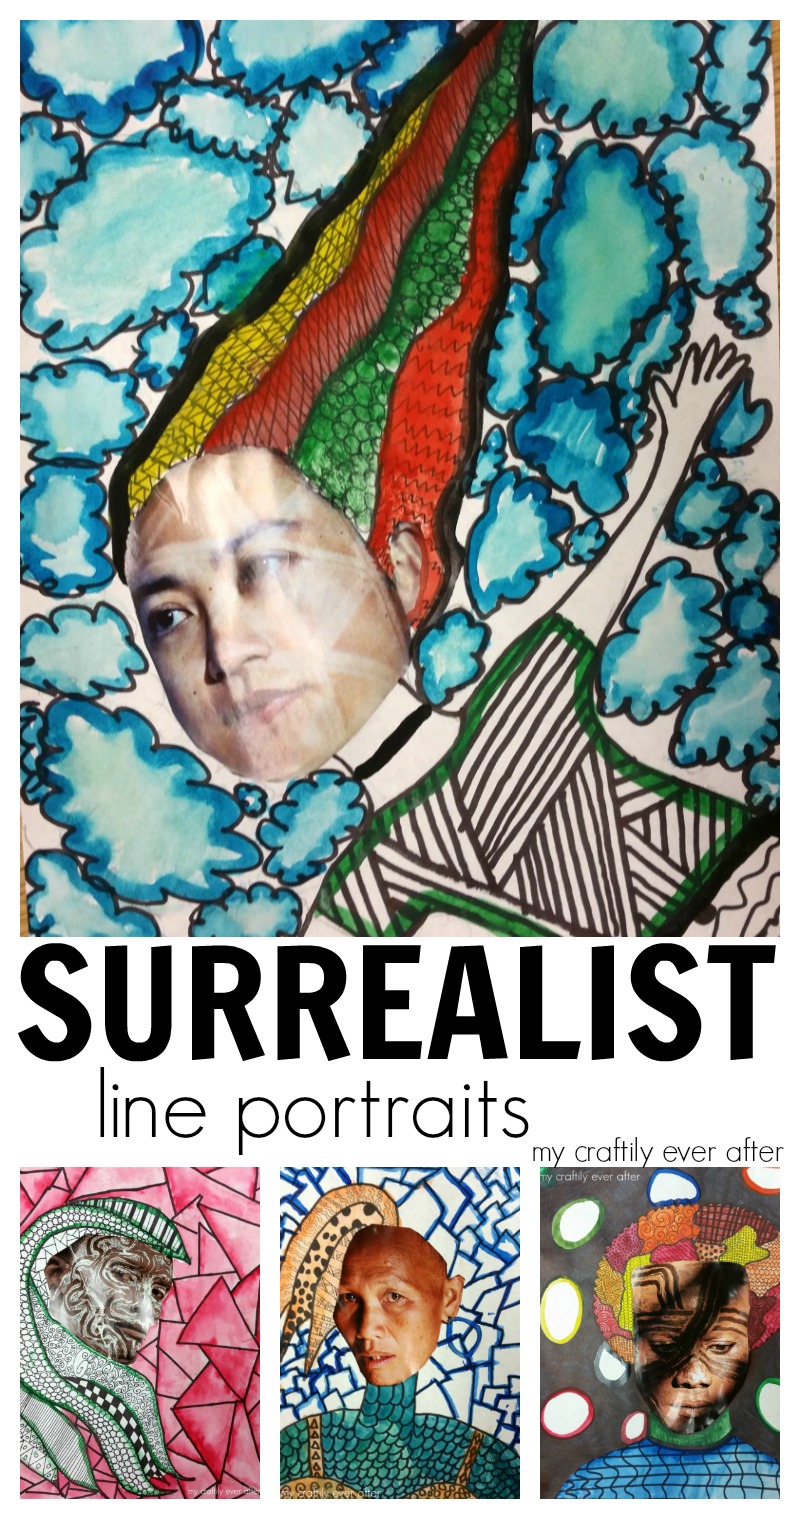
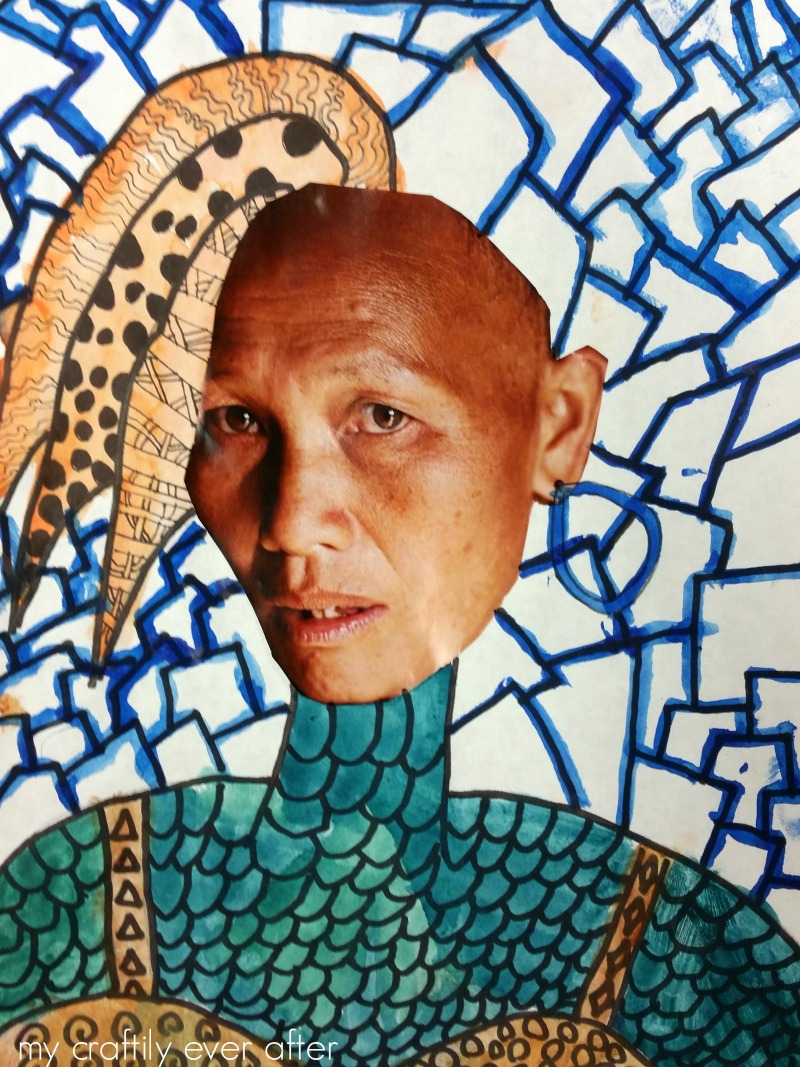
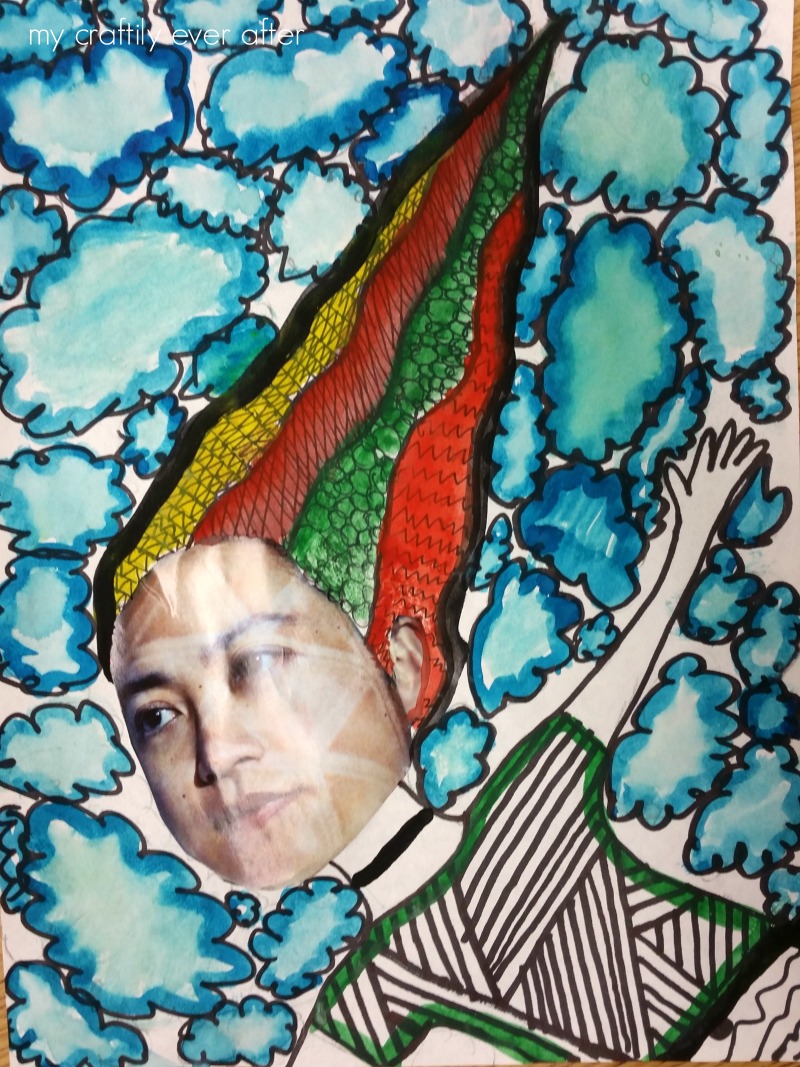
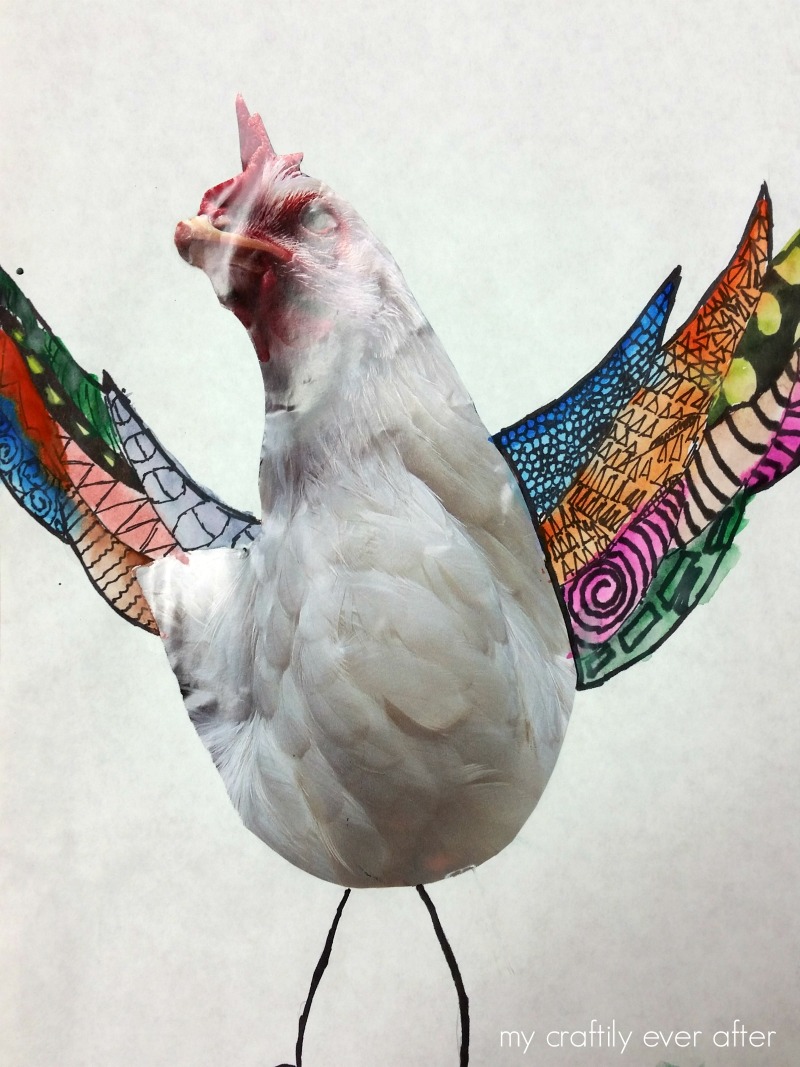
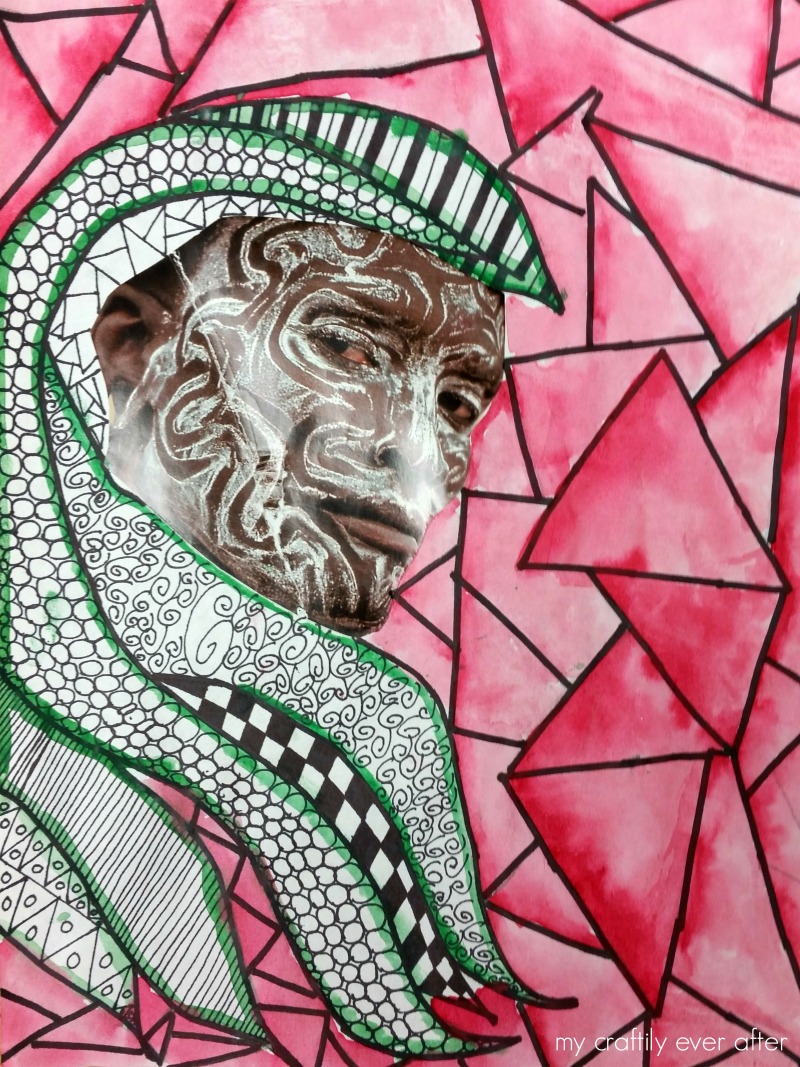
These surrealist line portraits were one of my students favorite projects and one of mine as well! Once we were all done learning the elements of art it was time to learn a little bit about the different art movements through history.
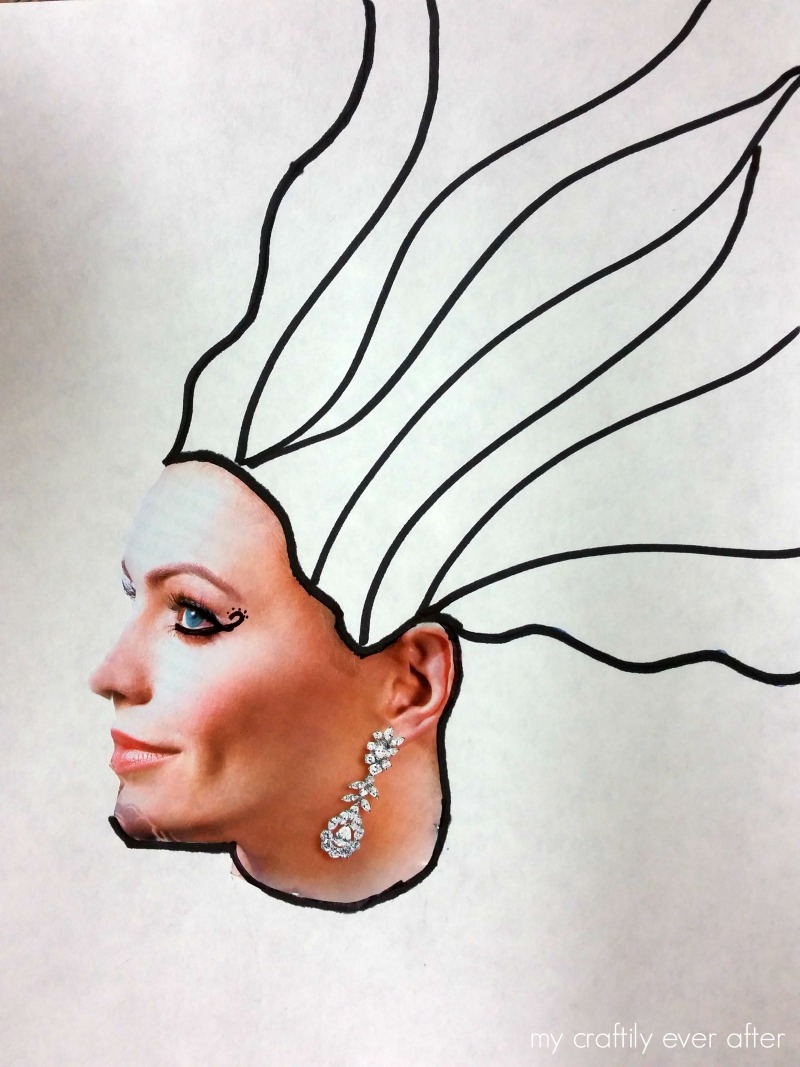
The first step is choosing a face from a magazine. I gave them the choice of using a human or animal face, mostly because all my magazines are National Geographics! We talked a little about scale and decided that faces about the size of their palm would work best. That gave them a great frame of reference as they looked through the magazines. Once they found their face they cut it out, making sure to cut away any hair and background details. We wanted BALD faces!
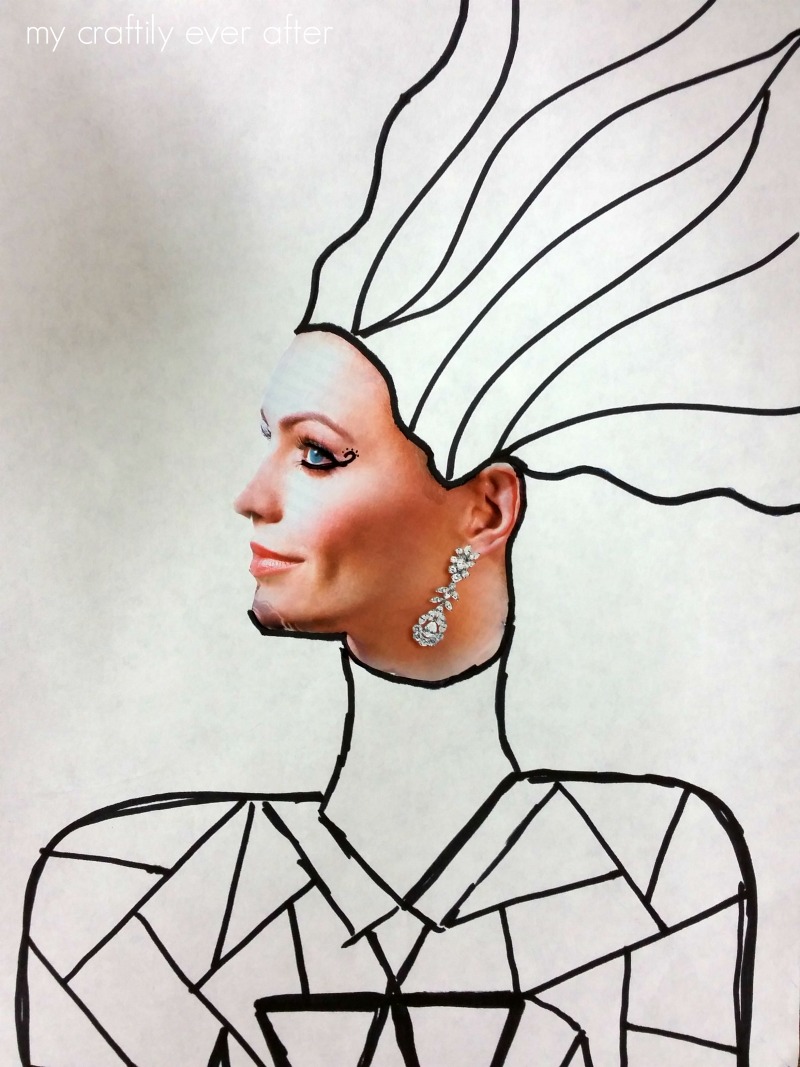
Next they glued their faces to a regular piece of paper. Then using their pencil they lightly drew on hair shapes. This is where a lot of creativity started to show. Once they had drawn on the hair shapes, it was time to add the body and clothes. We aren’t looking for realistic here so nothing had to be perfect!
Once everything is lightly drawn on, they went back over it with a Sharpie to outline it. Then they started filling in each of the hair shapes with small line patterns. I really emphasized the small part, because it helps your portrait feel more cohesive when it’s done to have them in similar scale.
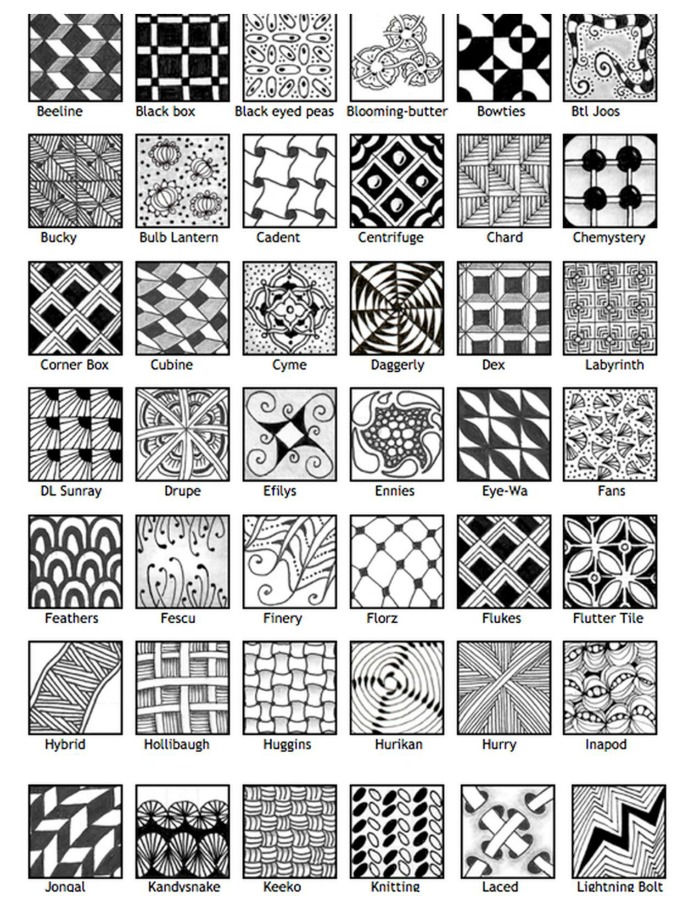
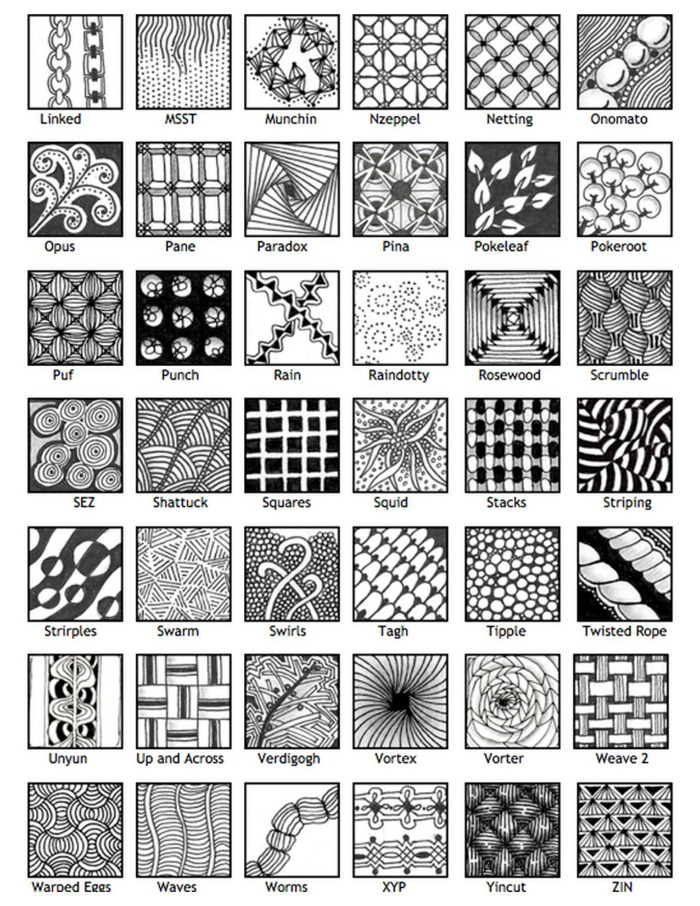
Then it was time to add patterns to the body and clothes. For these sections I had them use medium sized patterns. I also projected a bunch of example patterns on the board and those are attached at the bottom of this post.
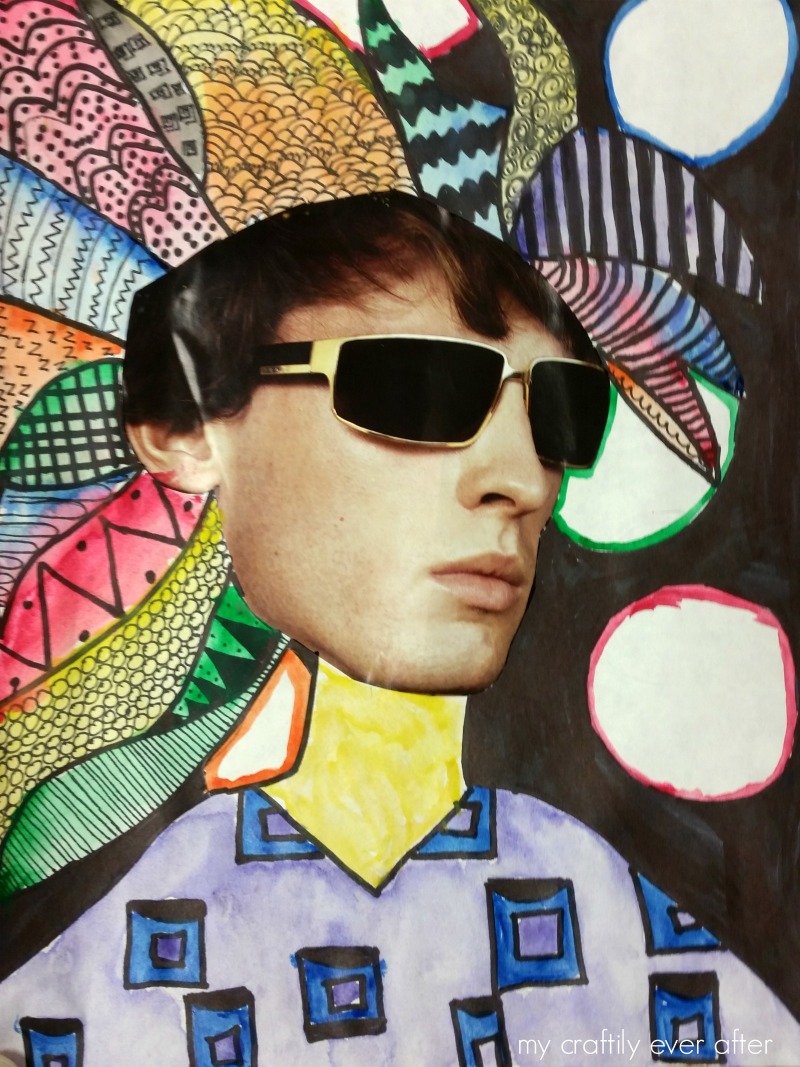
The last step is to add a background. You got it, a large pattern! For this part they chose one shape to repeat across the background of the paper. Whether it was circles, triangles, squares or something else it was a big bold statement.
When it came time to paint them I wanted to add a mini lesson on watercolor in. I quickly taught them three different watercolor techniques. The one that they already knew was a flat wash – painting a uniform color over a space. I also showed them how to do a graduated wash – an ombre effect made by painting a very saturated brush in a single line and pulling the color down with either a clean wet brush or gravity, and an outline – where they simply outlined their shapes in color.
I then told them that they had to use a different technique for each section. For example, if they made the hair a fill, and the body a wash, the background had to be an outline.
I think this was one of our more successful projects for a few reasons, but mostly because of the level of choice the kids got. They had a lot of freedom and yet some pretty specific guidelines. This allowed them to feel really in control of the project from start to finish and yet enabled then to end up with a well composed final product!
